• Got the Contributing Memberships stuff finally worked out and made up a thread as a sort of "How-To" to help people figure out how to participate. So if you need help figuring it out, here's the thread you need to take a look at -> http://www.corvetteflorida.com/forums/showthread.php?t=3581 Thank you, everyone! Rich Z.

Paint rock chip repairs

Rich Z

Internet Sanitation Engineer
Staff member
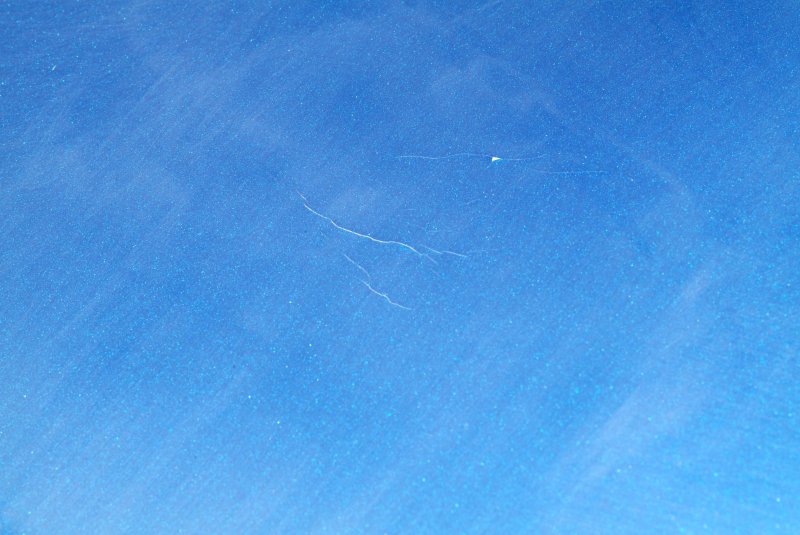
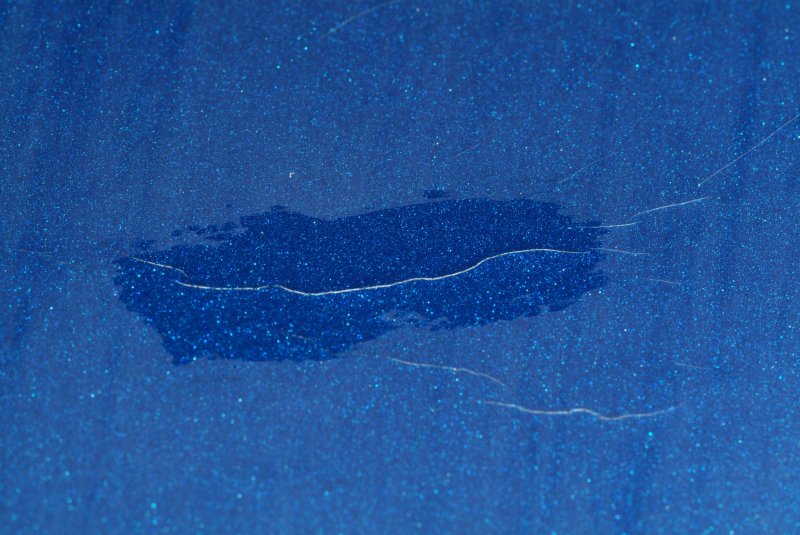
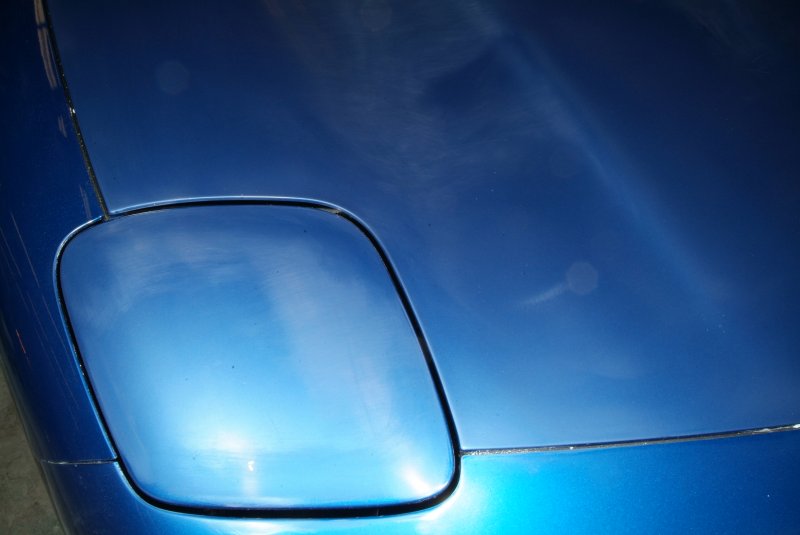
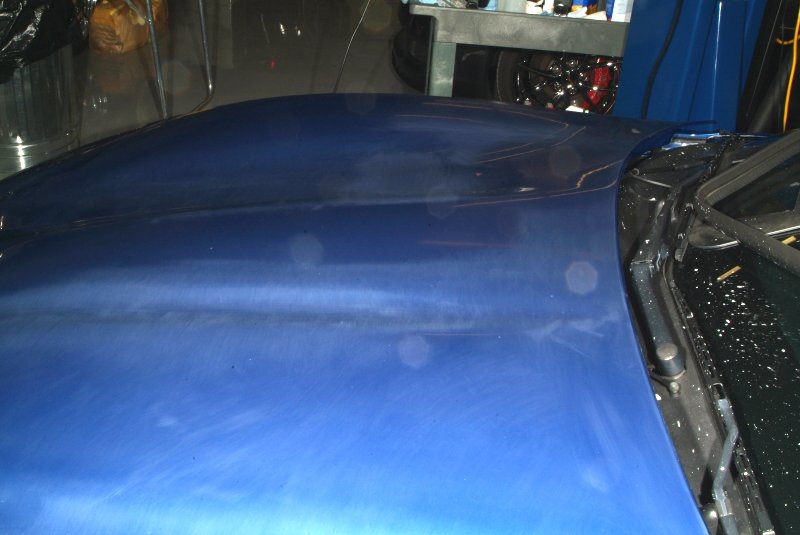
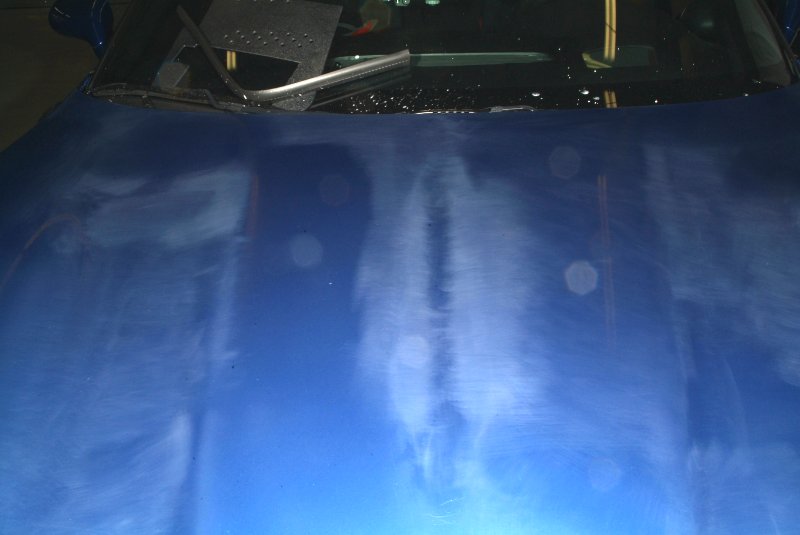
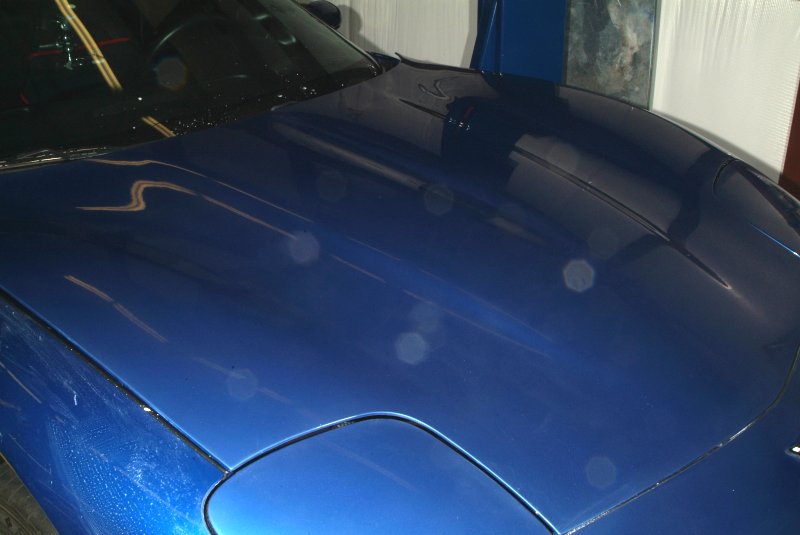
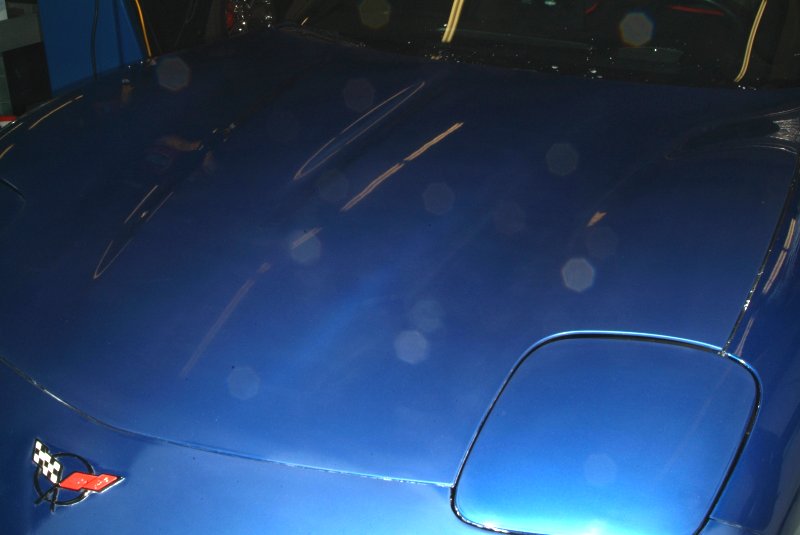
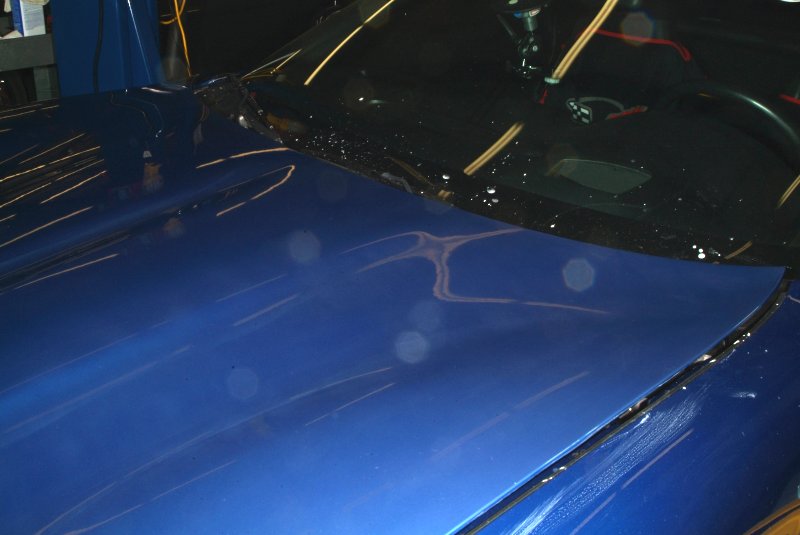
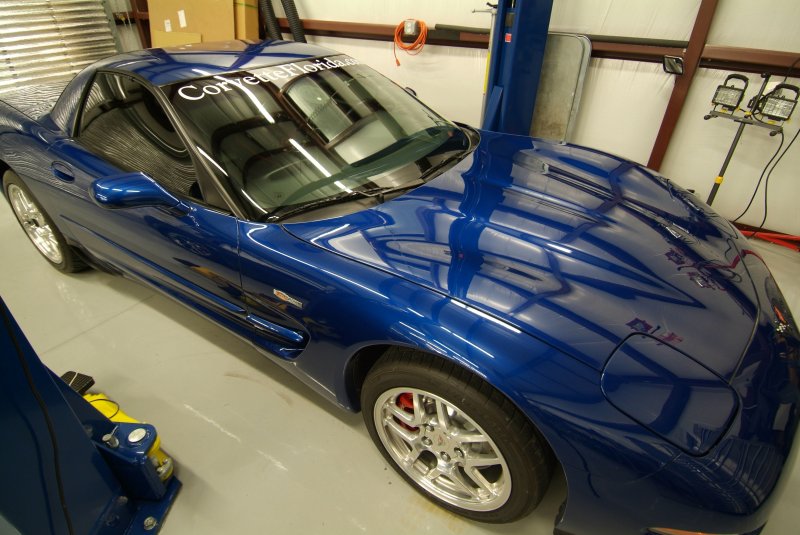
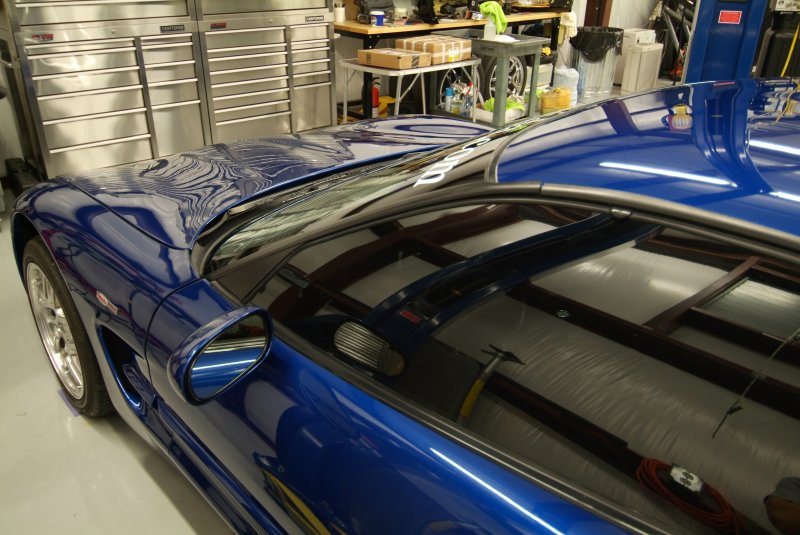
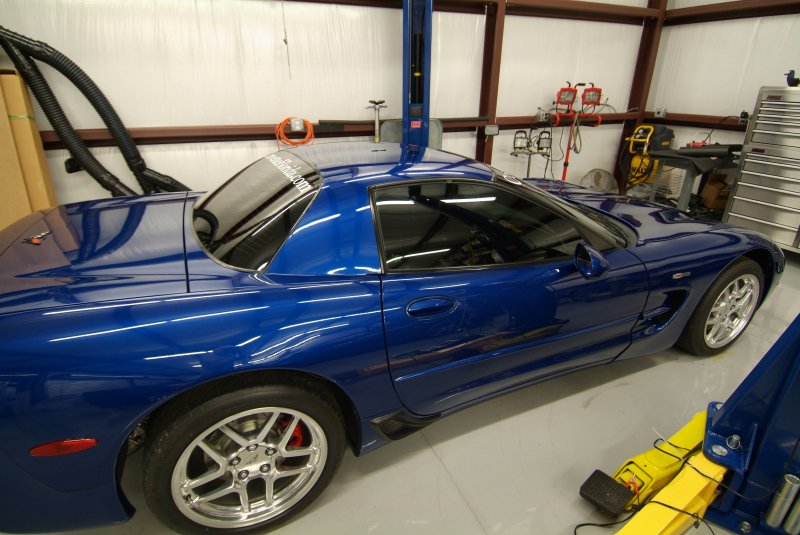
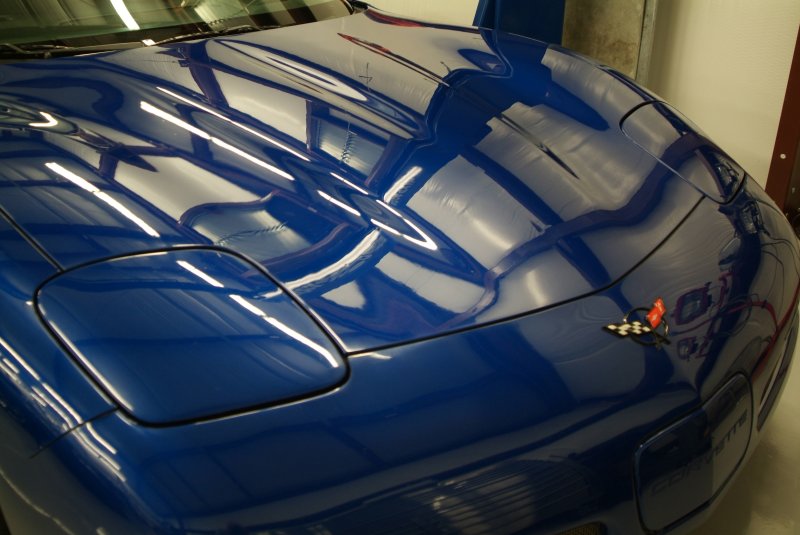
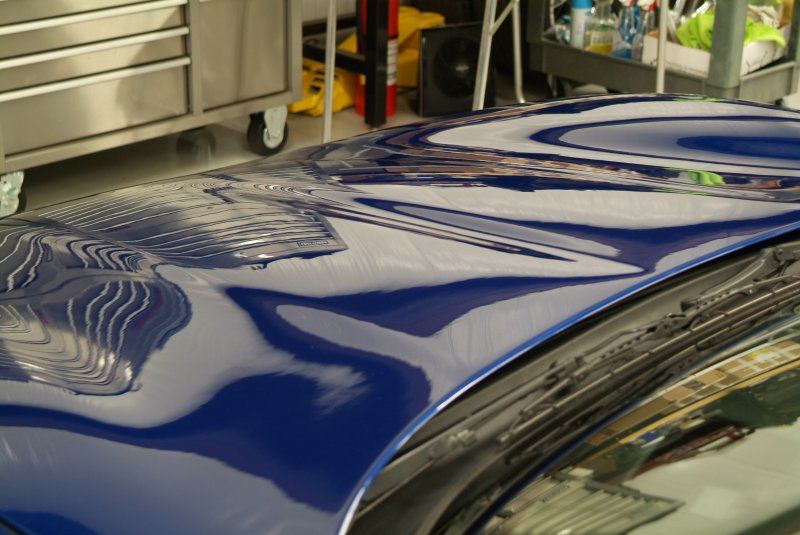
The last few days I've been working on trying to fix the paint chips on the electron blue C5Z, as it has accumulated quite a few of them in it's lifetime. I'm thinking I'm going to have to get the car repainted anyway because of the abuses inflicted upon it over the couple of years it was away from home, so this is the perfect opportunity for me to experiment and get some experience doing this kind of repair.

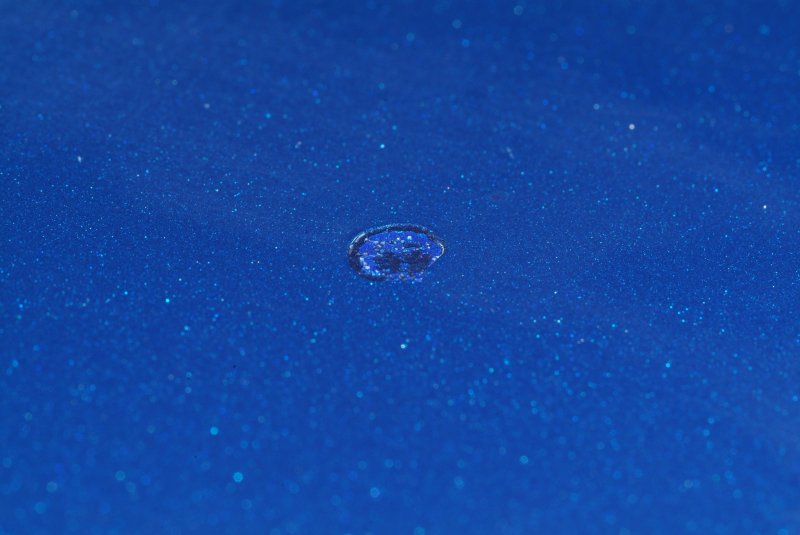
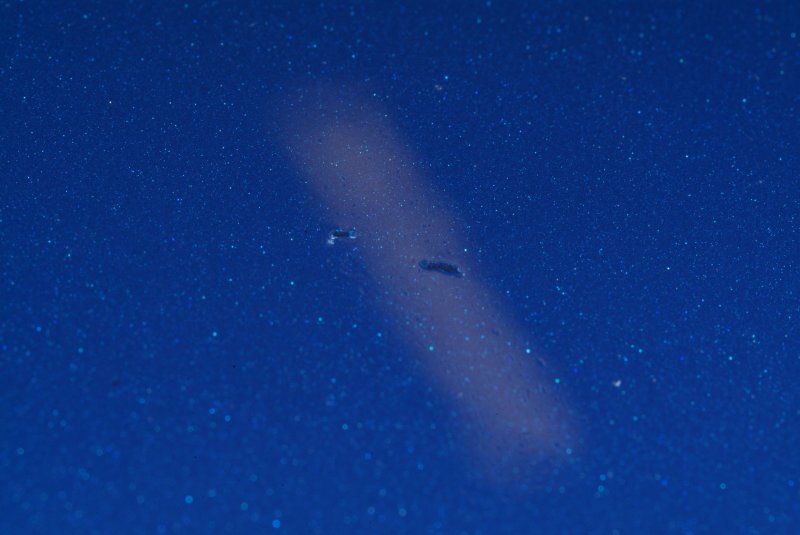
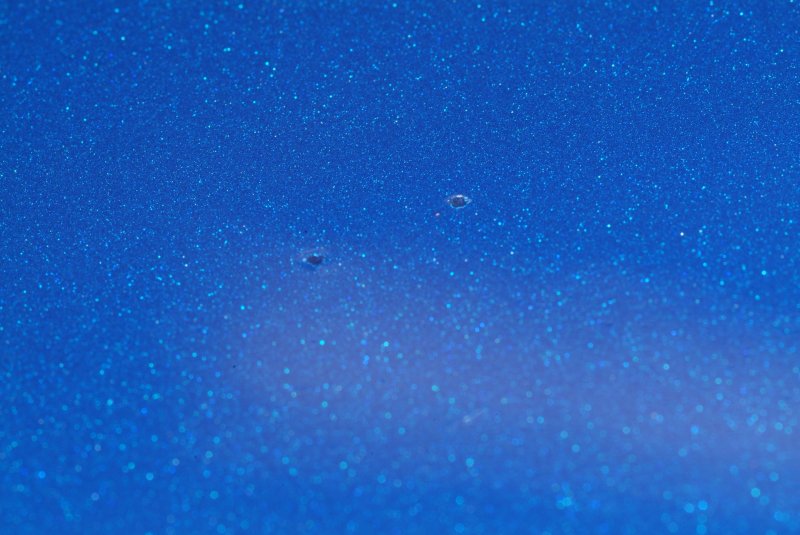
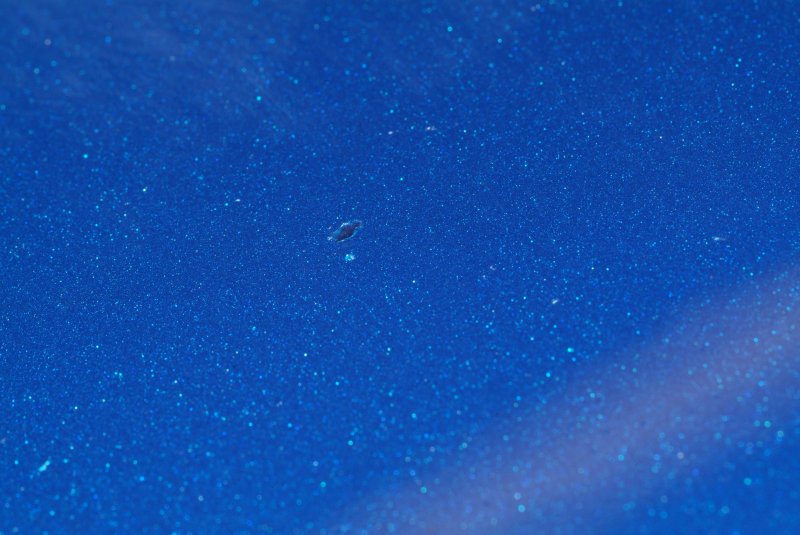
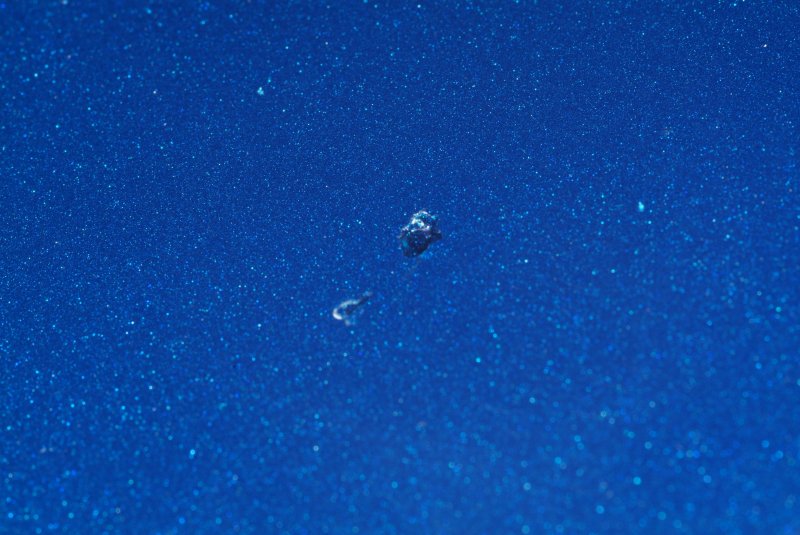
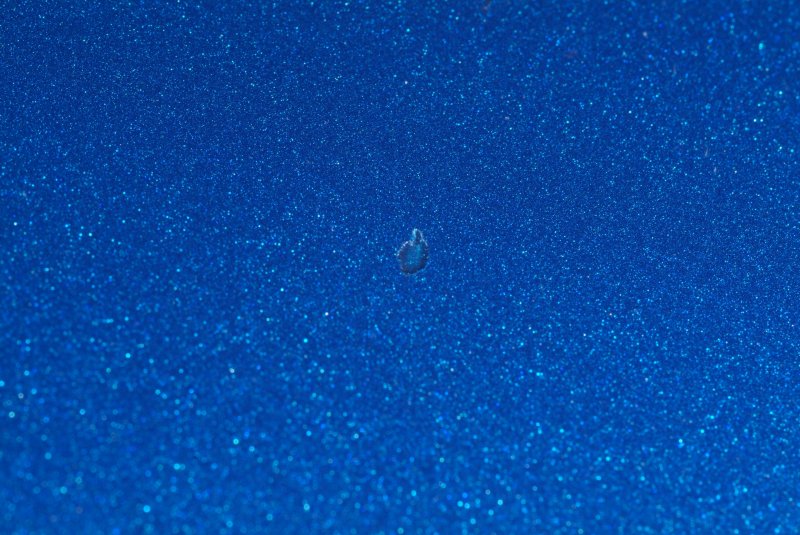
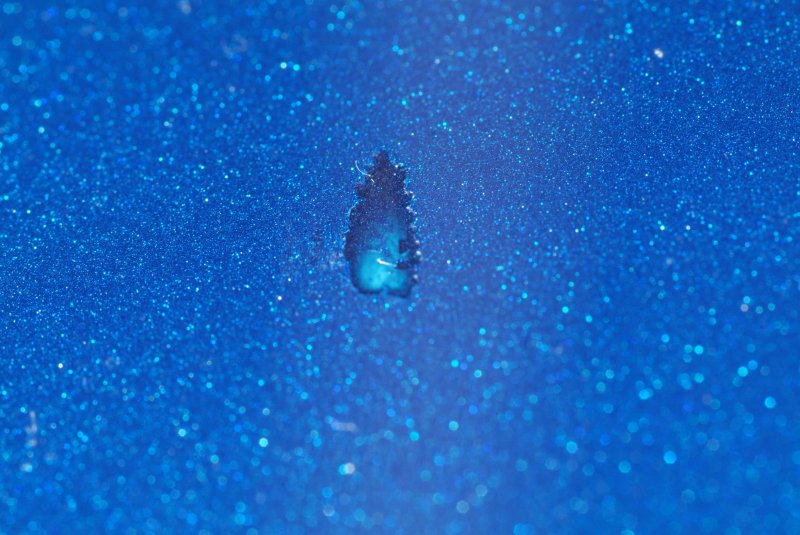
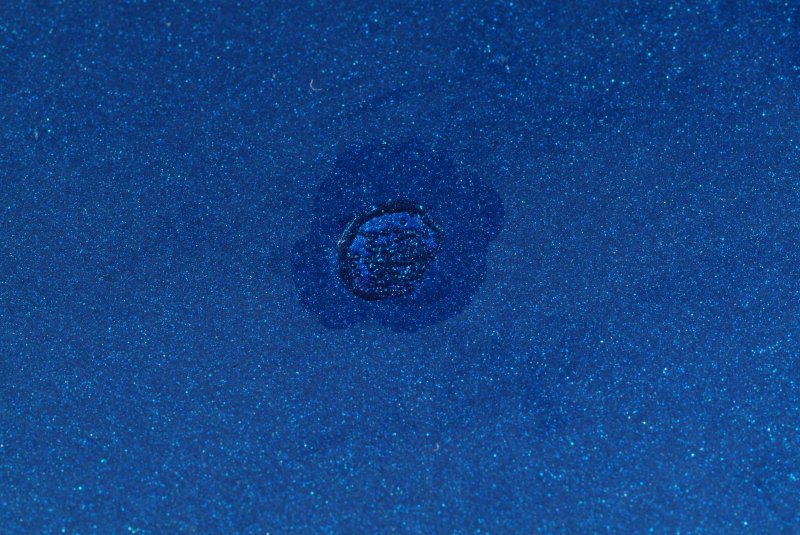
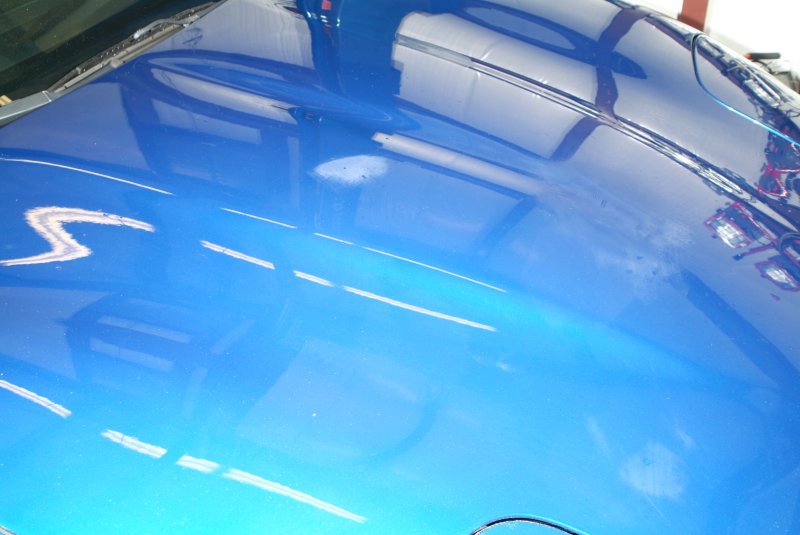
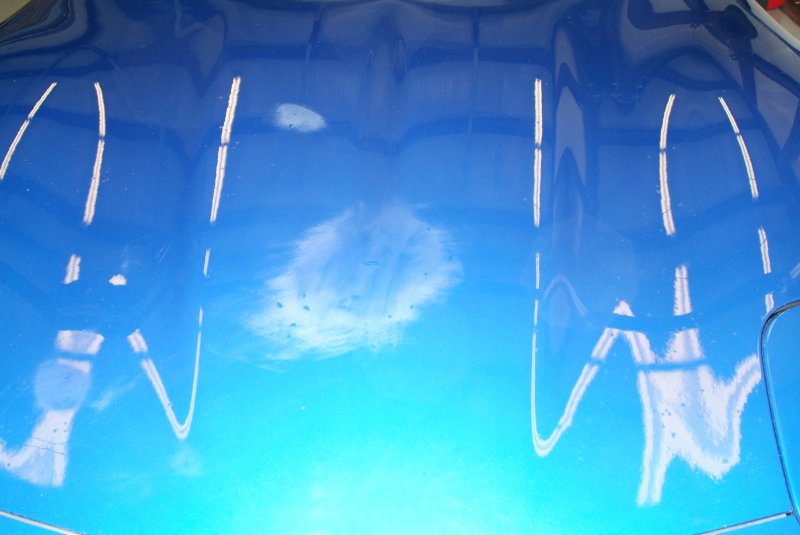
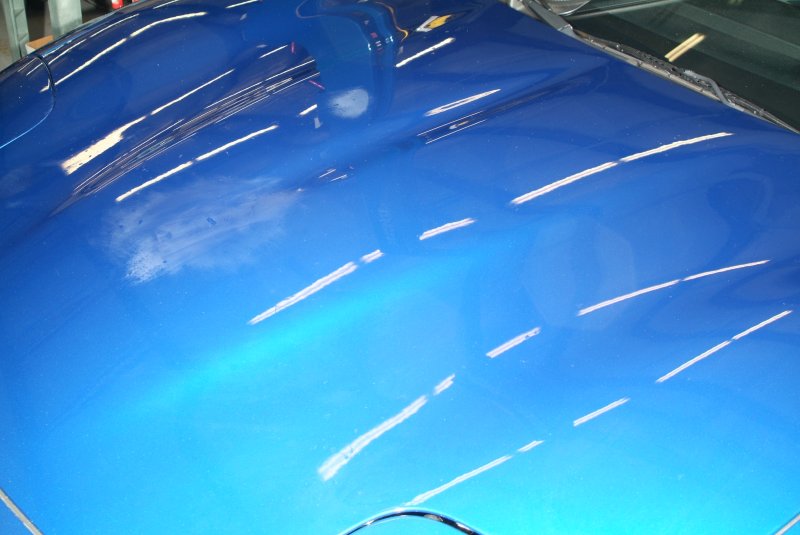
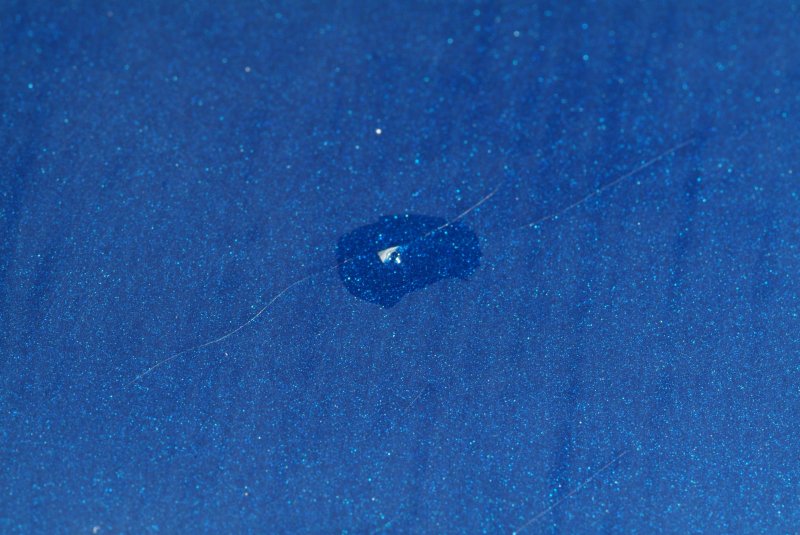
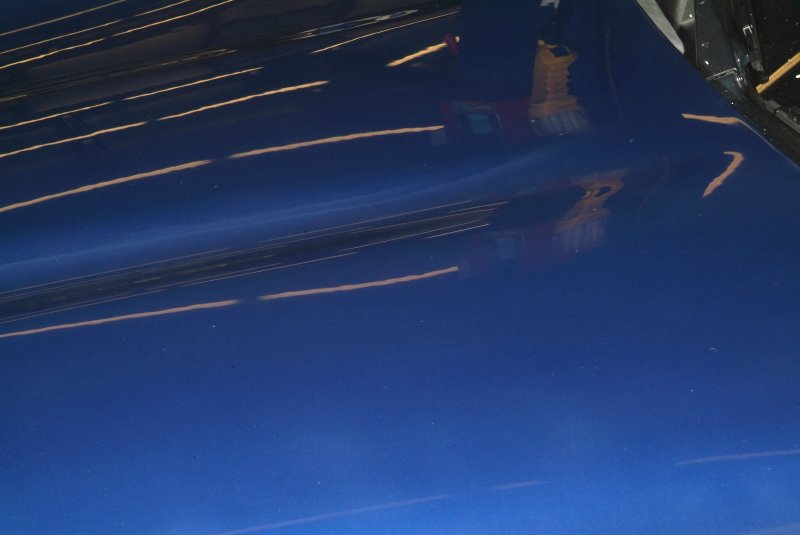
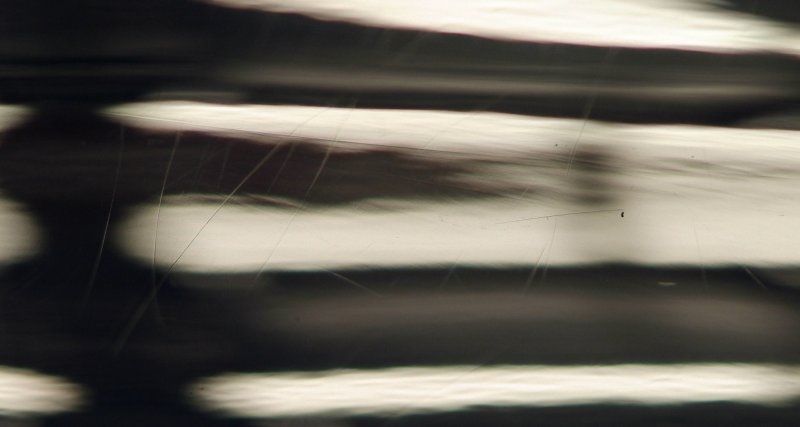
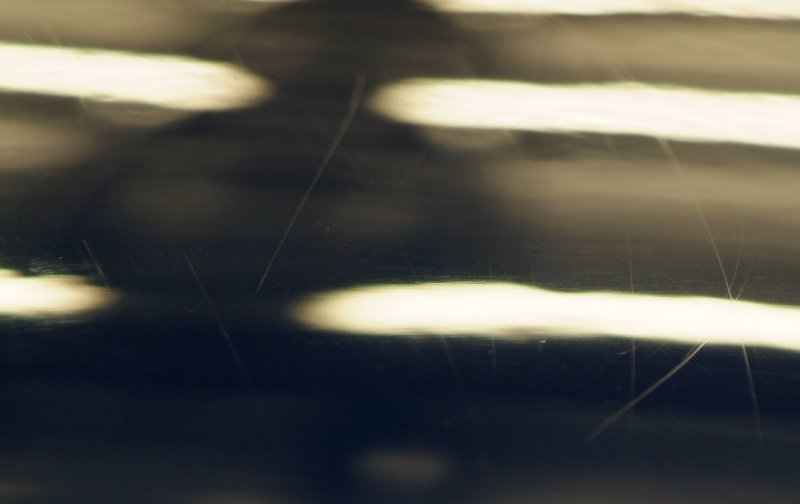
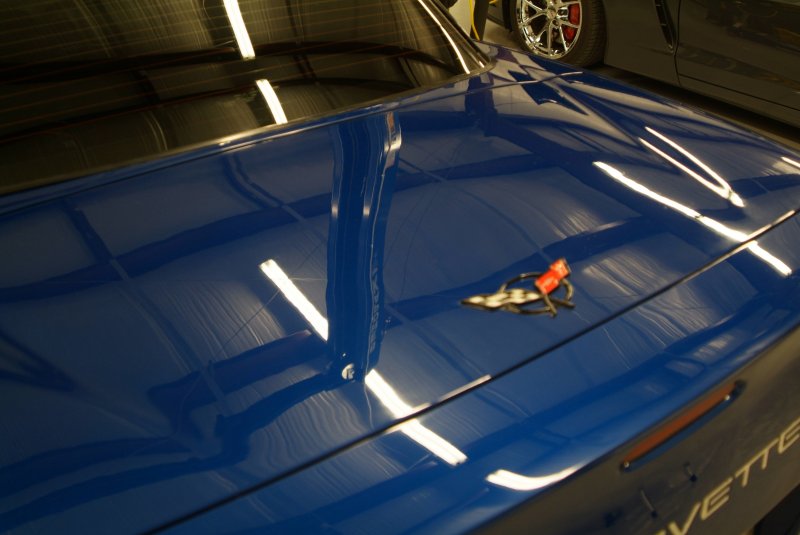
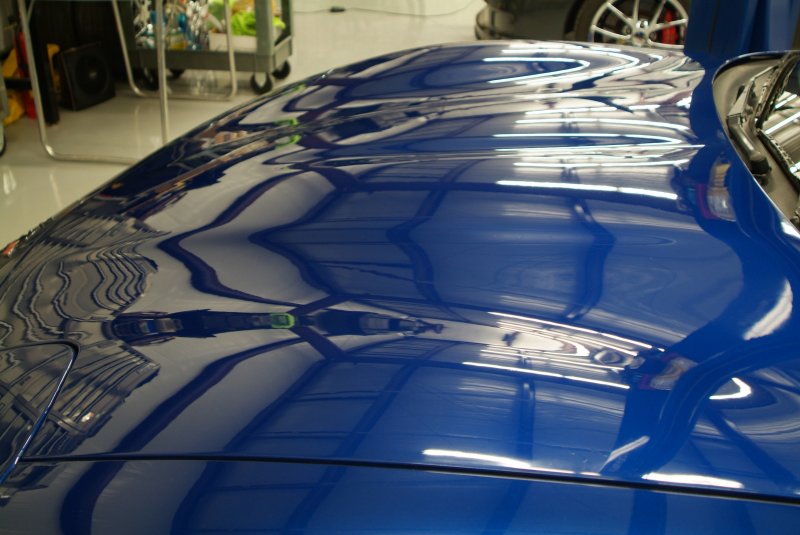
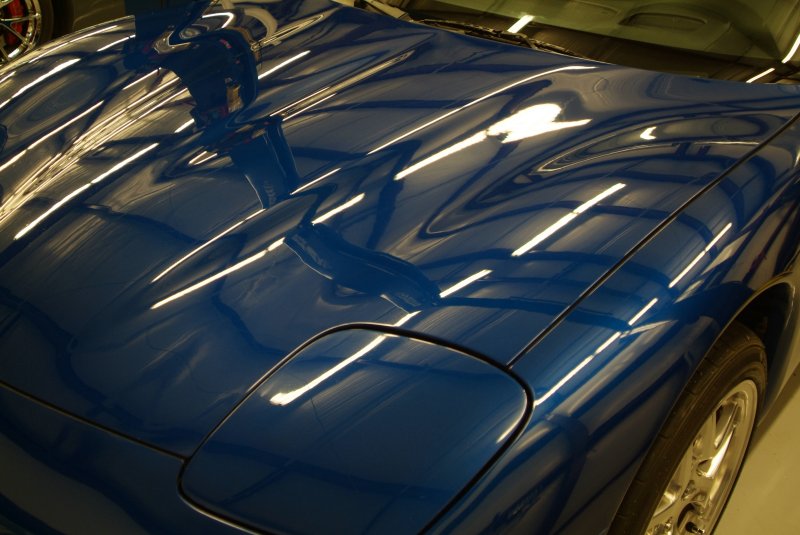
Currently I am working with the Dr. Colorchip repair system. I've got the front end of the car mostly done, but I'm going to have to go back to catch some small chips that I missed the first pass. But overall the paint job is looking a lot better as long as you don't get right up on it to take a close look. Right now instead of white colored chips in the paint, I have blue colored chips. The Dr. Colorchip product appears to be better suited to small shallow chips, as it just doesn't seem to fill in larger chips very well. So the larger the chip, the more noticeable it is, even after being colored in. So although the chips are colored to match the actual paint, there are still craters in the paint where the chips are located. They just aren't as easy to see now.

Perhaps heavier treatments with the product will fill them all in in multiple stages, but I'm thinking my strategy will be to use the Langka chip repair system (blob remover) with some touchup clearcoat. That way I can try to fill in the chip craters with the clearcoat, and use the Langka blob remover to smooth out the excess clear paint so that the craters are filled in and smoothed to match the surface around it. Theoretically, anyway. The point of doing it this way is to make sure the bottom of the chip craters are colored to match the paint, and then have the clear coat fill in so that hopefully it will leave a smoother finish that will look decent at even a close inspection.

I took a small video of one section I did with the Dr. Colorchip, but didn't turn out all that well as I didn't use enough light. Therefore the video is too grainy to be as useful as I had hoped. And I should have backed off more instead of trying to get a close up shot. Oh well. I may post it later on anyway.

But I did find a video on YouTube that shows both products and somewhat how they are used that should be instructive about what I am doing myself.


I didn't try the finger in the paint method shown in the video, as I instead painstakingly used a small brush to dab at all the small rock chips individually. But I think this method might work pretty well on the fender well lips where there is a lot of road rash. I would suggest using some sort of floor covering, though, as I think this could get pretty messy dabbing the paint like that.

So, I'll just have to see how this all turns out, I guess.
 
Rich, have you decided what color you're going to go with when you paint it or are you going to stay with the original color? I had thought about a black cherry color with mine, but mine had a red interior so it was either black, white, or some variety of red.
 
Well, I really like the Electron Blue, but apparently not all "Electron Blues" are created equal, because I have seen some that I didn't care for the shade on a particular car. So apparently even trying to get the car painted the same color might have a risk of it not being exactly what I want attached to it.

I would consider another color if I could find one that I really liked, I suppose. Maybe a deep indigo metallic blue. I like the effect on the C6 Z06 we have with the Cyber Gray Metallic paint. It has flecks of blue in the paint that really looks nice in the sunlight. So I might be interested in a similar effect with the C5Z with some off color flecks in the paint.

Problem is, it's hard to tell what a particular color will really look like on the car just looking at paint samples online.
 
any high end paint shop, knows that there are different variations in the paint colors. normally 2-4 depending on how many different vehicles were painted with that specific color....

MOST of them, if the customer request for an EXACT repaint, will mix a small batch of the different variations and spray test panels, and then compare them to the factory paint. once they find a variation that is exact they then mix the entire batch for the car's paint.

IF you request a complete color change, you can request for them to spray test panels before the car is done for your approval. while this is not common, it may cost more due to the extra time to verify that the color is what you want, BUT how much extra is it worth to make sure the paint is exactly what you want the first time.....
 
Well, I really like the Electron Blue, but apparently not all "Electron Blues" are created equal, because I have seen some that I didn't care for the shade on a particular car. So apparently even trying to get the car painted the same color might have a risk of it not being exactly what I want attached to it.

I would consider another color if I could find one that I really liked, I suppose. Maybe a deep indigo metallic blue. I like the effect on the C6 Z06 we have with the Cyber Gray Metallic paint. It has flecks of blue in the paint that really looks nice in the sunlight. So I might be interested in a similar effect with the C5Z with some off color flecks in the paint.

Problem is, it's hard to tell what a particular color will really look like on the car just looking at paint samples online.

Agreed. I remember when Chevrolet intoduced the Marina Blue color. My cousin had a new 1967 327 Chevy II that he de-stroked to a 302. That was the first "hotrod" that I ever rode in. 4 speed with cheater slicks. Beautiful color. Another friend had a 69 Chevelle SS the same color. But I've seen variations of that color since then that didn't look right. Seems that when they went from lacquer to enamel and base coat/clear coat they lost something. Back in the 70's when I painted airplanes and cars the guy that mixed the paint (lacquer) showed me the formula book and told me that if he even changed the order that the colors were added, it made the paint come out a different color. And it's pretty amazing how they arrived at certain colors. For instance, the yellow color that was on 1967 Firebirds starts out with a black pigment. I don't even think you can get lacquer paint now. It was easy to paint with though.
I think the only way to choose a color is to see it on someone elses car and find out what it is.
 
Yeah, but heck, even knowing the name of a particular paint probably won't do me much good, since there will be variations in just how it is mixed. And what are the chances that a paint project for this car won't turn out to be a fuster-cluck like the engine replacement was?
 
Well, been spending the last several days working with the Dr. Colorchip stuff, and it seems to do a pretty decent job on the rock chips painting them in so they aren't so visible. But the paint doesn't really FILL in the chips, just colors them so they don't stand out to the eye at a distance. And it appears that the color of the touchup paint is actually much darker than my original Electron Blue.

colorchip_01.jpg


colorchip_02.jpg


colorchip_03.jpg


colorchip_04.jpg


colorchip_05.jpg


colorchip_06.jpg


colorchip_07.jpg


colorchip_08.jpg


Perhaps more applications would eventually fill in the large chips, and perhaps this just works the way it is supposed to with VERY small ones.

And it really didn't help with the sanded down scratches at all, since it apparently wiped right off with the blending solution.

So I'm moving on to try out that Langka solution using clear coat to fill in the chips and use the Langka solution to remove the blob of clear coat paint that sits above the actual paint surface. Perhaps the Dr.Colorchip would work in the same manner if blobbed into the chips, but I want to have clear coat there to hopefully make the surface more uniform when I get to the point of polishing. This is all just one big experiment anyway, so I don't really know what is the best procedure to use with something like this. Hopefully I won't just ruin the paint and have to accelerate my plans for a complete repaint of the car. :ack2:
 
So today I put spots of clear coat over most of the rock chips on the hood. I know I will have to do a second and third pass (maybe more) before all is said and done. But I sure do hope that Langka stuff works, otherwise I'm going to have a hell of a mess on my hands. It's hard to see in the photos, but my hood looks like it has chicken pox with all those paint blobs all over it. But it does seem that the clear coat fills in the paint chips nicely and reduces the visibility of the chips quite a bit from a reasonable viewing distance.

However, on the cracks, not so much. Not sure what exactly to do there, but I'll just have to wait and see how it turns out when I feel like I have done all that I can do.

clear_blob_01.jpg


clear_blob_02.jpg


clear_blob_03.jpg


clear_blob_04.jpg


clear_blob_05.jpg


clear_blob_06.jpg


clear_blob_07.jpg


clear_blob_08.jpg


clear_blob_09.jpg


clear_blob_10.jpg


The instructions say to let the touch up paint dry from 2 to 24 hours, so I may start using the Langka blob eliminator stuff later this evening and see how well it goes. I honestly doubt I would have had the guts to do something like this except for the fact that the car is facing a complete paint job anyway. It looks pretty damned scary when you first start doing this.
 
Arghhh. Well, that didn't go as well has I had planned.

I let the clear touch up paint globs set for three hours, then went over to try that Langka stuff on them. It actually was going pretty quickly, as that stuff really dissolves those blobs in a hurry. Well, my technique just sucked. I was being too aggressive with applying the cloth wrapped around the plastic card and I wound up not only taking the clear completely out of some of the chips, but the blue Dr. Colorchip paint as well. Apparently you have to use a VERY light touch just letting the Langka fluid do the work, and you just move it around over the blob till it dissolves. Keep the cloth tight on the card, but just barely touch the surface of the paint and only work on one chip at a time. I had to put my view at an angle so that I could clearly see the blob in the glare from the lights. The trick is knowing when to STOP. As soon as the blob is pretty much gone, stop with the Langka and then wipe the area clean with another soft cloth to clean off the residue and also pretty much finish reducing the blob to be flush with the surface.

Too bad it took me most of the hood to figure this out. :nonod:

So I've got to go back and put the Dr. Colorchip color back into those chips I made white again. And I'm thinking maybe I need to lighten up my touch with the Dr. Colorship blending solution as well. Maybe even use the plastic card like it is recommended with the Langka product. Keep a flat level surface against the paint and it might retain more of the color paint in those chips.

And I may just allow the clear paint to set for a full 24 hours so maybe it won't come out of the chip indents quite so easily.

Light touch and knowing when to STOP seems to be the key with working with this stuff. I think perhaps even stopping too soon might be preferable to stopping too late. I'm planning on going over the entire area with 2000 to 4000 grit sand paper anyway, and then polishing with compound afterwards. That certainly would take off any extra paint globs that remained without having to do the color step over again.

Oh well, I knew this was going to be a learning experience.
 
I did the Dr. Colorchip thing again today to fix those rock chips that had the color pulled out of them by the Langka product. Obviously the Langka blob eliminator is a whole lot more aggressive than the Dr. Colorchip blending solution is. You've really got to work with the Dr. Colorchip solution whereas the Langka starts removing the paint blob almost immediately.

Supposedly the two are not interchangeable in application, though. I know the Langka will remove the Dr. Colorchip paint, but I haven't tried to see if the Dr. Colorchip will remove regular touch up paint. According to Dr. Colorchip's website, the touch up paint they use is special for the application using the blending solution, and the blending solution won't work with regular touch up paint. But I may try it anyway, just to see.

This time I changed my technique with the Dr. Colorchip blending solution. Instead of just putting the blending solution on a rag held loosely in my hand and rubbing off the excess paint in broad areas, I use a plastic card wrapped in a cloth similar to what Langka recommends. I also concentrated on much smaller areas than before. Seems like this left the paint chips looking better than my first try. I took it real slow and easy, and just removed the paint to the point to where it was nearly gone and didn't go an further with it.

Tomorrow I'm going to put clear on only the worst of the rock chip pits and be a LOT more careful about applying the Langka blob eliminator so I don't cause any collateral damage with the surrounding minor chips. I'm also going to let the clear paint set for a full 24 hours before I apply the blob eliminator fluid. I REALLY don't want to have to apply the color into those chips again. I'd much rather do 10 things the first time than 1 thing OVER AGAIN.

I don't think anything is going to color over those cracks I sanded down. They probably need to be BELOW the level of the surface of the paint in order for the touch up paint to hide them, but I'm not really willing to gouge into the paint, tracing the cracks, in order to do that. So I'll just have to see how that looks when I get done the entire hood to figure out whether a new paint job needs to be sooner rather than later. If it's sooner, then I may quit with the paint touch up completely, since it won't really matter much to keep working at it. I think I got enough experience just with the hood with this touch up stuff and don't need to do any more of the same drudgery. With the number of rock chips I've got, this is TEDIOUS, to say the least. Leaning over the hood is a real killer on the back.

BTW, if you do get the Dr. Colorchip kit, get the smallest one they have available. I got the largest kit they offer and have done a ZILLION rock chips, most of them twice, and still have half a bottle of paint left. The blending solution didn't go as far, but I think that's because I was far too liberal and aggressive with it the first time I used it. A small amount will go a lot longer than I tried to make it go.
 
Been wet sanding the hood the last couple of days. First I did a pass using 2000 grit paper, both via the Porter-Cable orbital sander, and also hand sanding those spots where the pad on the machine wouldn't mate flush with the surface.

wetsand_2000_01.jpg


wetsand_2000_02.jpg


wetsand_2000_03.jpg


wetsand_2000_04.jpg


wetsand_2000_05.jpg


wetsand_2000_06.jpg


Then I hand sanded the hood completely with 3000 grit sand paper.

And lastly (with the sanding steps) did a machine sanding with 4000 grit paper.

wetsand_4000_01.jpg


wetsand_4000_02.jpg


wetsand_4000_03.jpg


wetsand_4000_04.jpg


I started on the roof but only got done with the 2000 grit sanding up to now. Probably finish up that sanding tomorrow and maybe start on the deck lid.

Then it is time to start with the liquid polishers.

Connie just shakes her head when she comes over to the garage and sees the mess I've made of the paint job. She's probably half convinced that I've ruined the paint job completely. Heck, maybe I did. I've got my fingers crossed that the liquid polishing compounds will put the gloss back into the paint surface. :shrug01: This sure would be a whole lot of work for nothing..
 
I finished up the horizontal surfaces on the car (hood, roof, deck lid), and spent today going back over by hand with the 2000 grit paper to try to work more on the orange peel. Honestly, the Porter Cable DA sander/polisher with the 2000 grit paper just doesn't seem to have the oomph to get the orange peel out. It just seems to skim the surface. Maybe I wasn't bearing down on it enough. Or maybe I should have worked with a rotary sander instead. I'm likely too much of a novice to try using the rotary with sanding, however. If it's easier to burn the paint by just polishing with a rotary than using a DA, I guess sanding would be a real good way to ruin the paint in a hurry that way. So maybe the way I did it is best for my skill level. Or lack thereof.

I'm going to do hand sanding with 3000 grit next, and then onto 4000 grit after that. From what I have been reading, I may be able to skip the compounding step since the 4000 grit paper may allow me to go right into the fine polishing. I guess I'll start with the polishing, and if I can still see sanding scratches, then I'll fall back and do some machine compounding.

Lord what a mess this makes. All that water running everywhere with the paint particles suspended in it has gotten everywhere imaginable on the car. But I think this is much better than dry sanding. At least I don't have paint dust everywhere all over the entire garage.

I gotta hand it to people who do this sort of thing for a living. They certainly EARN the money they make.
 
Well, I thought I was done with the sanding today..... :rolleyes:

So I broke out the Porter-Cable DA buffer and found a wool buffing pad in the cabinet I've been storing all this stuff. Also pulled out about a half dozen bottles of various buffing and polishing compounds I have stored away. Tried a couple of them on the hood and got a pretty decent polished look with both of them, but the darn wool pad was just shedding like crazy. So I pulled out an orange foam pad to try. Heck, that started falling apart too. :ack2: I guess age takes a toll on these things whether you use them or not. Sure hate to think that the couple of dozen foam pads I have are going to have to just be tossed into the trash. If so, I guess what I need to do is to ONLY buy just what I think I will need RIGHT NOW, and don't buy extras that will just lay around and go funky on me. They appear to have a rather short shelf life.

I had to scrounge up a pad I got from System 51 that isn't as old as those other pads, but it's an 8 or 9 inch pad with wool on one side and foam on the other that is designed for a quick connect system that only works on a rotary buffer. So I had to find the Harbor Freight rotary buffer I bought a while back. I was a bit reluctant to use a rotary, as they can be a problem if you aren't careful with them. And honestly it's been quite a while since I've played with one. But if I was going to do some buffing today, there wasn't much choice in the matter.

So I just took it slow and easy to get used to the machine. The HF buffer works OK, but it seems to have trouble maintaining a constant speed while in use. I can see where I will be needing something better.

Anyway, of the various buffing compounds I tried, I liked the Malco Rapid Cut the best. Produces a real nice glossy finish, and seems to take off most of the sanding scratches pretty readily. I think on a paint surface that wasn't as wrecked as mine is, it would do an excellent job removing scuffs and water spotting with minimum effort. But I still need to check for swirl marks before thinking about using it on the other cars.

Once I looked over the glossy surface on the hood, I thought that perhaps the funky pads I tried using with the Porter-Cable DA had scratched the paint while they were falling apart. There was one squiggle line that was DEFINITELY caused by the DA, but the other straight lines were probably there before I started sanding, and just were not easily visible with all the sanding marks. Once I glossed the surface and removed the sanding scuff marks, they just became MUCH more noticeable. Anyway, I tackled them with the 2000 grit sandpaper again, and got most of them out, but I've still got a few more to work on. I wanted to move on to the rest of the car to see what I had left to deal with once I glossed the paint surfaces so I could see better.

So I moved on to the roof of the car. After I buffed that out, I was pretty disappointed with all the stark scratches I saw remaining on the paint surface. :ack2:

scratches_roof_01.jpg


scratches_roof_02.jpg


scratches_roof_03.jpg


scratches_roof_04.jpg


scratches_roof_05.jpg


scratches_roof_06.jpg


I knew those scratches were there before I started, but I had REALLY hoped the sanding would have taken them out better than it apparently did. Those scratches were NOT there when I took the car to Chris Harwood's shop, and I believe they were not there neither after Toby in Blountstown worked on the car right before it was towed to Aaron Scott's shop. My opinion is that at least some of those scratches were caused by cats jumping and climbing onto my car while at Aaron Scott's place. As for the rest of them that might not have feline origins, I have no idea what someone did to the roof to make those scratches there. Just carelessness on someone's part, apparently.

But in any event, I've got to take a whack at fixing them. I might have to use more aggressive sanding with 1500 or 1200 grit sandpaper. Then follow up with the 2000 and higher before liquid buffing the roof out again. I may have to put some sanding disks on the rotary buffer/sander to really go at it. Sure hope the clear coat on the roof is pretty thick so I don't cut through it. :eek:

I also worked on the deck lid, but honestly I was getting tired of doing this, so I need to spend more time with the buffer over the next couple of days. Still too much sanding marks on there after the short shift buffing job I did.

All in all, I can't really say that this is a whole lot of fun to do. Even after all this I STILL have some scratches, some orange peel, and rock chips. And those cracks in the hood are still going to be visible. But right now I'm shooting for it looking good from 3 to 6 ft or more away and that will just have to do.
 
Last edited:
I took another stab at some of the remaining rock chips on the hood by filling them in with clear touch-up paint. I'll apply the Langka to them tomorrow and then touch them up with some sanding after the paint has hardened again. Have to sand some more scratches there anyway.

I started sanding the scratches on the roof and wound up just sanding the entire roof again with 2000 grit paper. Took off some more orange peel there while I was at it. I looked HARD and don't see any more scratches, but I may run some 4000 grit paper on the roof and then eyeball it again before breaking out the buffer.
 
Rats ass..... Well, I now know who made some of those scratches on the roof. Me. I certainly can't blame them all on cat claws based on I learned today. :o When I took the previous scratches out, I made sure I sanded perpendicular to the scratches with the 2000 grit paper. I eyeballed my work this morning and everything looked good as far as I could tell.

But when I worked at it with the buffing compound, I got some more scratches showing up. This time in the opposite direction. Was only about a dozen of them, and mostly where the roof has a slight bow down the center, front to back. I'm thinking the sanding block I'm using is too rigid and the corners must have ben gouging the paint in that area... :eek: Either that or the paper was bunching up or something. Beats me, but this is really a pain in the ass having to deal with things I caused myself.

So I tackled it again with 2000 grit and used a different sanding tool. This is a sort of foam thingie that is slightly rounded instead of flat. Every thing looks OK by eyeball, but I won't know if there are MORE scratches till I compound it again.

Well, I said this was a learning experience, didn't I? :rolleyes:

BTW, I tried all kinds of different foam pads with every buffing compound I had, and I was getting pretty frustrated. It glossed the surface OK, but it was very hazy looking and I could see lots of sanding scratches. I was feeling pretty glum about this and decided to fall back and try the wool buffing pad instead of those foam things. And yeah, that did the trick. Evidently the foam pads just aren't aggressive enough to take out the sanding scratches. At least not in the time frame I tried using them. So tomorrow I'm just going to go straight to the wool pad and hopefully get this knocked out.
 
Dammit......

I was feeling pretty good about the progress I was making, even though it was taking a LOT longer than I thought it would, and a LOT more work than I had hoped for. But the wool buffing pad and rotary buffer with the System 51 compound was doing a pretty decent job on the sanding marks I had made. Still got a good supply of scratches here and there, but I figured I could tackle them later on once I got the bulk of the car buffed out. From 6 feet away, the car was actually looking pretty sharp.

Remember when I mentioned I had buffed the deck lid and thought there were still too many sanding scratches there, and I thought I had just pooped out working on it? Well I sanded it again with 2000 grit paper and everything looked pretty good to start buffing out that panel. Honestly I just thought that the deck lid had a severe water spotting problem, since Aaron Scott apparently kept the car outside much of the time, but I thought that wouldn't be too tough to sand and buff out. But when I started buffing it again, and looked REALLY closely at the surface, what I saw was literally zillions of small scratches all over the deck lid.


My first thought was "Oh my God! What the hell did I do wrong?" But the more I looked at the surface, the less sense it made to me. Those scratches didn't appear to be made by any machine I have used (Porter Cable DA, Flex circular polished, and Harbor Freight rotary buffer), and certainly didn't look like anything that could have been made by hand sanding, so I'm completely baffled about what made them. They just look like short random sized, shaped, and oriented scratches. A dual action buffer will make curly-cue marks in the paint. The Flex would make spiraled scratches. And the rotary buffer would make circular scratches. Hand sanding tends to make long fairly straight scratched. So what in the world made that mess on the deck lid?

I looked closely at the hood and roof, but neither panel has the same scratches anywhere on them. Some obvious sanding marks that I have yet to remove, but nothing like what is on the deck lid. And I did exactly the same sanding and buffing on all three panels.

I know this stuff wasn't there before I took the car to Chris Harwood's shop. Chris, for all his faults, did keep my car inside the shop at all times, and in all the times I was over there, he never appeared to abuse the finish. He actually took the car over to a guy named Toby who ran a body shop in Blountstown, and Toby sanded and buffed out the scratches. I actually looked over the car there, and as best I could tell, he took out ALL of the scratches except for one especially deep one on the passenger side quarter panel. My guess is that the car might have been keyed before I bought it.

Once the car was towed to Aaron Scott's shop, for the 14 months it was there, I didn't really go up there very often, and didn't really look closely at the paint finish. I know I saw cat paw prints on the top surfaces of the car a few times, and as best I could tell Aaron kept the car outside most of the time, so I knew it had a pretty bad case of water spotting. Even though I took a car cover out there, as far as I know he never put it on my car. I specifically told Aaron not to mess with detailing the car, since he expressed some concerns about some severe swirl marks, but apparently he put some sort of gloss on the paint anyway. It didn't appear to have been actually polished, as the paint was noticeably rough to the touch, like it needed a real good clay bar job. It was like some sort of gloss was just sprayed onto the paint to make it shiny looking.

After bringing the car back home, I spent all the time working on mechanical issues and except for a couple of washes and wiping off the dust with detail spray, I really didn't pay much attention to the paint job. It really wasn't a high priority, everything else being considered. And of course the car was stored inside the garage at all times. Matter of fact, it was up on the lift most of the time.

I did clay bar the hood, roof, and deck lid prior to starting on the wet sanding. I knew I had scratches, rock dings, and water spotting, but those were issues I was hoping I could take care of with this wet sanding project.

Honestly, I'm pretty bummed out about this now. That deck lid is really a mess with all those scratches. I did get out some with the buffer, but I'm not sure there is a thick enough clear layer for me to get them all off. And there are still some long linear scratches on the other horizonal surfaces despite my efforts to eradicate them. Apparently they hide when being sanded, and then pop out in all their glory once I buff the paint to a nice gloss. So obviously I am missing something basic in how to properly deal with those scratches. And yeah, I STILL have some rock chips remaining. I think Dr. Colorchip and Langka would do fine for a car with just a few rock chips, but apparently my car just overwhelmed them both. Or just overwhelmed me, and just wore me out.

I think with a known THICK layer of clear coat, I could eventually get all the defects fixed, but you just don't know how much clear coat you have left till you run out of it. I was reading something just the other day indicating that the factory paint job is only about a quarter the thickness of a paint job you would get at a body shop. So obviously that clear coat layer is not really going to be all that thick to work with a lot.

I believe I hit color working on that passenger side quarter panel scratch I mentioned earlier. I know I worked on it years ago, and Toby said he worked on it a bit as well. So when I worked on it this time, I guess the clear coat just ran out. It's not very noticeable, but obviously this was a warning to me that I don't have an infinitely thick layer of clear coat to work with.

So anyway, this didn't work out a well as I had hoped. Friday I may just wash off all the buffing splatter to clean up the mess I made and leave it as it is. Remaining sanding marks and all. Then start counting my nickels as I try to figure out who or where I should have repaint the car.

And I need to try to figure out just exactly what it is I learned from all this. I SURE would like to learn exactly how those deck lid scratches were made. :shrug01:
 
Well, I don't care what anyone says, wool pads just work better for taking out scratches than the foam pads. At least for me. I wound up using a wool pad on the Porter-Cable and had it cranked up to max speed and it really helped to take out a lot of the smaller scratches. Only problem was that the vibrating machine just KILLED my hands. I had to put on work gloves to try to reduce the vibration getting to my hands, but still, I had to quit before my hands got wrecked. As it is my hands feel more like claws than hands today. I probably could have worked on the car for another week or three, but honestly, I just got tired and pretty much worn out doing this. But at least I lost three pounds in the process. This IS work!

To add insult to injury, yesterday I waited till it clouded up outside and then pulled the car out of the garage so I could wash off all that buffing compound splatter that had gotten everywhere. I worked as quickly as I could, but I STILL got water spots on the hood. And they were pretty tough to get off with the finer polish I was using at that step, so that tacked another two hours onto the work I was doing. Maybe it was because the paint had no protection at all on it that made those water spots so tenacious, but I was pretty surprised at the difficulty getting them off. So I was working on it till midnight last night, trying to get the car ready for the car show today (which was a wash out for me anyway due to the weather).

So when the smoke cleared, what I learned was that wool pads with the System 51 polish just worked the best on getting out scratches.

I think my Harbor Freight rotary buffer is about ready to give up the ghost, as it smells funky like the windings are burning up in it. It wound up being the workhorse in this project, though. The Porter-Cable random orbital will work OK at the highest speed with a wool pad. I didn't really use the Flex dual action orbital very much to get much of an opinion of it. It's sort of a cross between a random orbital and a rotary buffer, so I would expect the results gotten using it to be somewhat in the middle of those two types of machines.

Sanding by hand is problematic as it seemed to generate it's own set of scratches if you are not real careful. Not sure if my technique needs work because of the way I held the sanding block, or the type of block I used was not optimum, or I used the sandpaper longer than I should have. Or maybe all of those problems conspired against me. Experience DEFINITELY counts in this. But apparently you do take some knocks to the nuts getting there.

Dr Colorchip and the Langka solvent will work pretty well on rock chips, but it appears that it can be tough doing this work when associated with any other paint work you want to do. Or if you have too many defects to deal with, it can just flat out wear you out trying to tackle them all. I had trouble filling in chips with either color or clear to get the paint to stay flush with the rest of the paint surface. Sometimes working on one chip would wash out the paint on another chip or three that were too close to the one you are working on. I couldn't get those products to work very well to fill in scratches at all. Again, maybe it's just an experience or and technique thing. It will take time and a gentle touch, evidently.

Right now the car looks pretty good from 6 feet away. Get any closer and the scratches and rock chips get to be visible. Had I known it was going to rain like hell today and I wouldn't be going to the car show in Tallahassee, I probably would not have put on the sealant last night so I could putter around with the Langka solution to try to get the technique down to fill in those chips and scratches. But perhaps some other time. I want to get back to just driving the car and poking around with the tuning stuff. Plus I'm not sure how much more my back could take leaning over the car to do this stuff.
 
Well, I took some pics from about 6 ft away to see how the car would look in photos. Not too bad, I guess. But I definitely left some work on the table that I could have continued with. But without knowing how much clear coat I had left to work with, I was real afraid I would hit color before it was *perfect*.

wet_sand_01.jpg


wet_sand_02.jpg


wet_sand_03.jpg


wet_sand_04.jpg


wet_sand_05.jpg


wet_sand_06.jpg
 
Looks like you could use that car as the logo on the CorvetteFlorida web site! :D
Seriously, it DOES look good, and probably needs the "sunshine test" to reveal
how much is left to go.
Andy :wavey:
 
Back
Top