For those of you thinking about having your car painted, but are floored by the quotes you get, you might want to consider doing some of the work yourself. I did and am thrilled with the overall results. Check it out:
For those of you that don't know, I prepped and had my car painted in my garage several years ago. It STILL looks great...and I saved a ton of money. Anyone can do what I did as far as prep. Here's a write up I did right after I finished...with some picts at the end.
This is the entry I made in my service book (Its a hobby to keep obsessive records):
---------------------------------------------------------------------
6/27/05-
9/23/05 80043 miles
Paint Project - 1 primer coat, 2 color coats, 2 clear coats
Body Prep: Wet sanded 1st with 400 grit, then final with 600 grit. Acetone wipe and tack cloth final wipe. Entire body sanded with 1000 grit before clear coat.
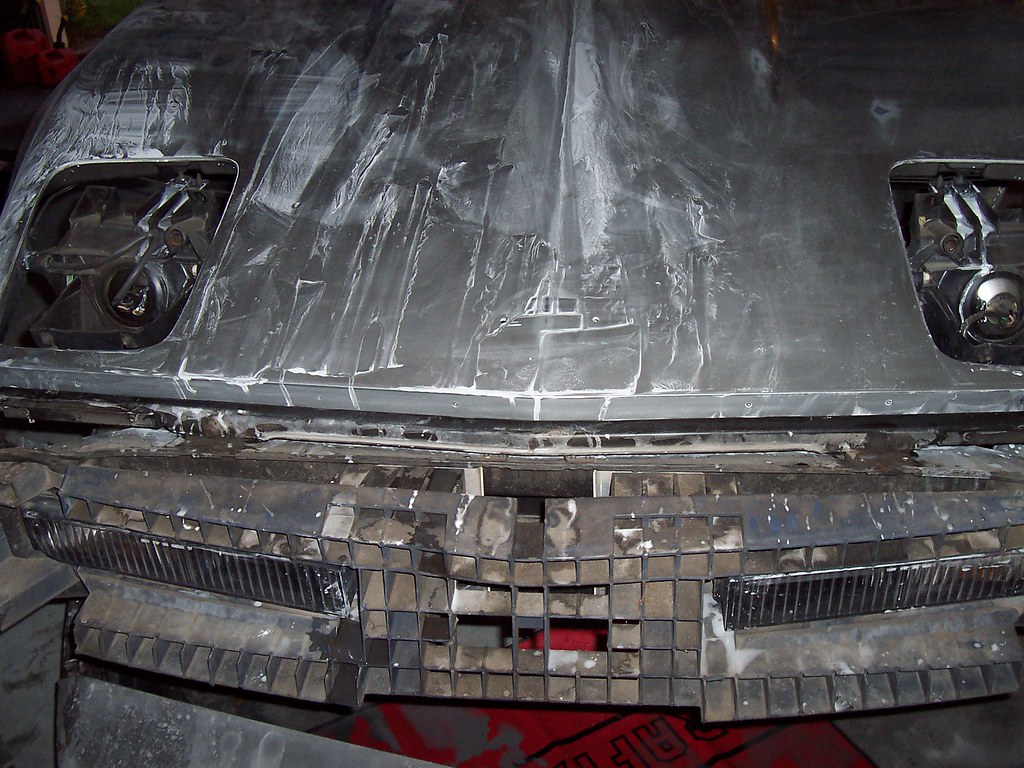
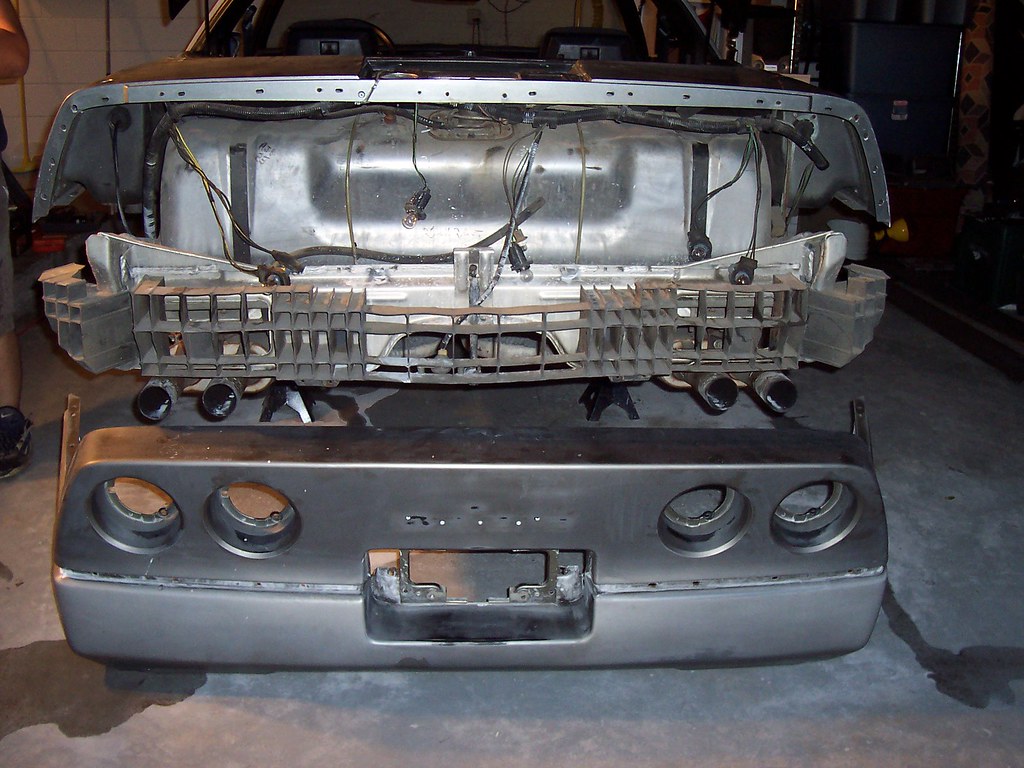
Removed: Front and Rear bumper fascias, rocker panels, headlight doors and buckets, front license plate cover, gas door, gas filler insert and boot, all lights and lenses, mirror wind deflectors, door handles, entire belt line, old emblems, wheel wells, mud flaps, outer window seals, mufflers, interior door panels.
Reconditioned: Dyed beltline with Forever Black (multiple coats); painted door handles; sanded, primed and painted wheel wells and attaching screws; sanded and painted underside of hood; painted mufflers with High Temp BBQ Rustoleum spray paint, reglued/stapled interior door carpet; dyed gas filler boot with Forever Black; dyed mud flaps with Forever Black; painted spare tire carrier
Reinstalled: Front and Rear bumper fascias, rocker panels, headlight doors and buckets, front license plate cover, gas door, gas filler insert and boot, all light lenses, mirror wind deflectors, door handles, entire belt line, wheel wells, mud flaps, mufflers, interior door panels.
New: Emblems, outer window seals, tail light bulbs
Final preparation: body wet sanded and buffed (1000, 2000, 2500 grit)
---------------------------------------------------------------------
First, youre going to need a full 2 car garage with nothing in the way. I parked my car at an angle to get the most room around it. Get 4 good jackstands and get the car as high up off the ground as you can so youre not killin your back (Im only 26 and I was hurtin). Get about 70 large freezer bags, labels and a pen. Use those bags to put in all the screws/bolts, etc and label them as you go. Example: Drivers side headlight door, Rear passenger wheel well etc etc. This makes reassembly a breeze with no left over parts. Take digital pictures as you go incase something doesnt go as you remember
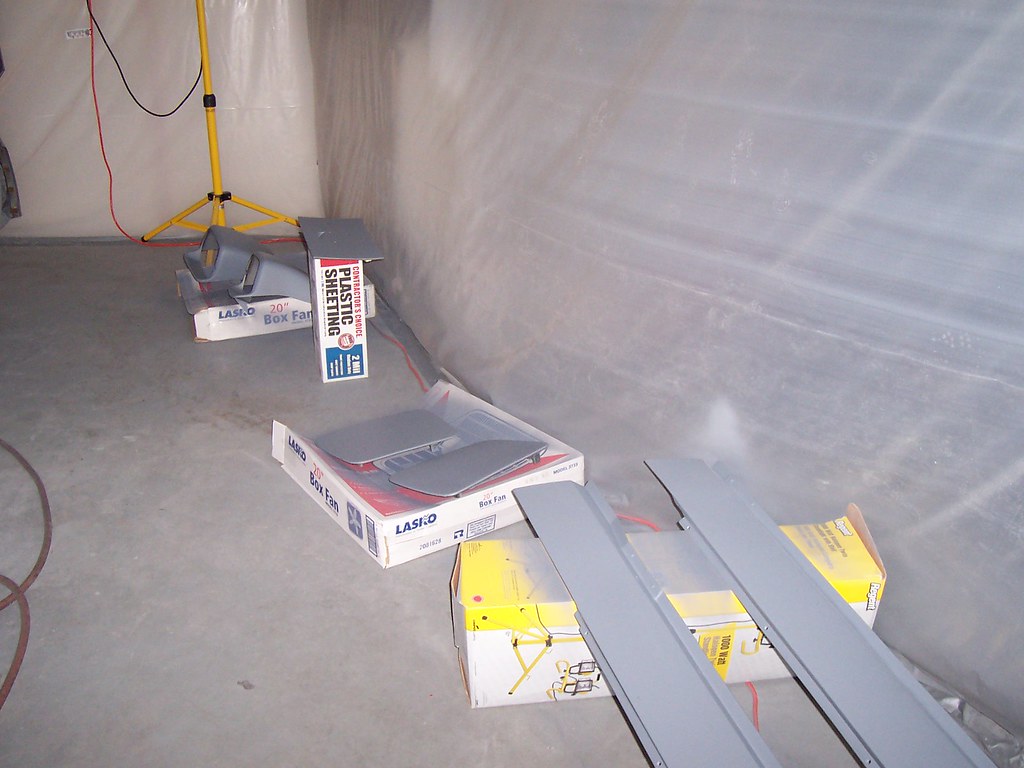
and dont trust your memory, it may be a LONG time before you reassemble. Get about 10 sleeves of 3M (the best) automotive sand paper in 400 and 600 grit and a sanding block to wrap the sand paper around. Youll need a bucket and a sponge too. 2 cheap box fans will act as exhausts.
Get some plastic sheeting, duct tape and a staple gun. Cover the walls and ceiling of your garage and wash the floor. Make a paint booth out of your garage. Duct tape the seams shut and put duct tape in the plastic before stapling to avoid tearing. Also tape it to the floor (It will stick if its clean. Make a strip to cover the door opening, just open enough to fit the box fans in.
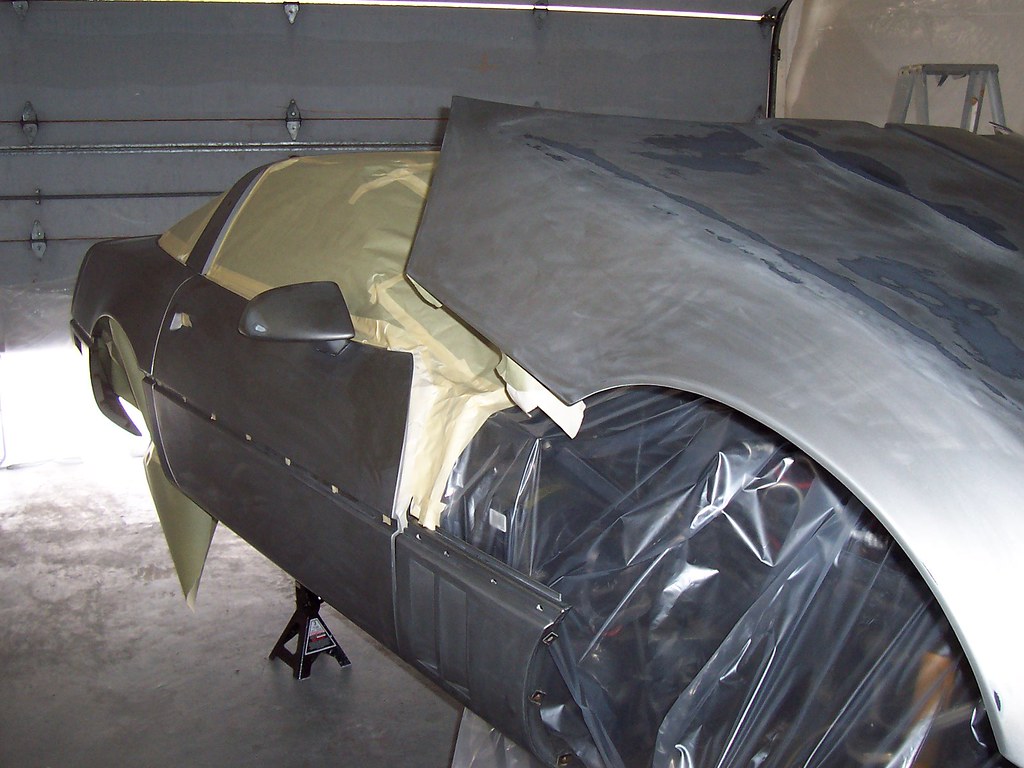
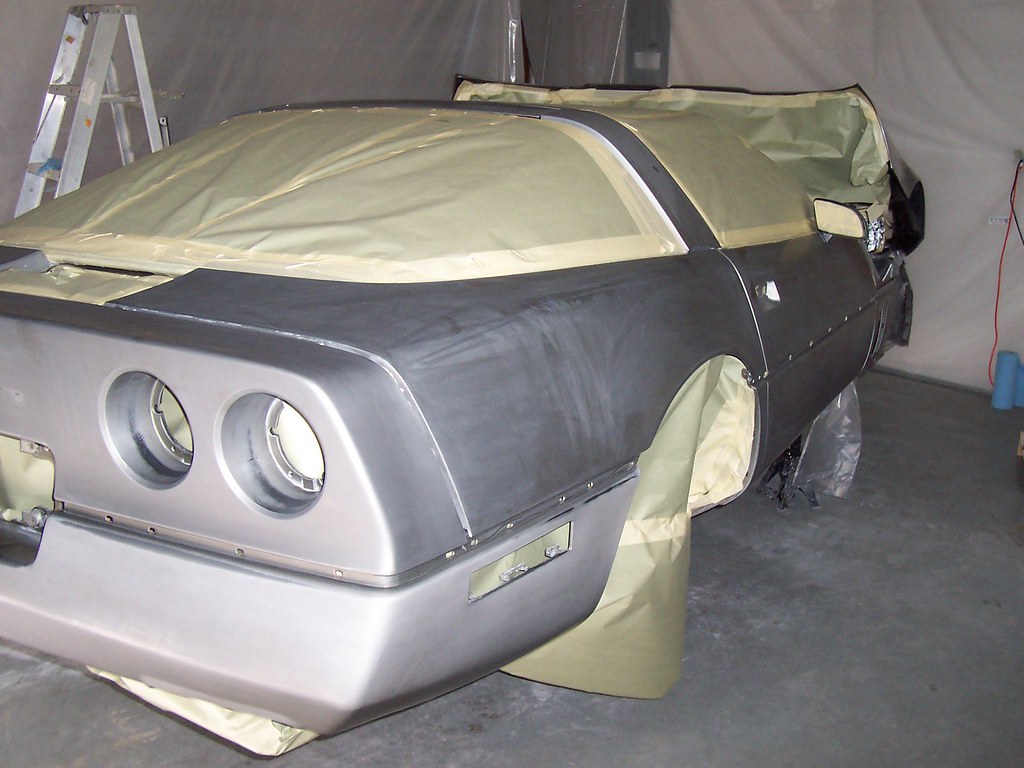
Remove the emblems (nose, gas door and CORVETTE rear wording). Take off the wheels. Take off all 4 wheel wells. Remove all the light lenses (except the front fog lamps). Left and right, front and rear corner ) Remove themarkers, 2 reverse lights and 4 round tail lights (have fun entire belt line. The only parts that will not come off are the very front and rear; they can only be removed if the entire front and rear fascia are pulled off (and well get to that). The door belt lines are only held on with 2 10mm nuts at the very front and rear of the door, the rest of it is held in place with clips that need to be compressed and pulled with a plastic putty knife. Gently pull them and you will see. Take off the door rocker panels (theyre easier to paint separate, and my color consistency was fine). Take off the gas door and also remove the inner gas surround and the rubber boot. Take the antenna bezel off. Pull the interior door panels off and then work the door handles off (take your time, its tight in that door panel). Once the door handles are off, make sure that you can still reach the interior handle to open the door or wrap a rag around the receiving post, of you cant get back in the car! Take off any mirror wind deflectors you may have. Take off the headlight buckets. Take off the headlight doors.
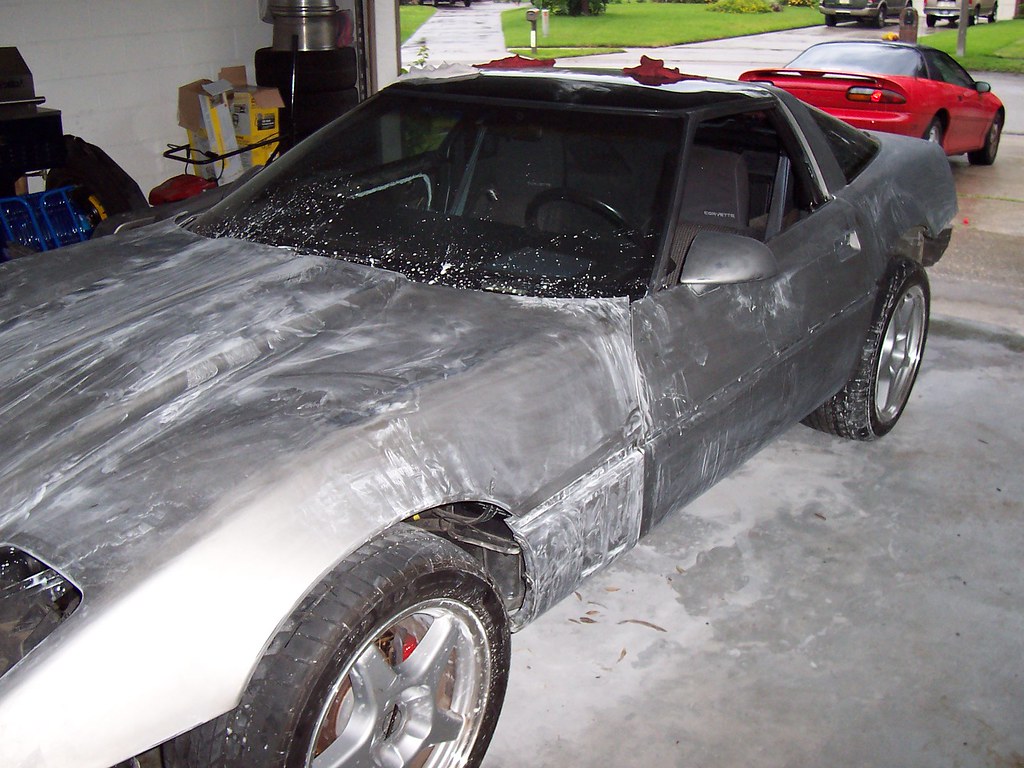
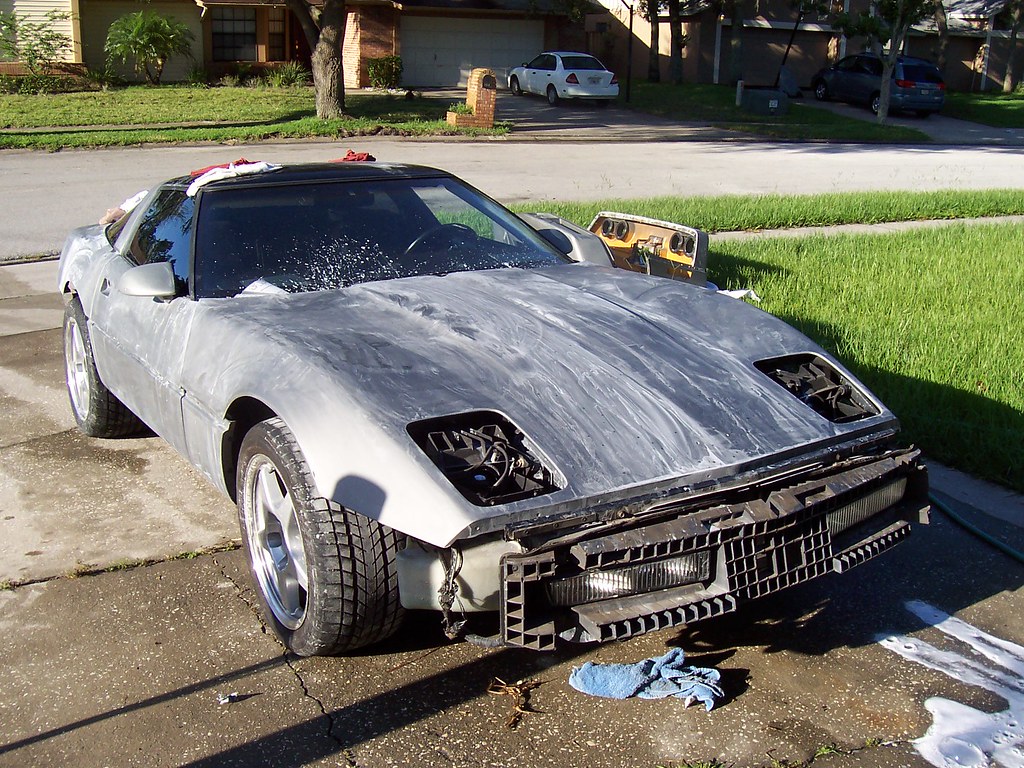
Fill a bucket with water. Cut the 400 grit sandpaper into sections that neatly wrap around your sanding block. Use the sponge to wipe a section of the body, dunk the sandpaper in the bucket and start sanding. The key is to keep the surface wet. Dunk the sandpaper often and keep it unclogged. Rotate often. Work in small sections. I was told that there is no need to get all the way down to the primer or even the gel coat. Just get all the clear coat off and at least a layer of paint. Run your hand across the surface, youll just feel it when its right. Ive good a million pictures of the process. Take your time and work around the entire body
and hit every nook and cranny. At some point you should remove the front and rear fascias so that you can remove the belt line and sand them really well too. Remove the license plate cover front the front too. Then repeat the whole thing with 600 grit. Now roll the car out and give it the wash of its life. Twice. Mask off the car with butcher paper and masking tape. Right before we were ready to paint, we did a quick round with 1000 grit. Get the fans running, pulling the air out. Then use a lint free paper towel and wipe down the body with acetone and then a tack cloth.
As far as paint, I had a club member help me with this. Depending on how the primer goes on, you may want to smooth out some places when it dries. Then color and clear. I didnt buff the car after it was done because I know I would burn through it, so I the guy in my club help with that. It removed all the flecks of dust and orange peel. Now it looks like glass. Now reassemble
those labels bags will be your best friend now.
The best advice that I have it dont cut any corners, cuz itll just piss you off later that you didnt do it right the first time. If you want pictures or more detail, let me know.
Im very proud of the work that was accomplished and its even better knowing that you mostly did it yourself. And youll save yourself THOUSANDS. Quality paint work in Florida is about $6000 to $10000 or more!


 Linear Mode


