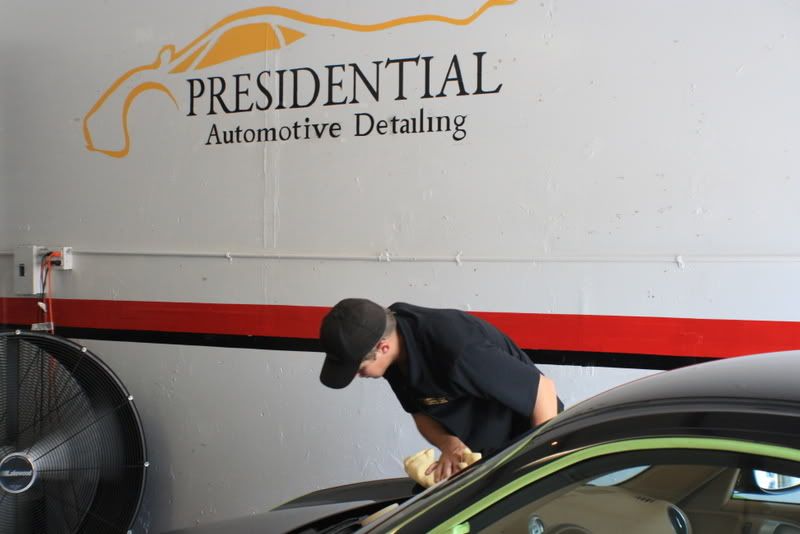
• Got the Contributing Memberships stuff finally worked out and made up a thread as a sort of "How-To" to help people figure out how to participate. So if you need help figuring it out, here's the thread you need to take a look at -> http://www.corvetteflorida.com/forums/showthread.php?t=3581 Thank you, everyone! Rich Z.

Presidential Detailed: 2006 Porsche Cayman S

presidential_detail

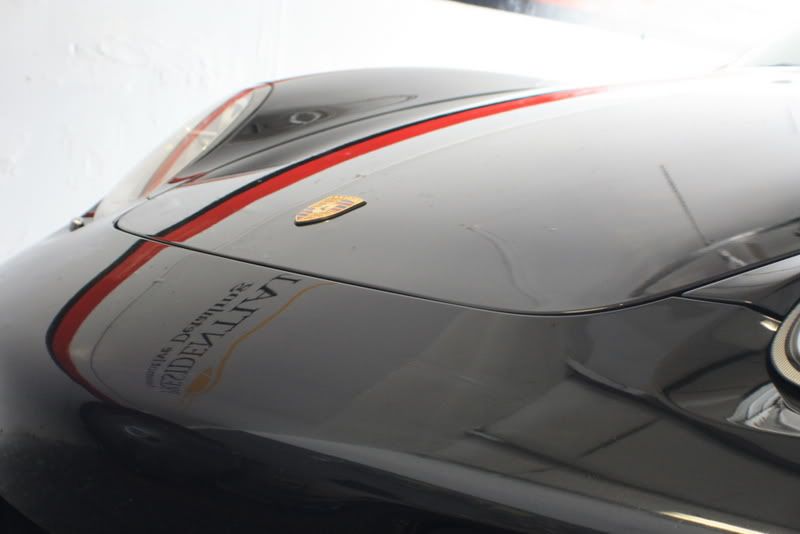
CQuartz FINEST Installer
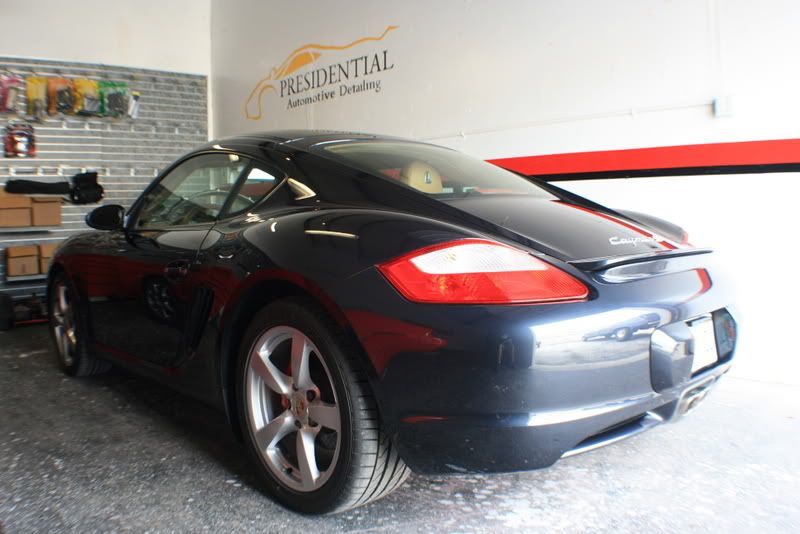
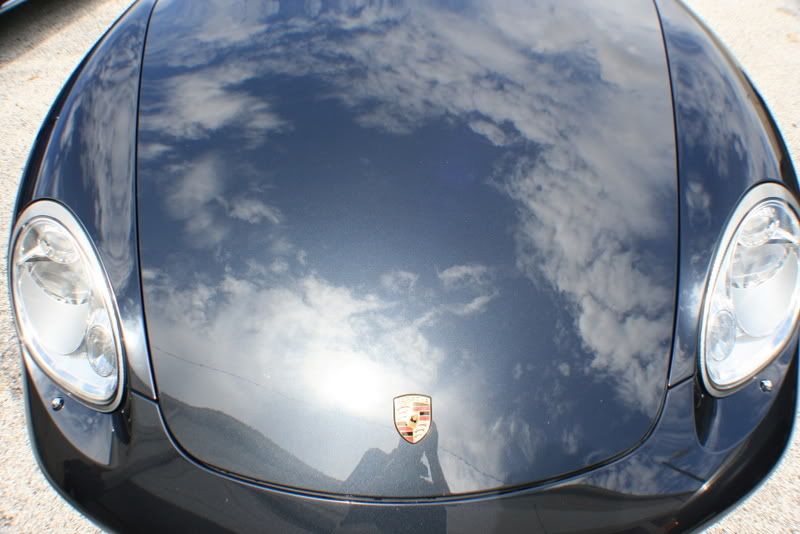
The owner of the car intends to track this car, so we decided an all out correction would not be necessary. There was some swirling and a ton of buffer burn from a previous detail, most likely the dealership. To my surprise, I was able to remove 95% of the swirls with only SIP/Orange on a G110 DA. I did break out the rotary and a PFW pad for a couple deeper defects on the gas door and the rear 1/4 panel. I really liked the paint on this Porsche, it was fairly easy to correct but yet still hard enough so that it doesn't scratch just by looking at it(like a Honda:()

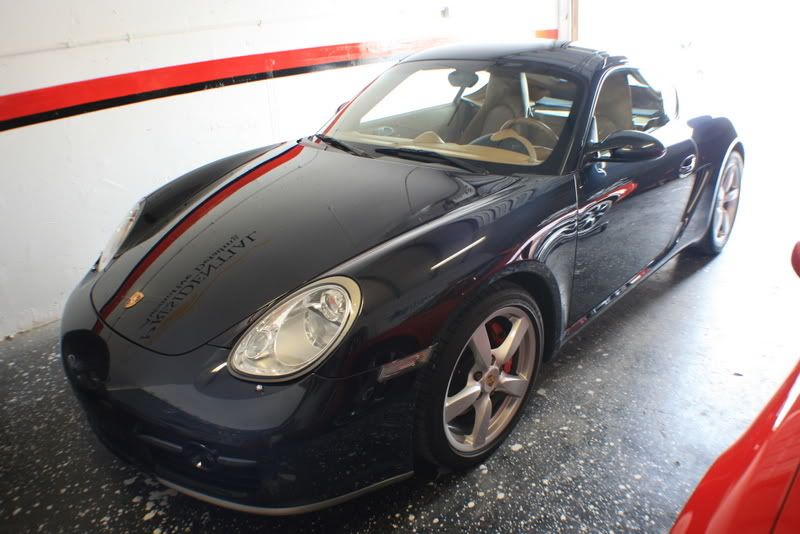
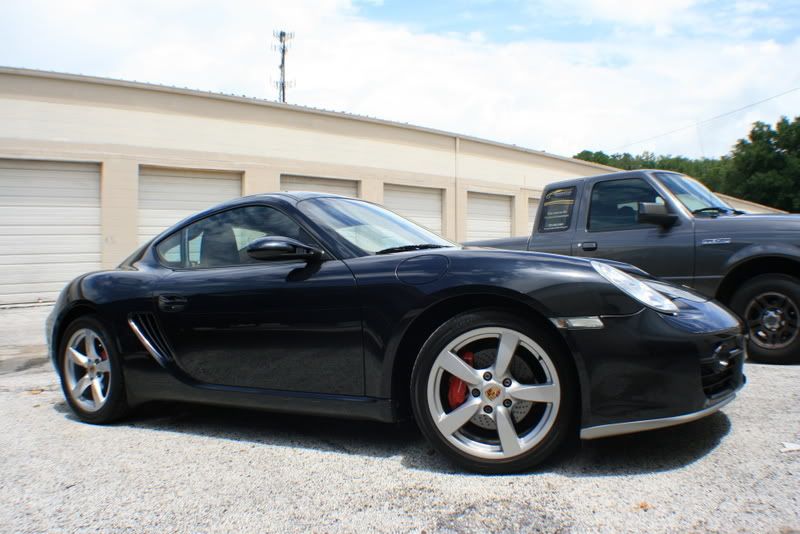
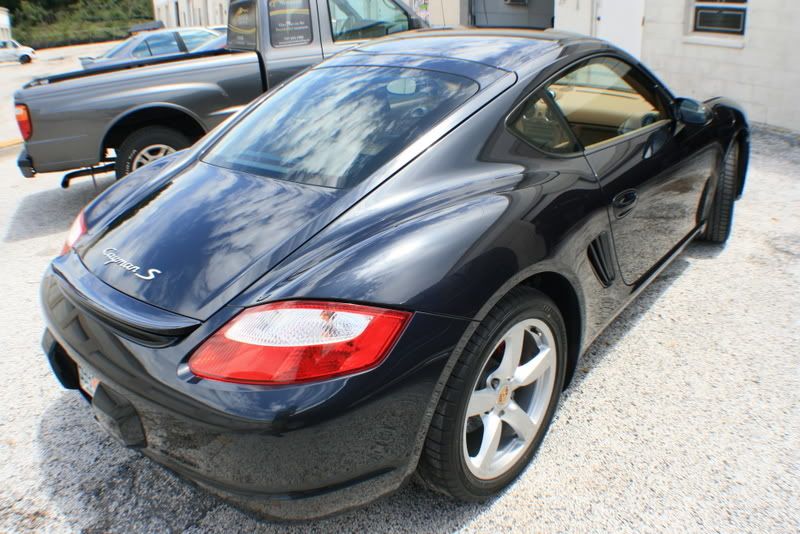
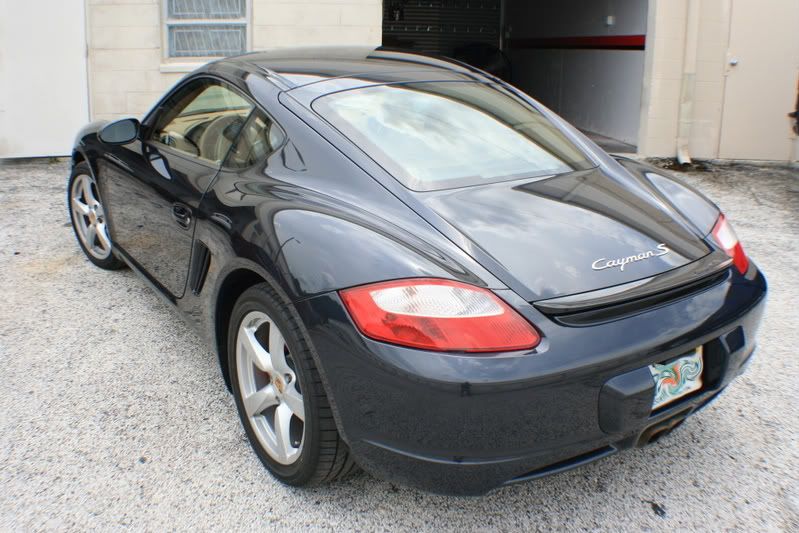
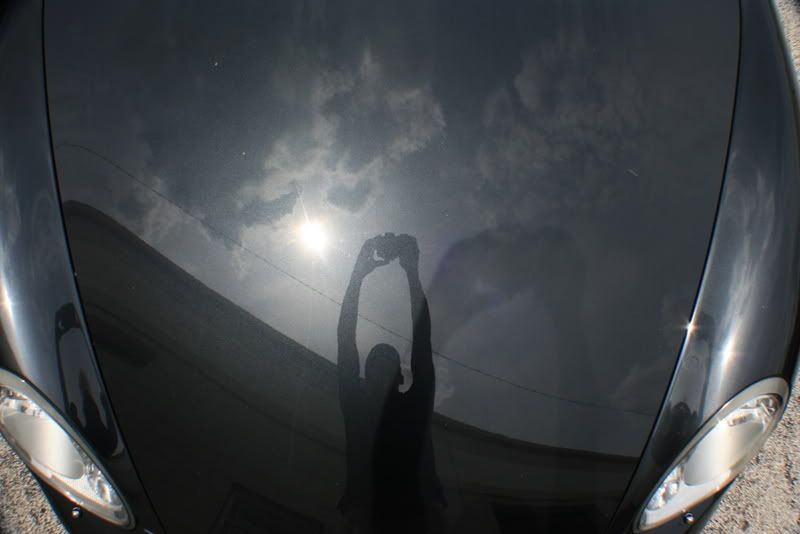
This is the car when I recieved, it was clean and in pretty good shape but I knew it needed some work still.
IMG_0328.jpg


IMG_0338.jpg


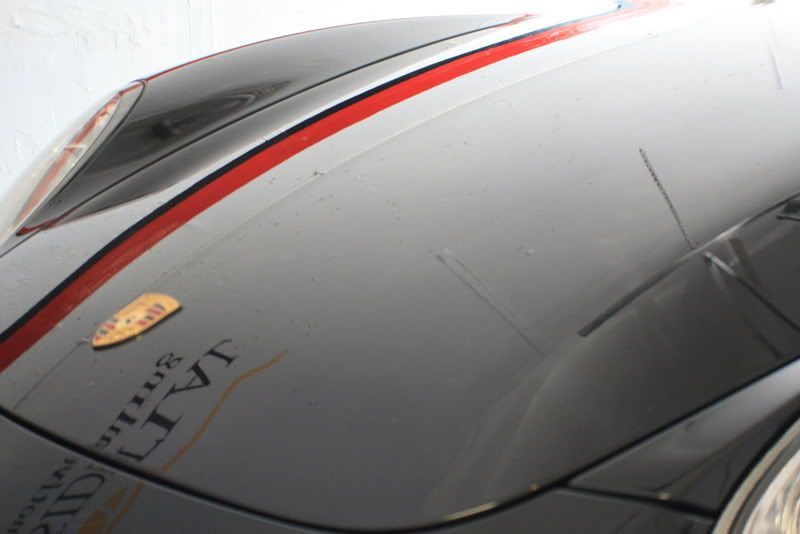
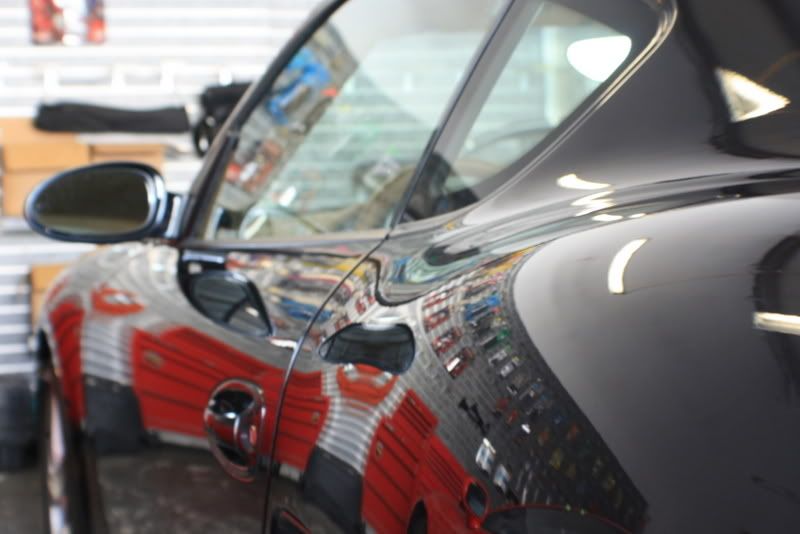
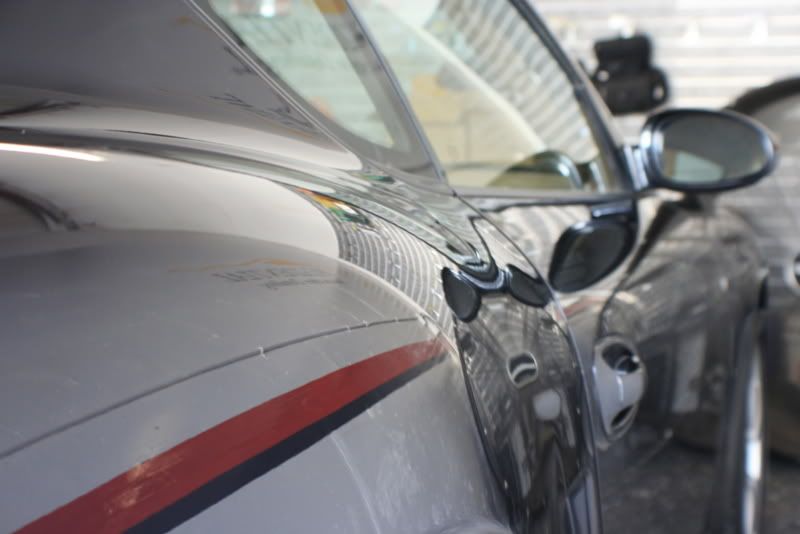
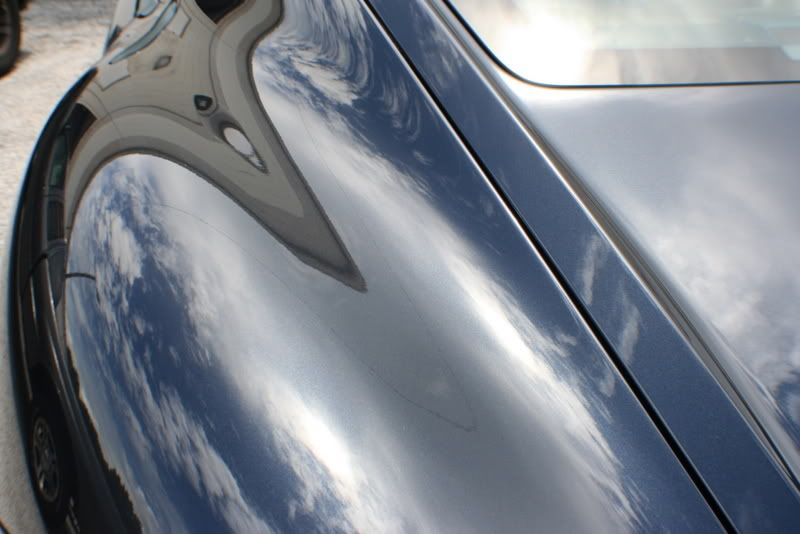
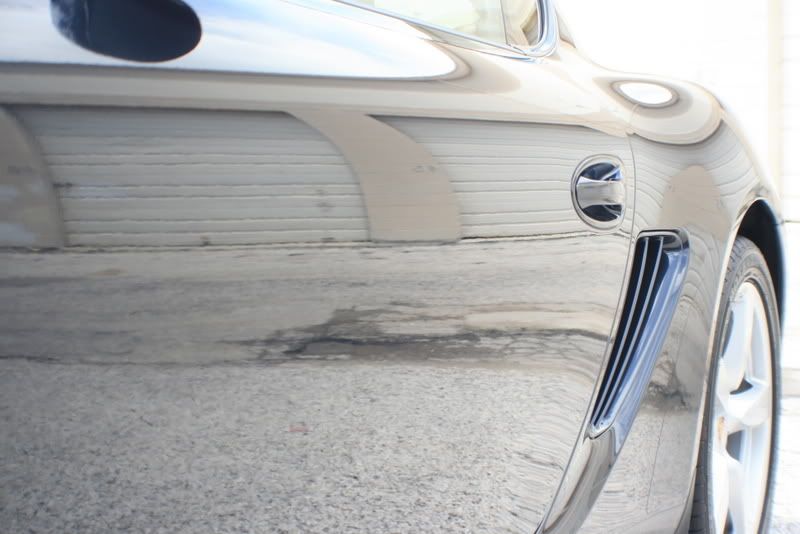
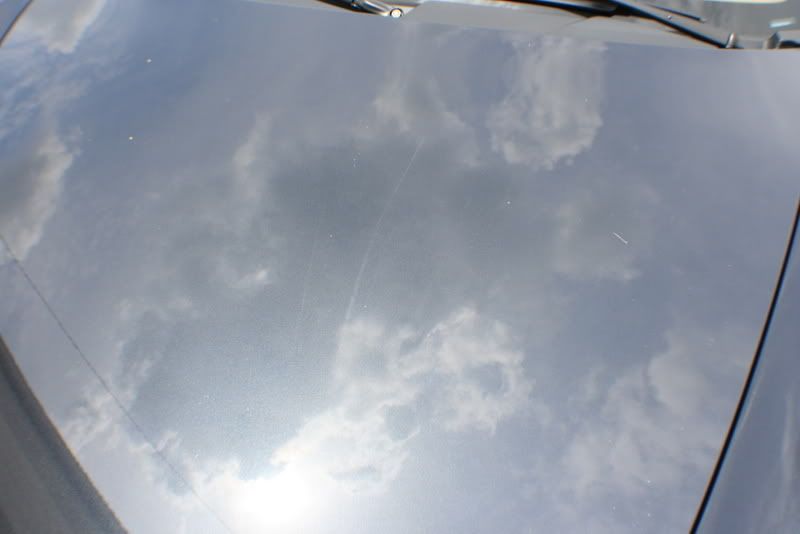
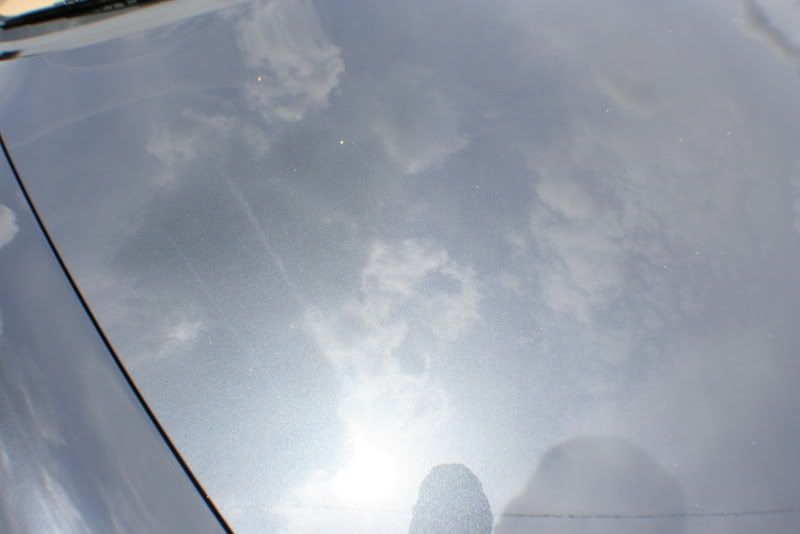
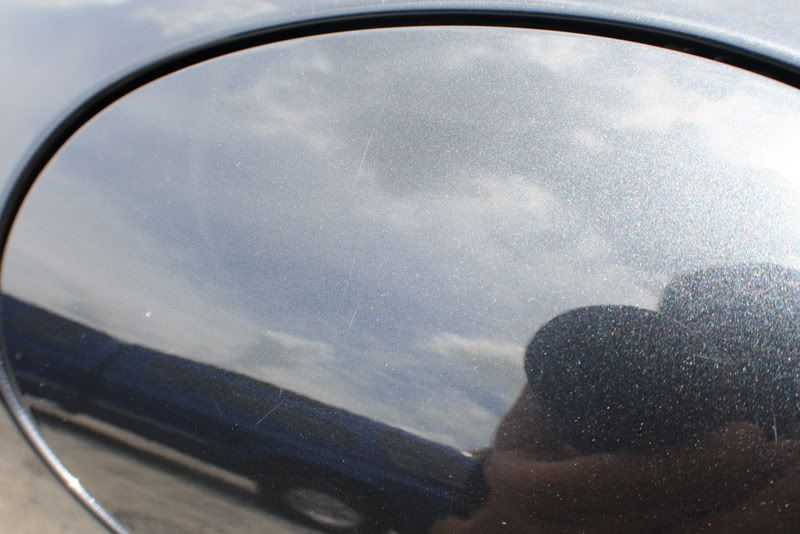
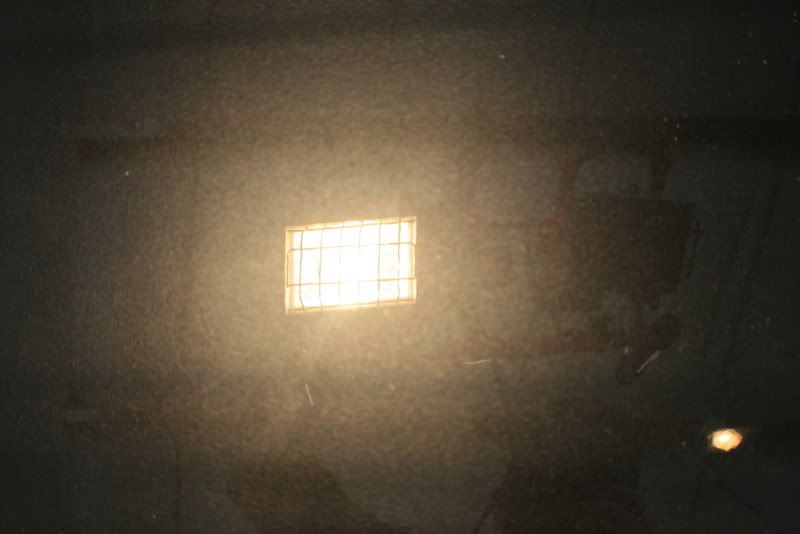
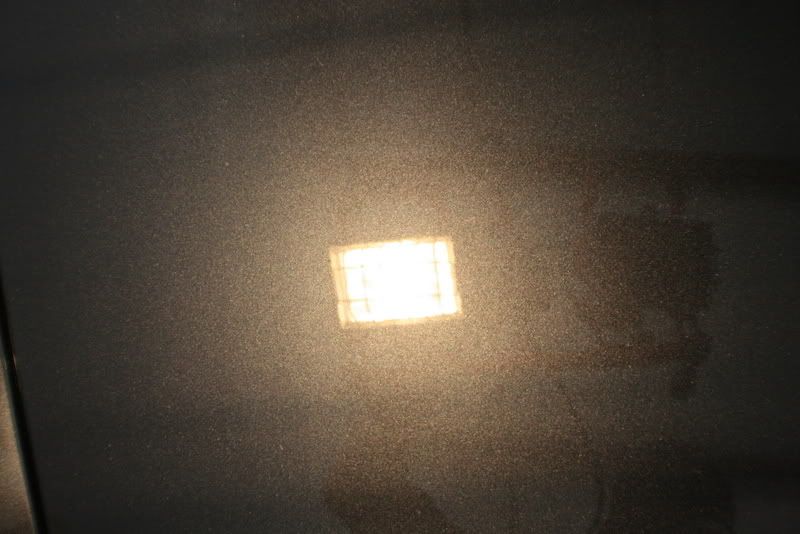
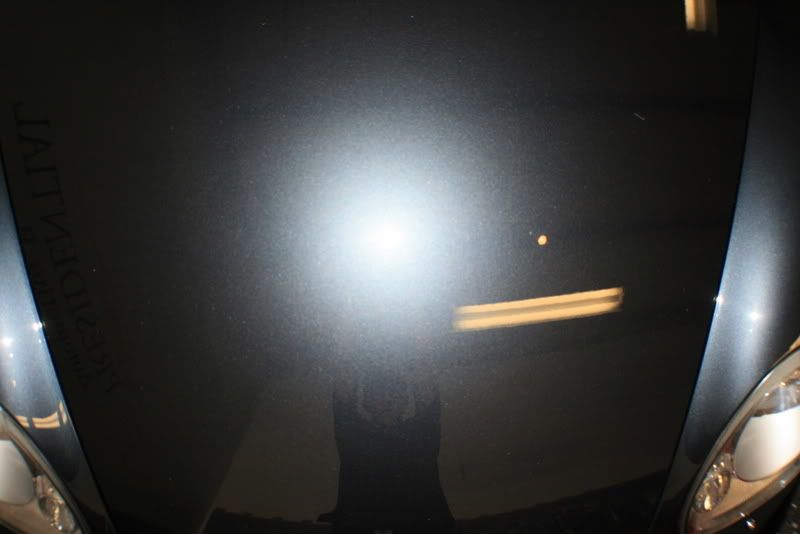
There were buffer trails/holograms throughout the entire car from a previous detail. These were the best shots I could get with the camera.
IMG_0329.jpg


IMG_0331.jpg


IMG_0332.jpg


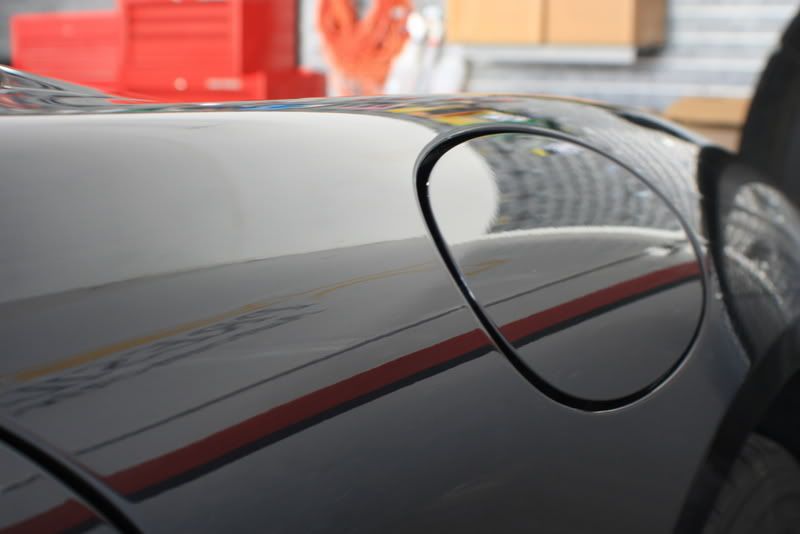
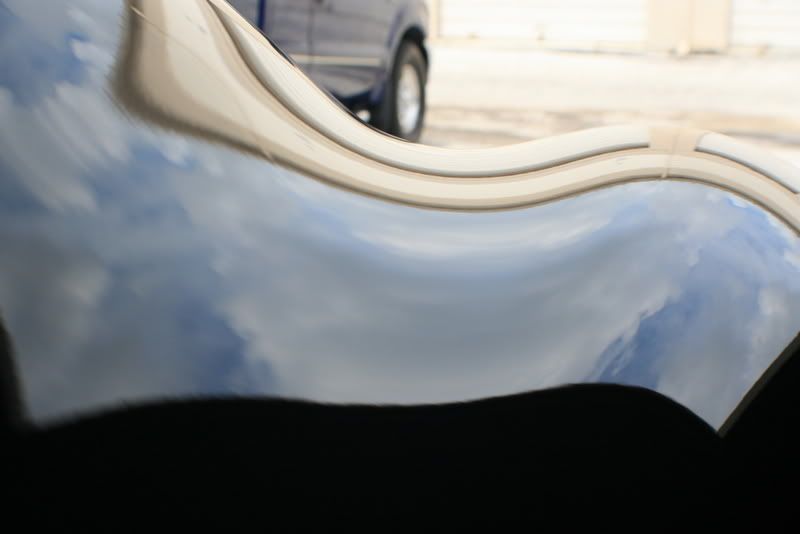
I knew the gas door was going to need a little more love than the rest.
IMG_0333.jpg


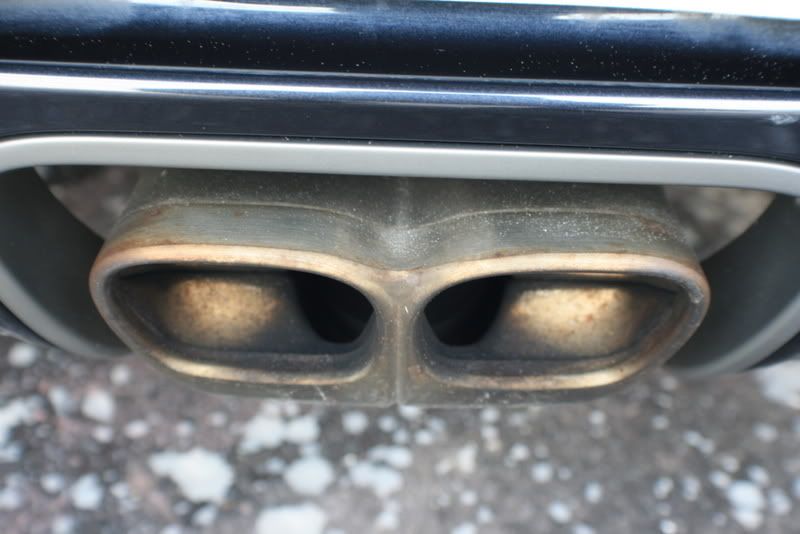
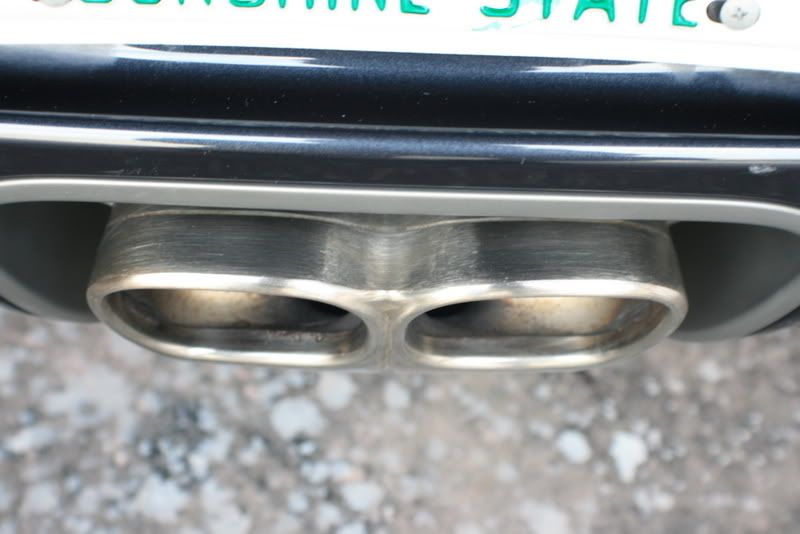
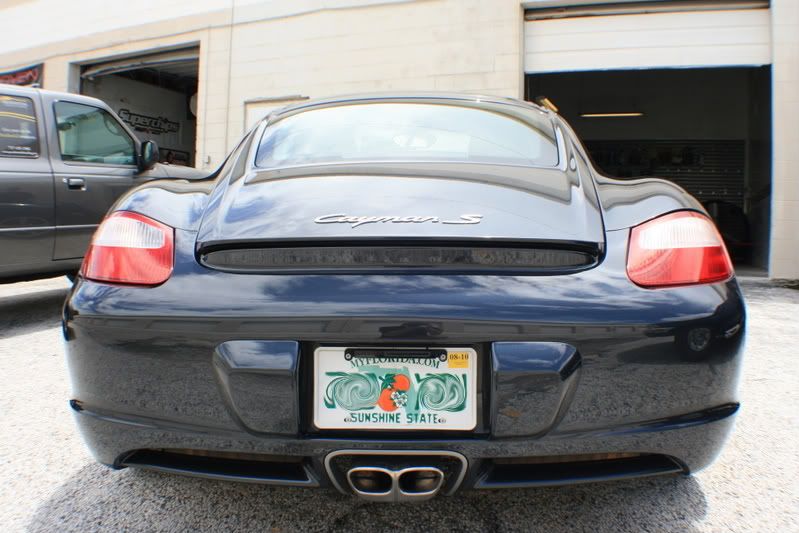
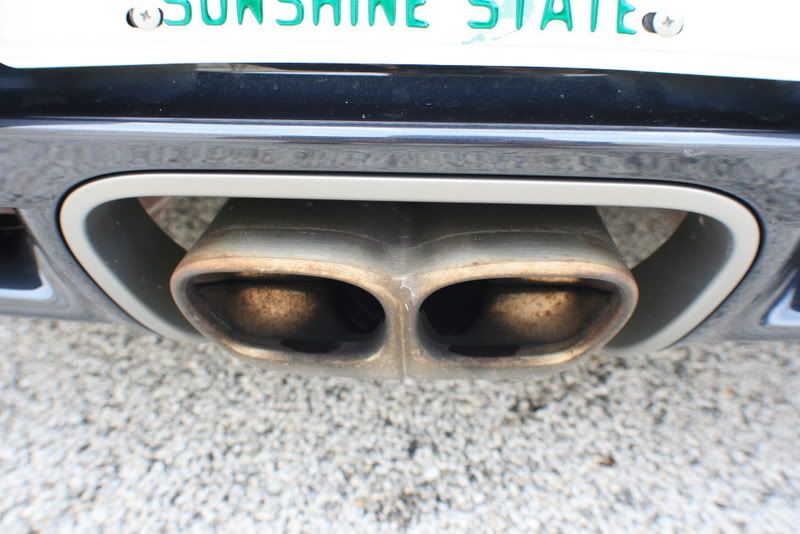
This car was from Chicago, and the exhaust pipes tell that story quite well.
IMG_0336.jpg


Looks to be like some gum or residue from the road.
IMG_0342.jpg


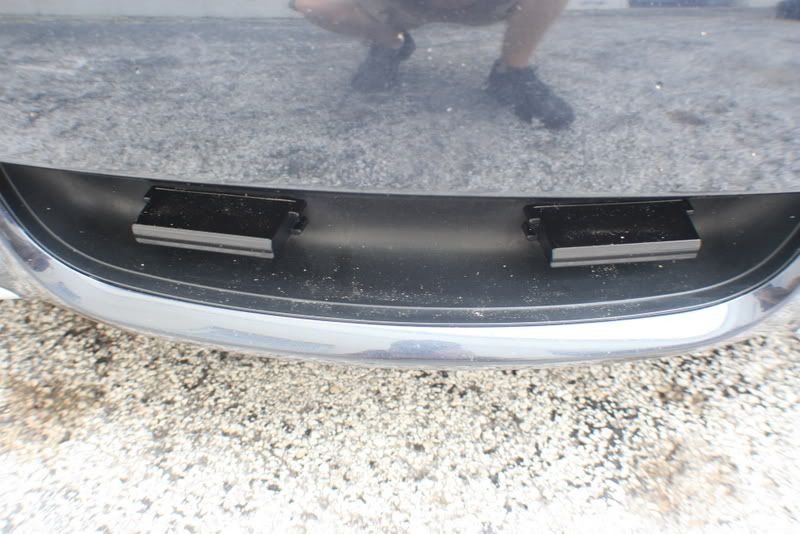
This car was also equipped with the K40 alarm system, which I was able to see work. I want one for my own vehicle now!
IMG_0345.jpg
 
After a thorough wash with Tropi-Care's Citrus Wash to remove any remaining wax or contaminants, I pulled it in the shop to begin the claybar process.
IMG_0351.jpg


A couple action shots. ;)
IMG_0347.jpg


IMG_0348.jpg


I then proceeded to tape off half the hood to see if there would be a noticeable difference using SIP/Orange pad on a DA for the 1-step.
IMG_0354.jpg


It was hard to capture on the camera, but there was a pretty dramatic difference in the clarity and depth to the paint and no more holograms! :D

This is what my camera could pick up with the halogen, it looked worse in person.
IMG_0356.jpg


Now after only 1 pass with SIP/Orange using the G100 DA.
IMG_0355.jpg


With my camera flash.
IMG_0394.jpg


Here I am inspecting the paint and removing the polishing residue.
IMG_0360.jpg


Remember that scratched up gas cap? :)
IMG_0385.jpg


I used #0000 steel wool with Adams Metal Polish #1 to remove the rust stains from the exhaust tips.

Before.
IMG_0373.jpg


After.
IMG_0401.jpg
 
I was given a bottle of Blackfire Paint Sealant from ProperAutoCare.com to try out, I must say I was resisting this product for a while, but with my first impression I think I was missing out on a great product! I used a MF applicator pad and was finding it a bit stubborn to work onto the paint, until I realized I was using too much product. After that, things went more smoothly and you can wipe it off fairly quickly after applying. I did have some problems at first with streaking, but I think it was due to my over-use of product and the humidity was through the roof. I let the sealant cure overnight to come back to a perfectly sealed shiny Porsche! I then layered two more coats of Dodo Juice Supernatural on top of that for a super rich, wet look. I am very pleased with this product so far, next test is durability! :D Some of these pictures were taken before the final wash, so please dont mind the polish dust in some of the pictures. ;)

IMG_0376.jpg


IMG_0364.jpg


IMG_0374.jpg


IMG_0366.jpg


IMG_0380.jpg


IMG_0381.jpg


IMG_0382.jpg


IMG_0383.jpg


IMG_0385.jpg


IMG_0400.jpg
 
Back
Top