presidential_detail
CQuartz FINEST Installer
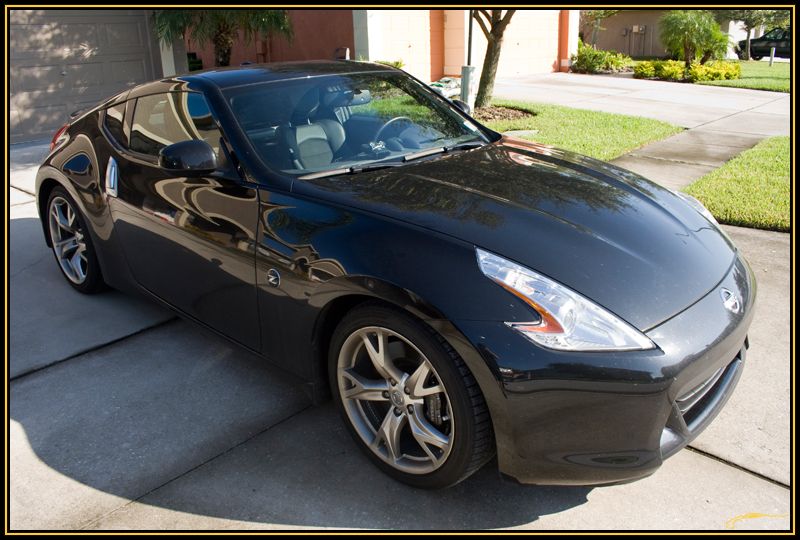
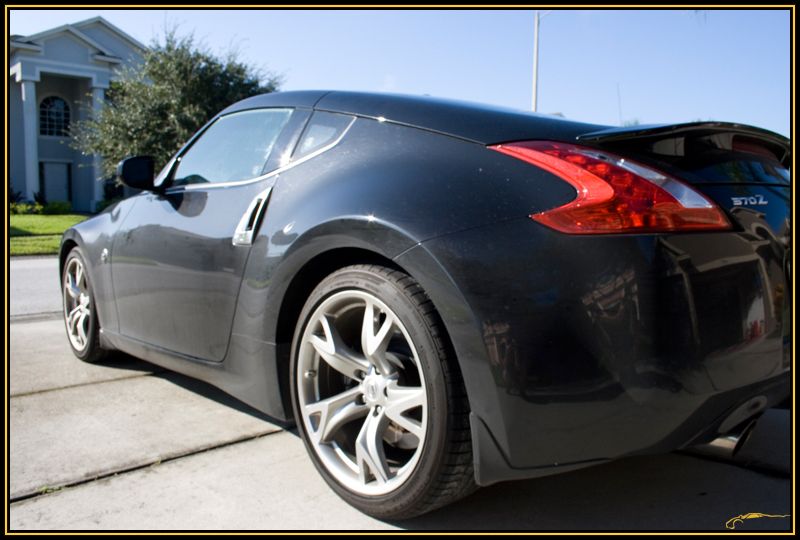
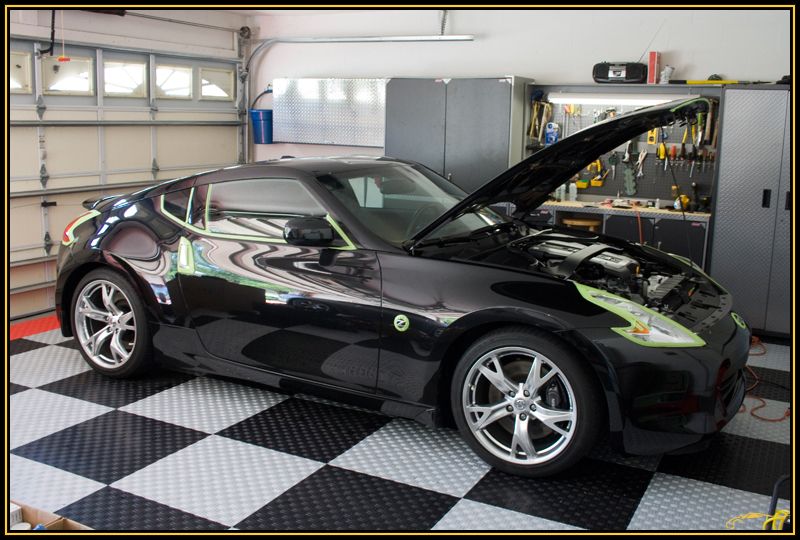
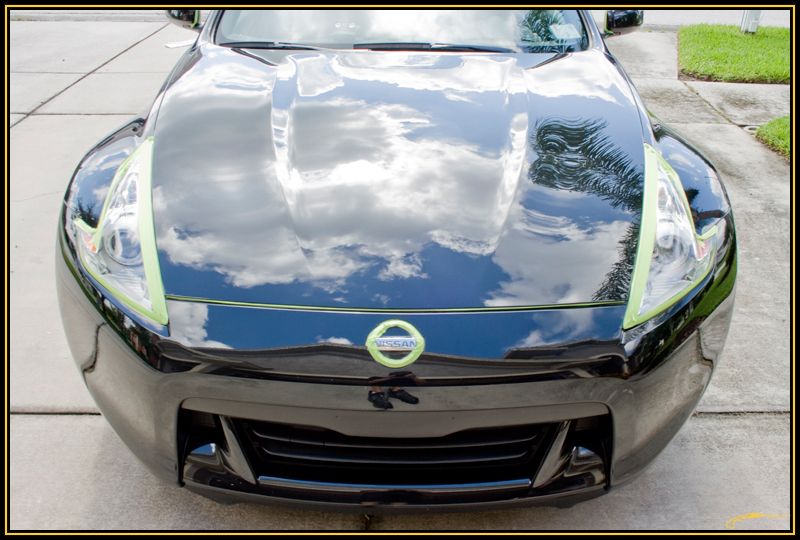
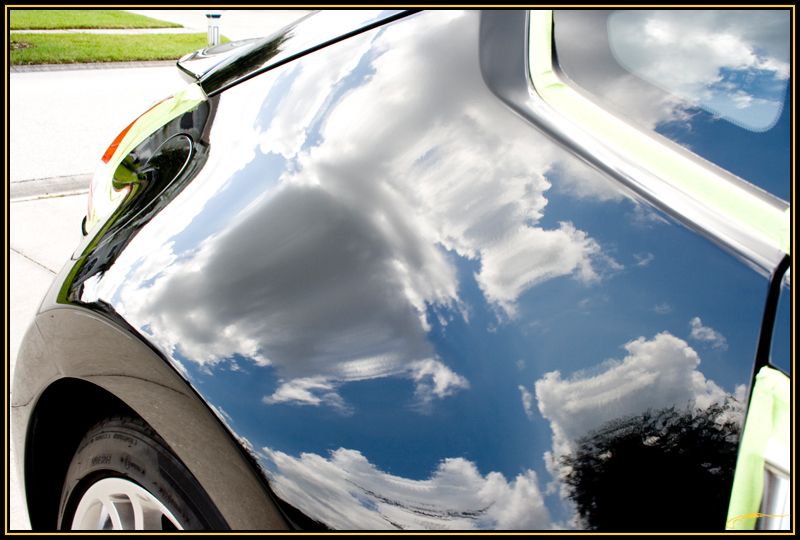
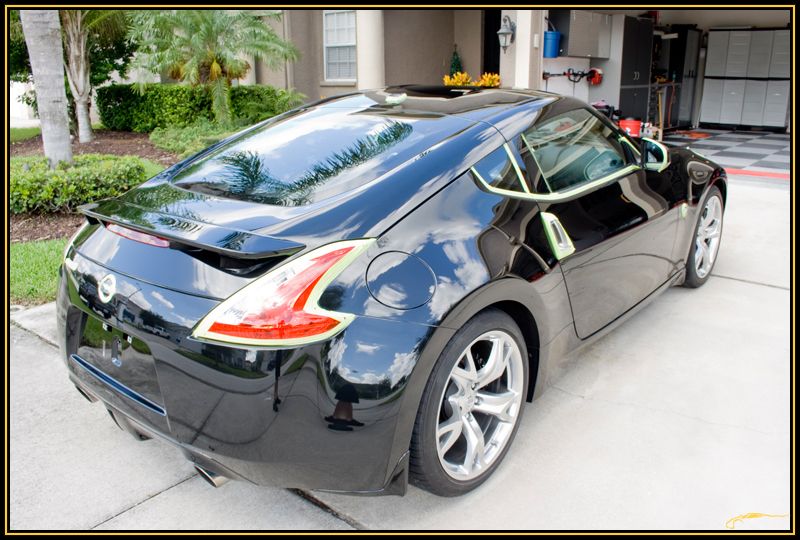
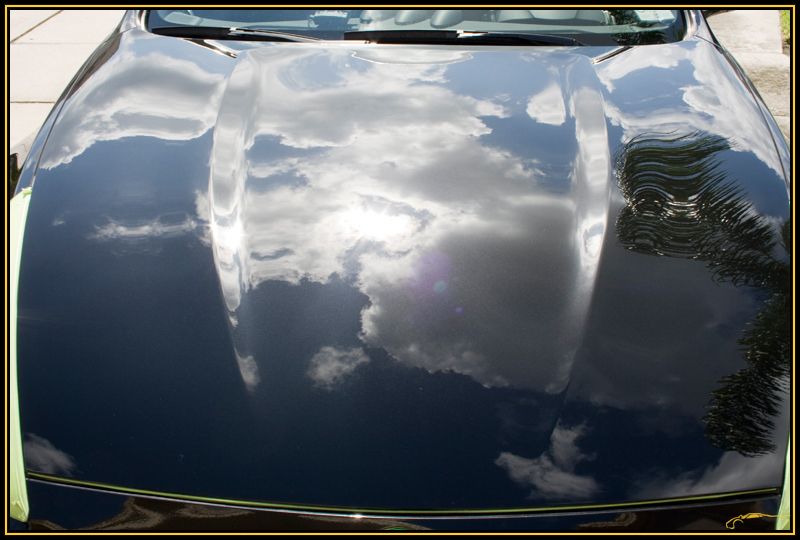
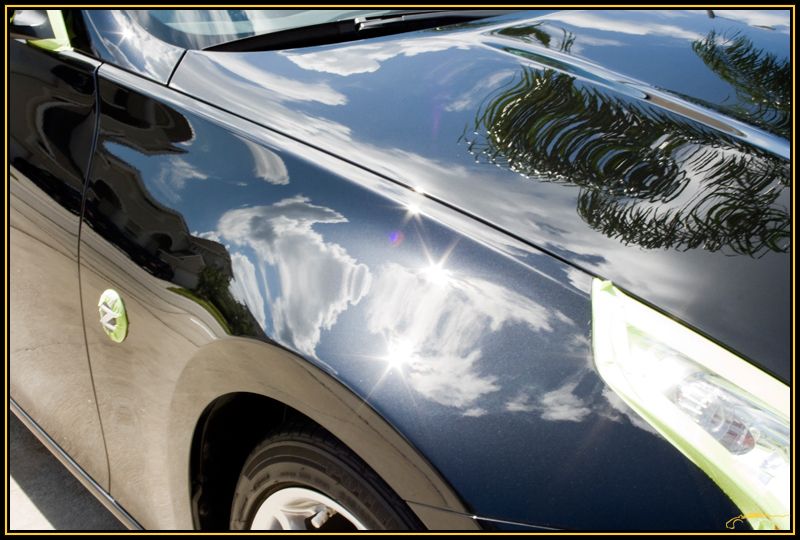
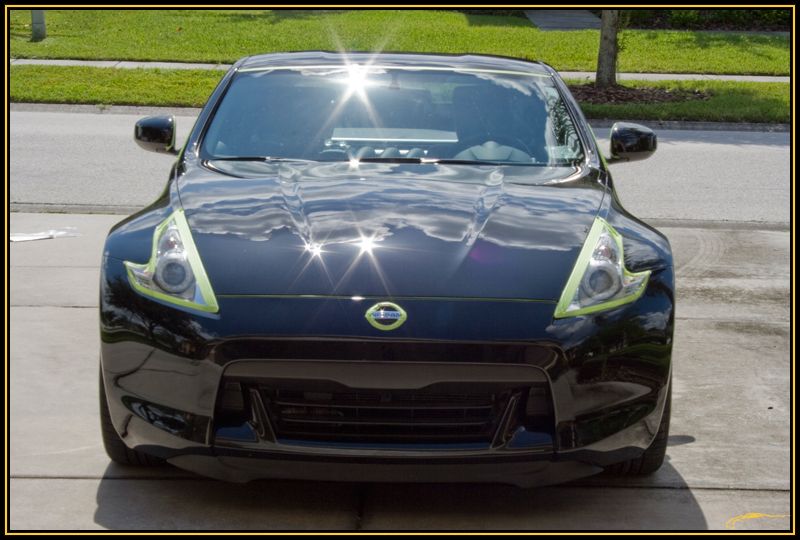
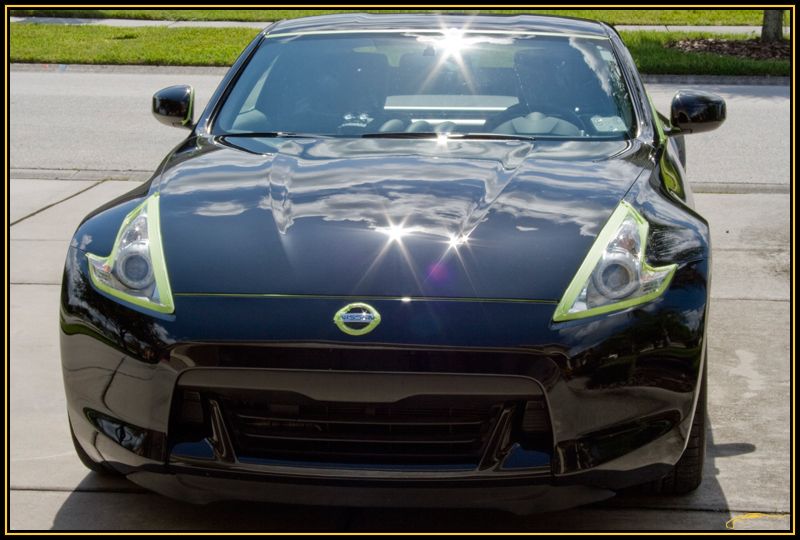
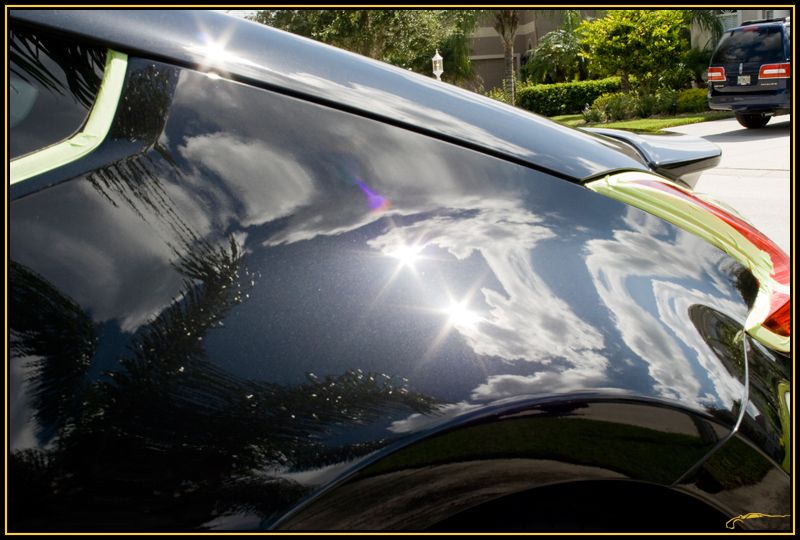
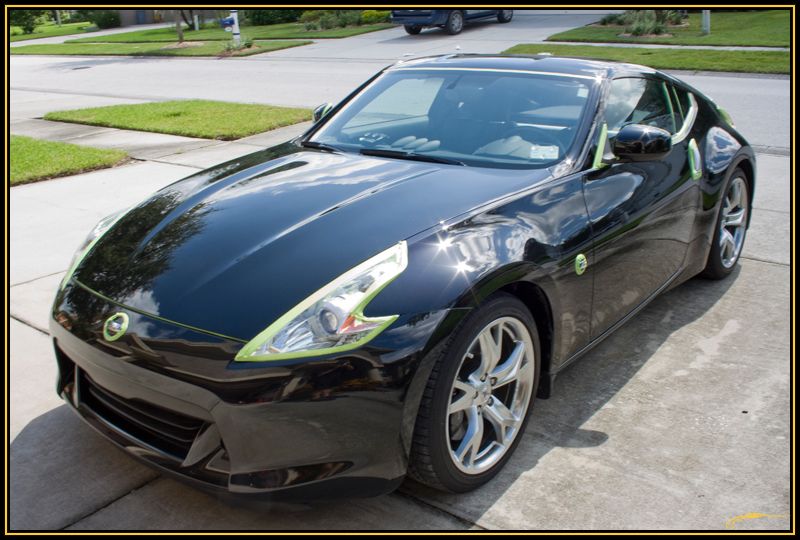
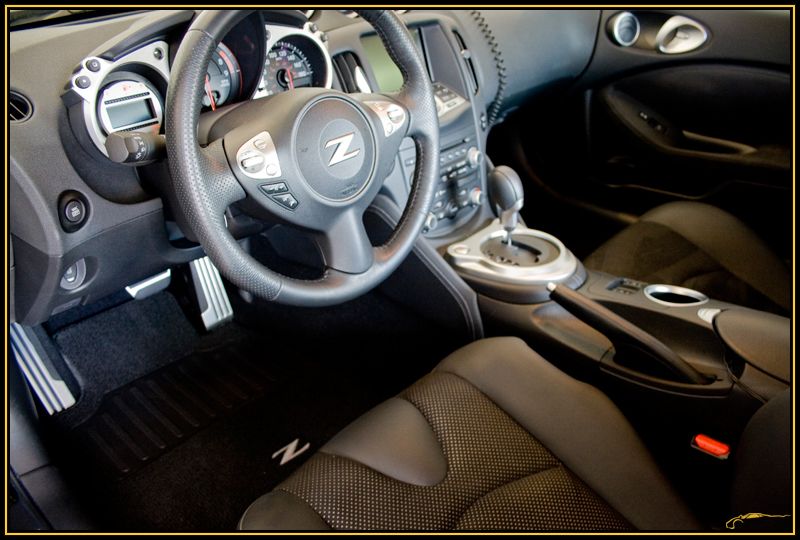
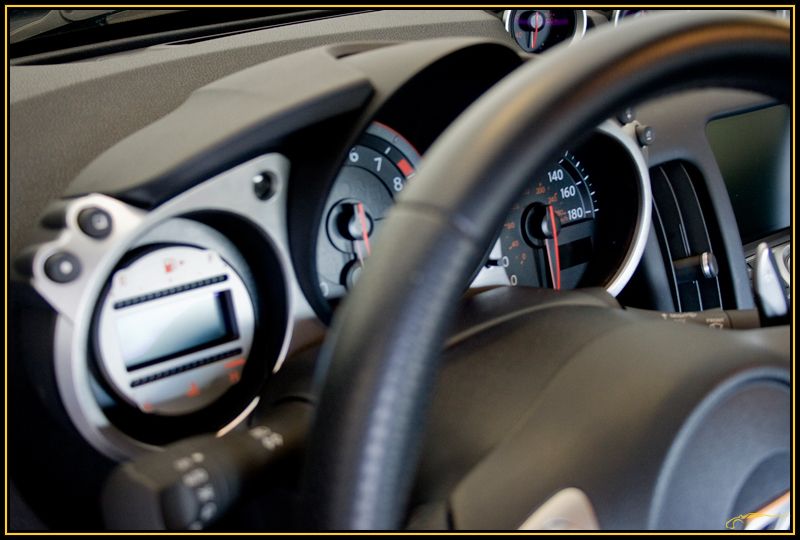
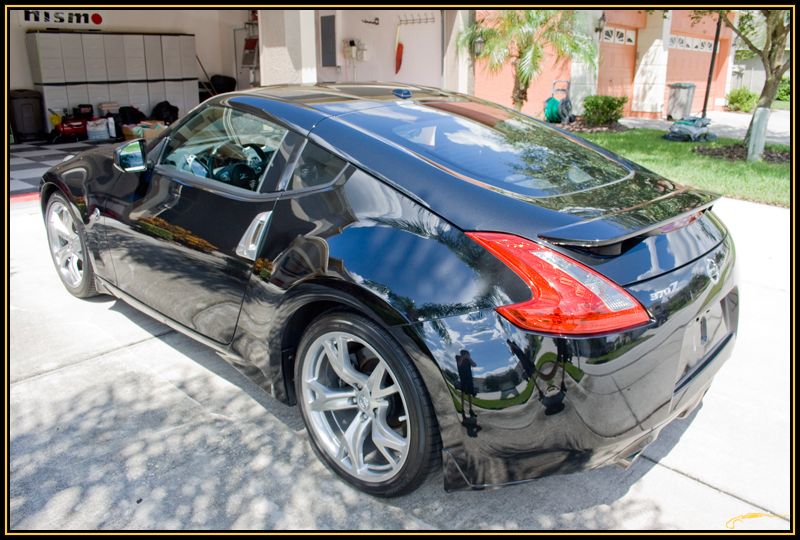
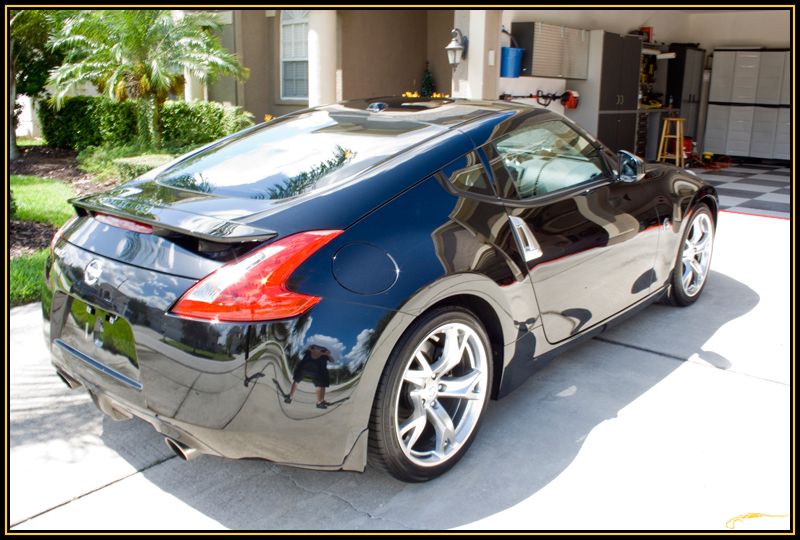
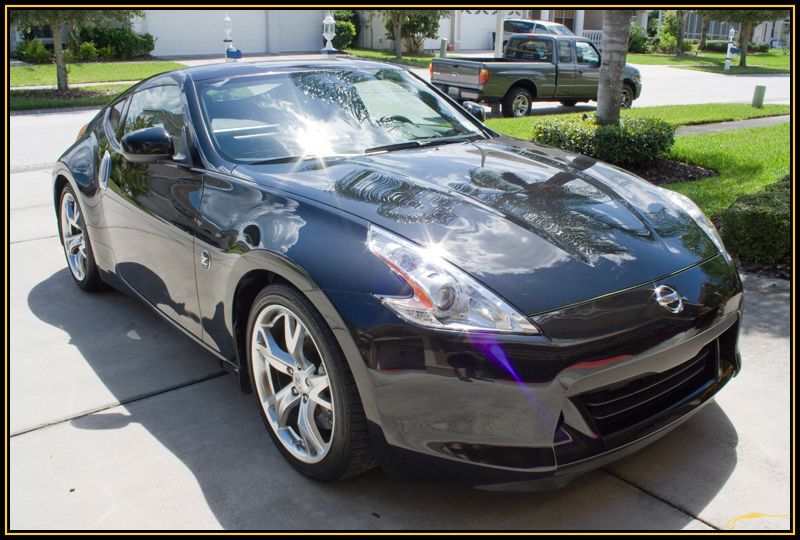
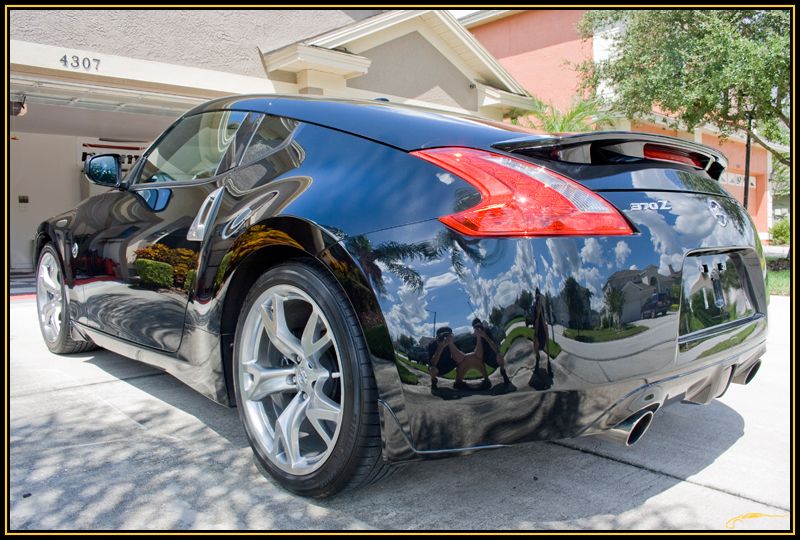
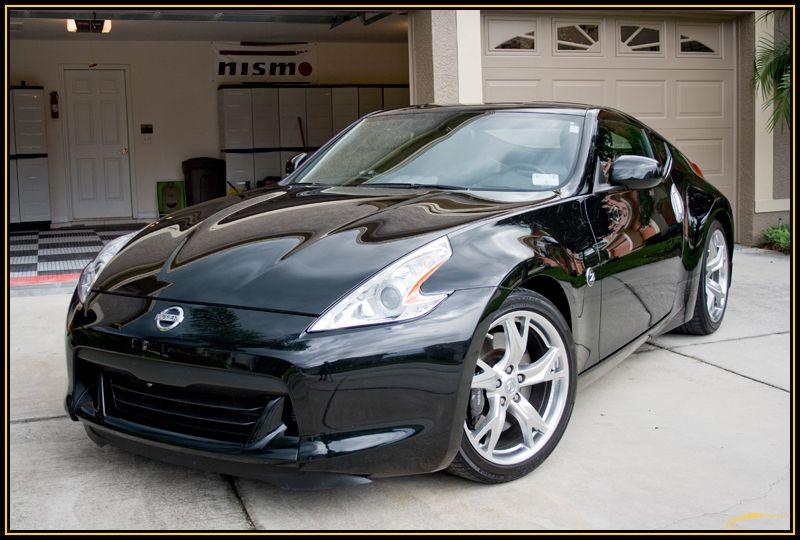
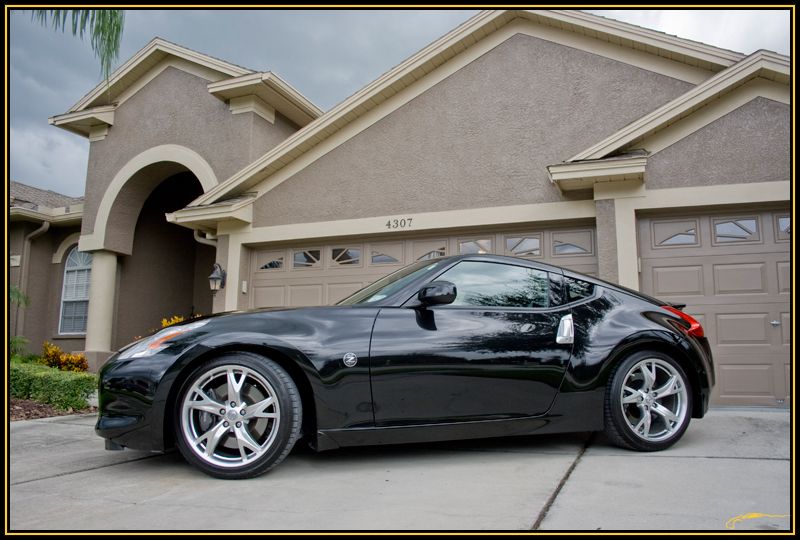
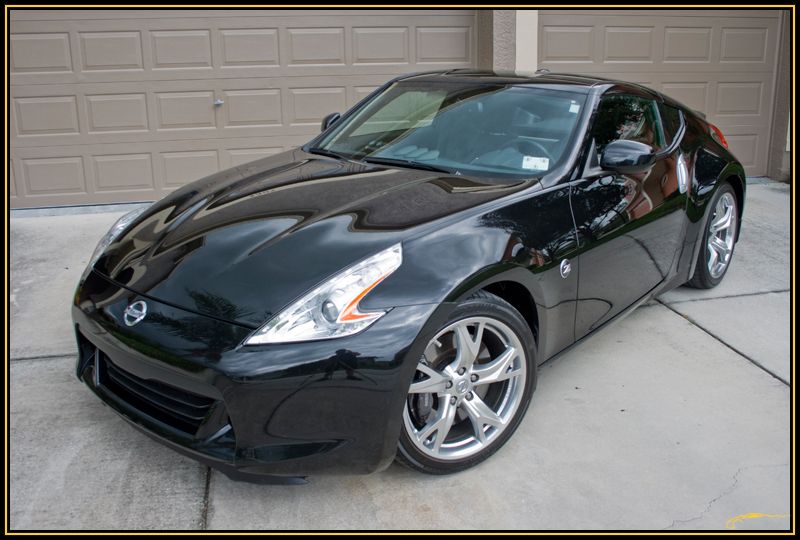
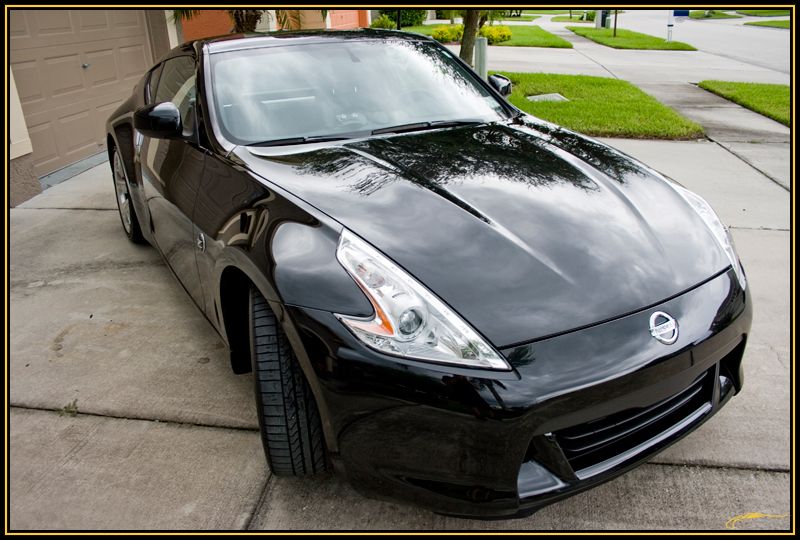
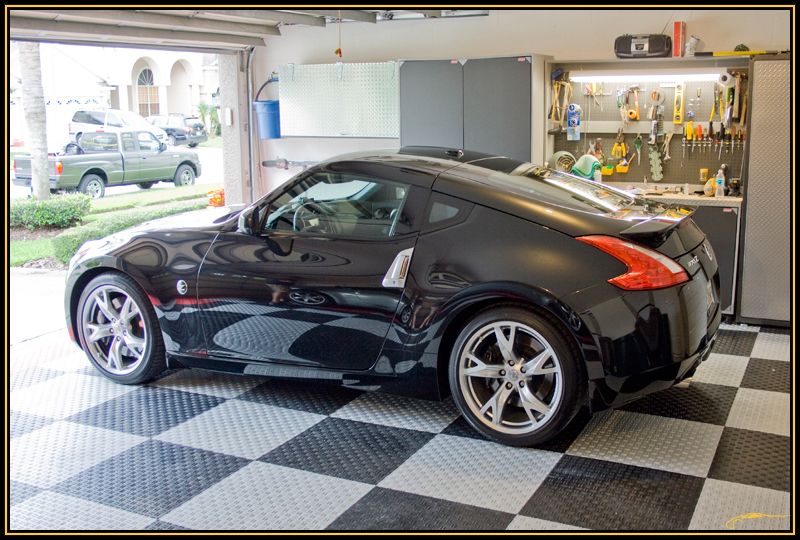
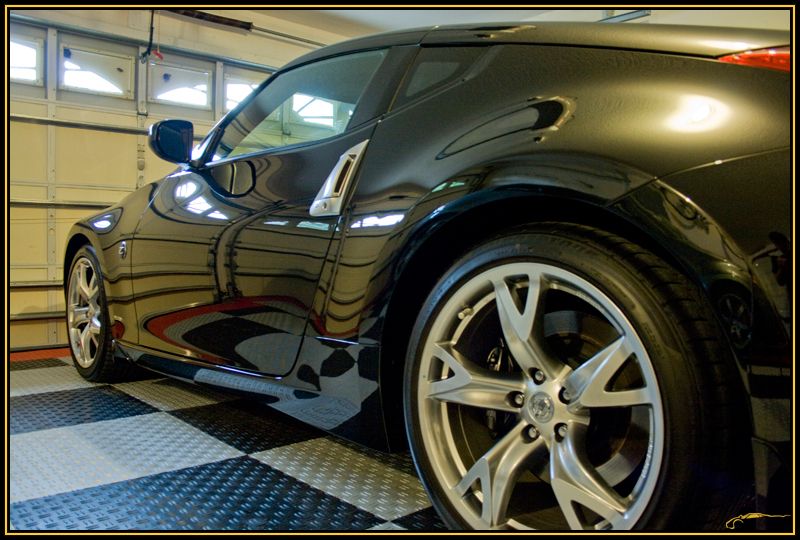
I have to tell you, after working on this car for a couple days and a wonderful test ride(yes I was lucky enough to have the owner let me take it out and get a feel for how the car drives  ) I have really come to respect these new 370Z cars! This one was equipped with the automatic with paddles, these things are the real deal with very quick shift changes as well as rev-matching on each downshift, it was very fun to drive! Aside from that the car needed some love, the dealership of course left some nice swirls in it from when the owner bought it new. He couldnt live with the swirls any longer and was recommended my way, so we performed a full paint correction on the car.
Wash and Decontamination Process:
ONR Two-Bucket Wash
Meguiars "Mild" Clay Bar with ONR as clay solution
TWO Cobra Blue Micro-Chenille Wash Mitts
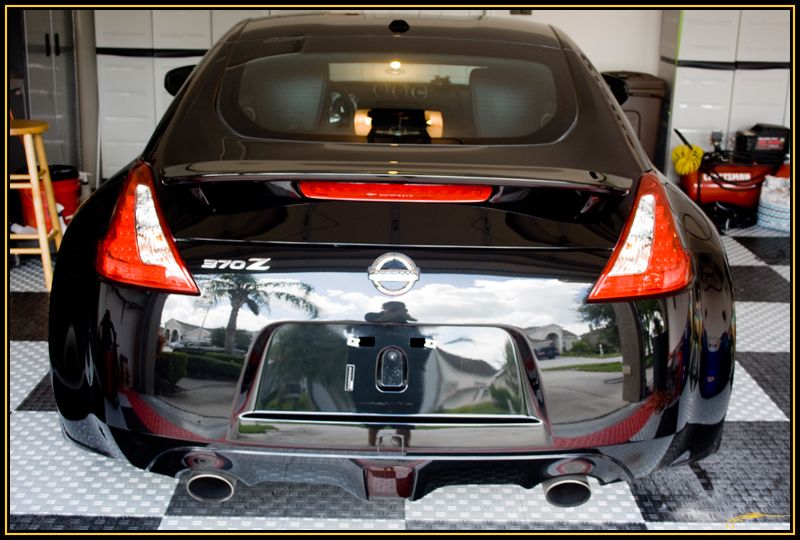
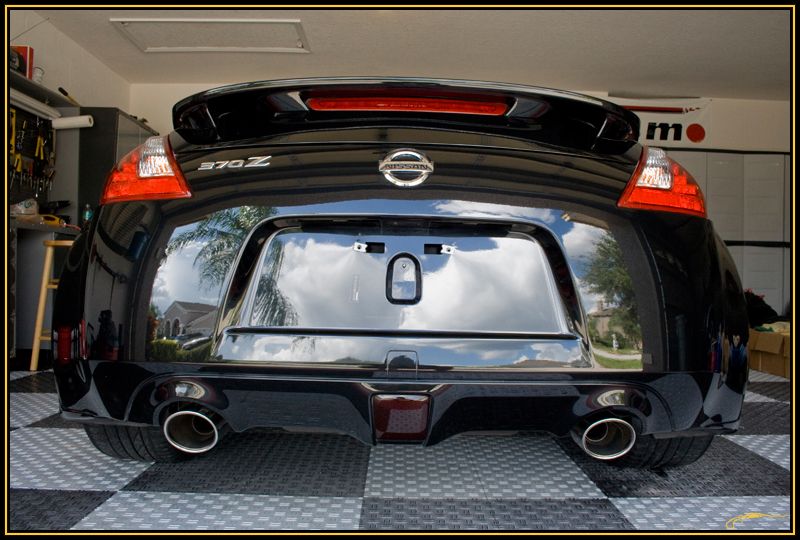
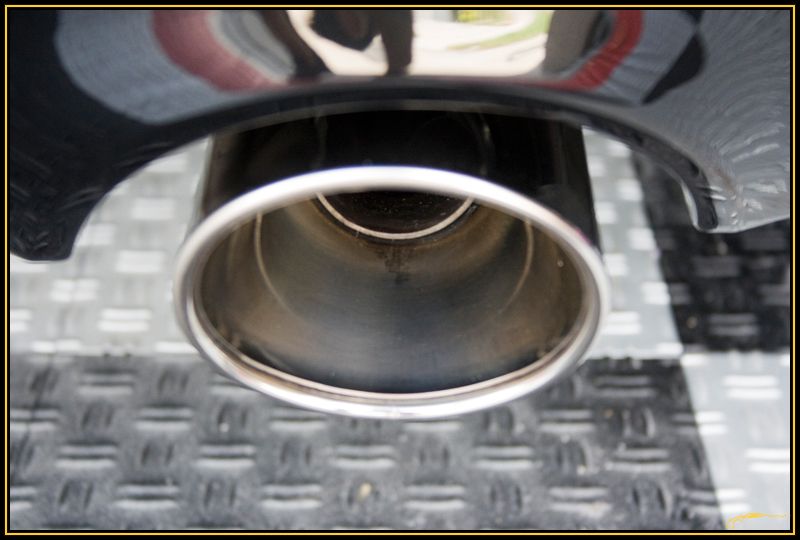
Adams Metal Polish #2 on Exhaust Tips
Blow Dried/Cobra Guzzler WW Drying Towel
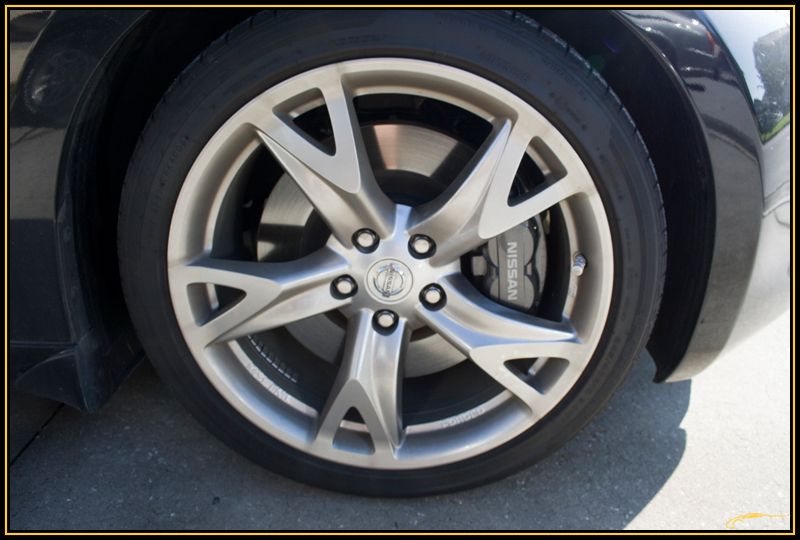
Wheels:
P21S Wheel Gel
One Cobra Blue Micro-Chenille Wash Mitts(dedicated to wheels only)
E-Z Detail Brush
Swissvax Autobahn Wheel Wax
Interior:
1Z Einszett Cockpit Premium
Meguairs APC+
Craftsman Vacuum
Invisible Glass Glass Cleaner
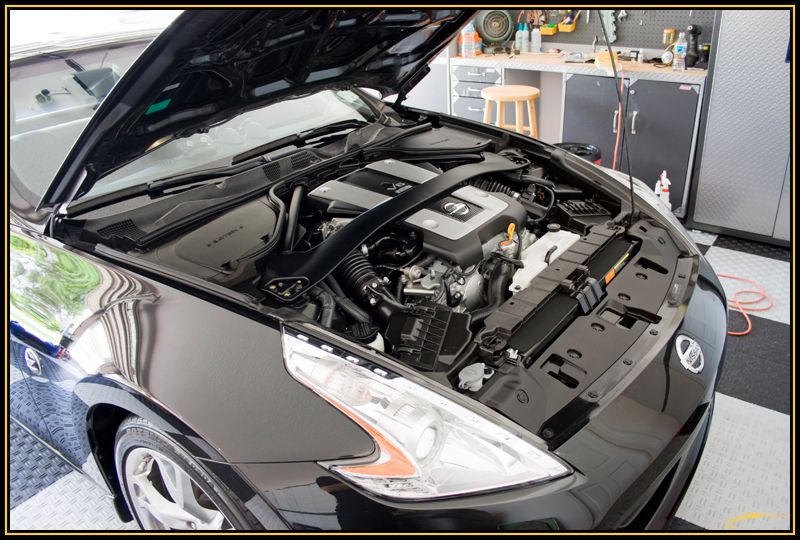
Front Compartment/Engine Bay:
ONR Wipe Down
Meguiars APC+
Various Brushes
Zaino AIO On All Painted Surfaces
Meguiars HyperDressing On All Hoses and Plastic Surfaces
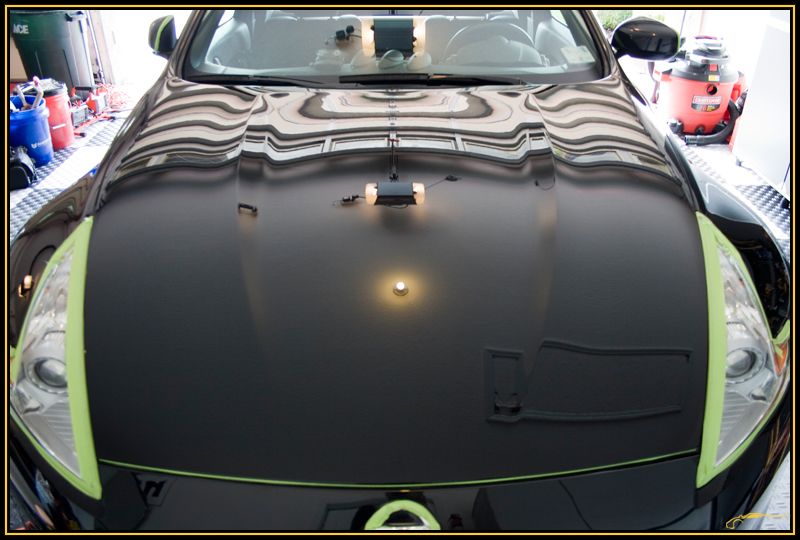
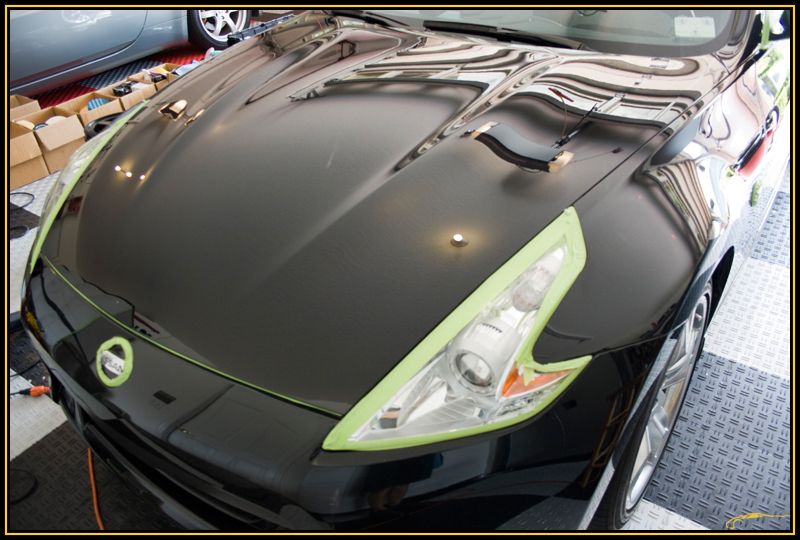
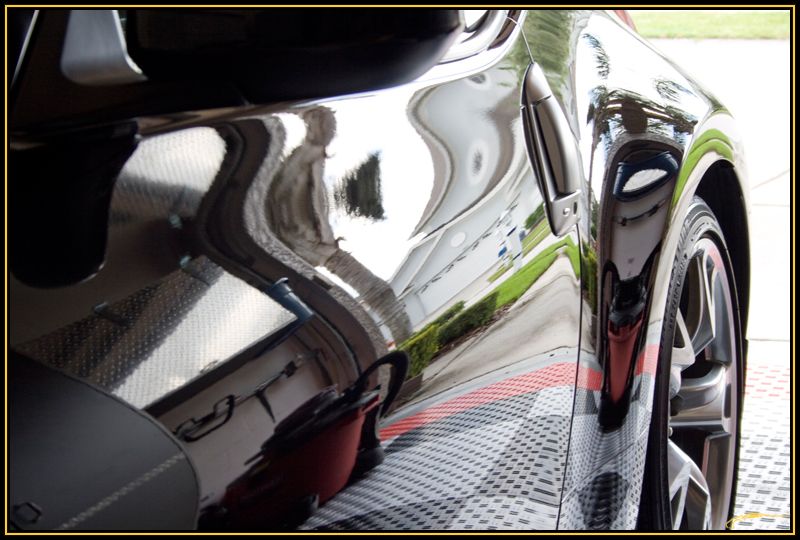
Paint Correction:
3M Automotive Performance "Green" Tape
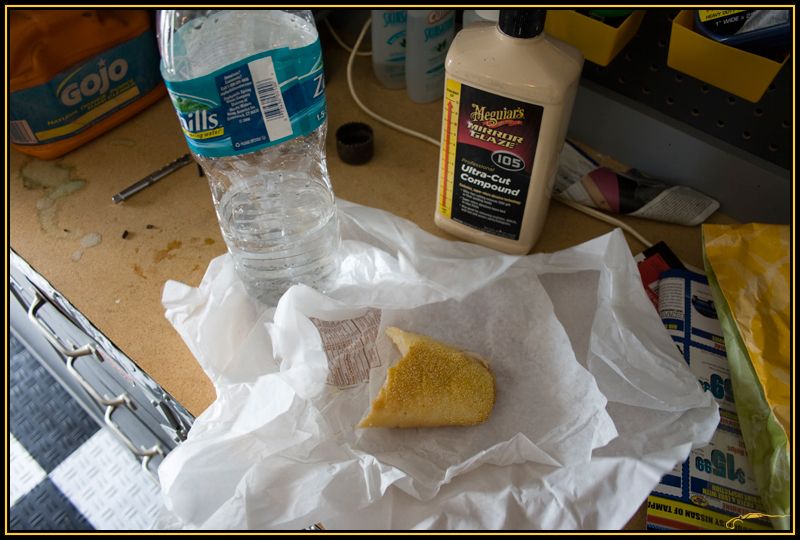
M105/ProperAutoCare.Com version PFW via Makita Rotary
M105/Orange via Meguiars G110(Yes, I said M105!)
Zaino AIO On All Door Shuts
50/50 of 91% IPA/Distilled Water
Dragon Fibre Microfiber Towels
LSP:
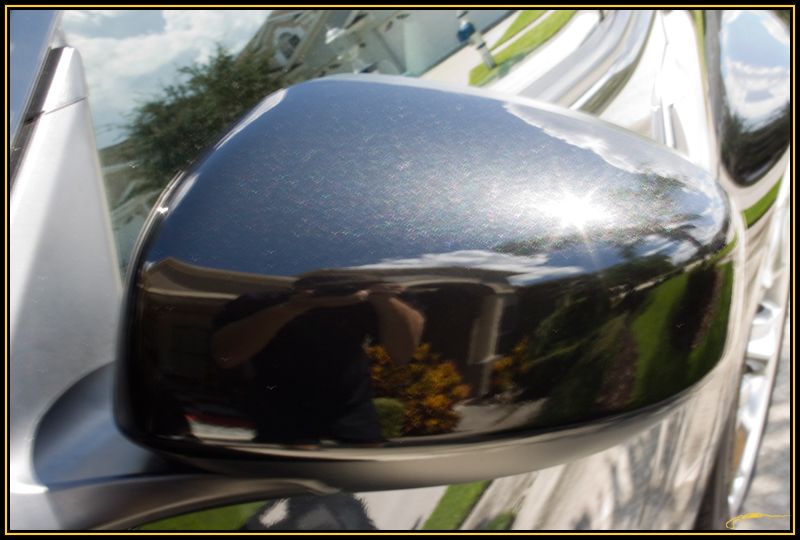
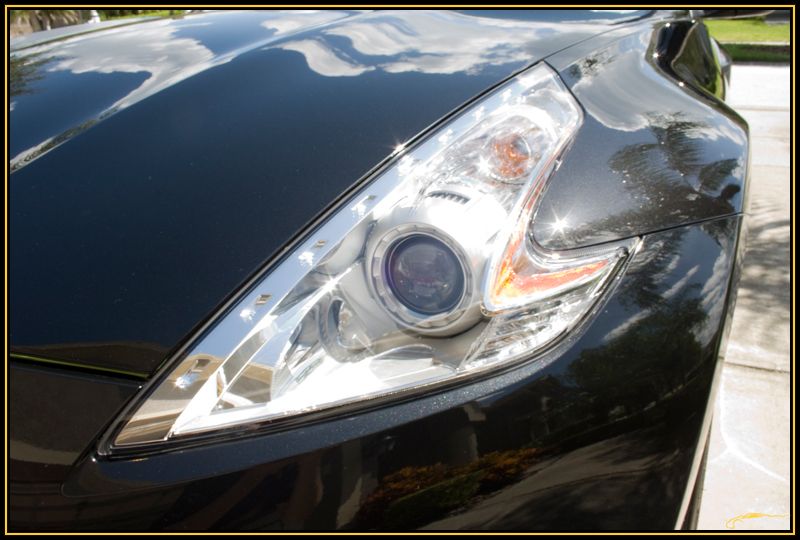
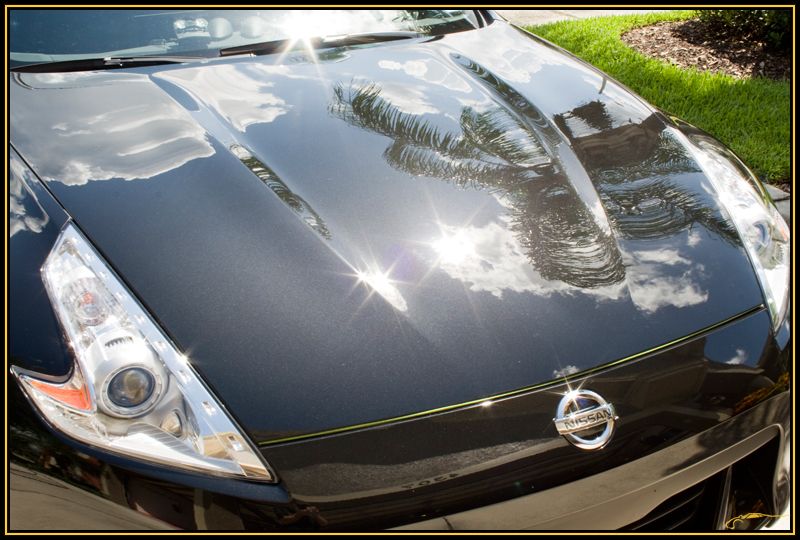
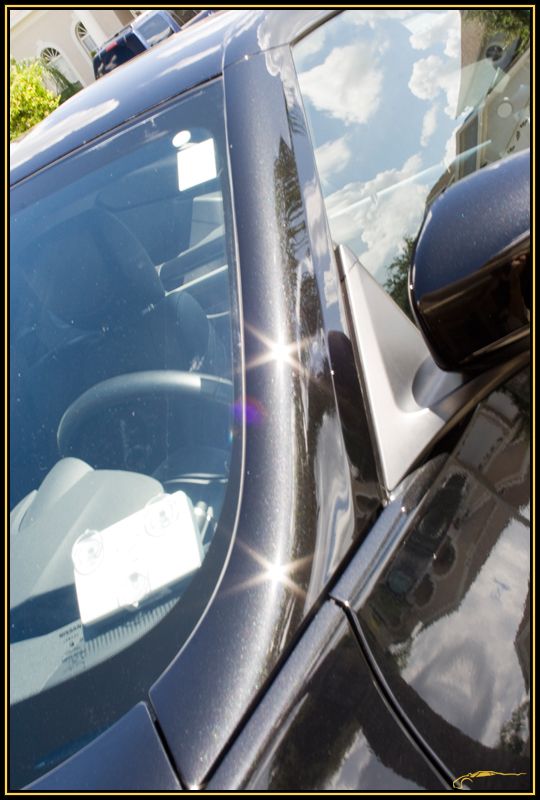
TWO coats of Blackfire Wet Diamond Paint Sealant
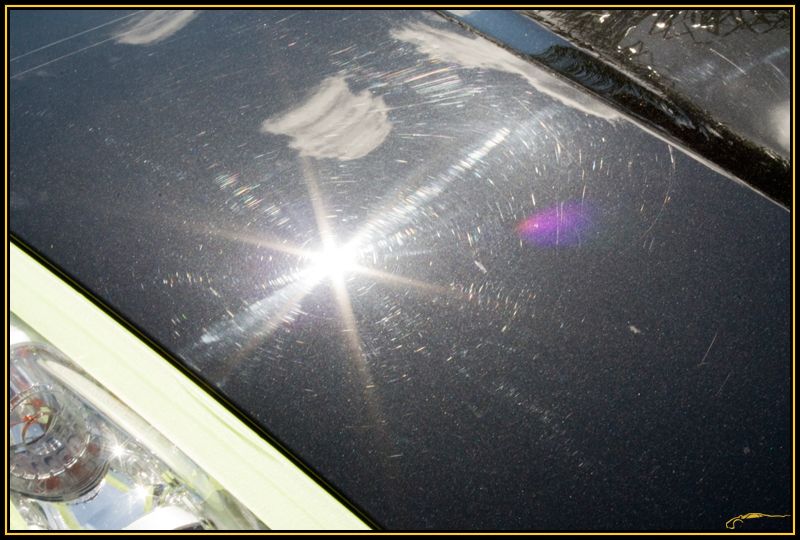
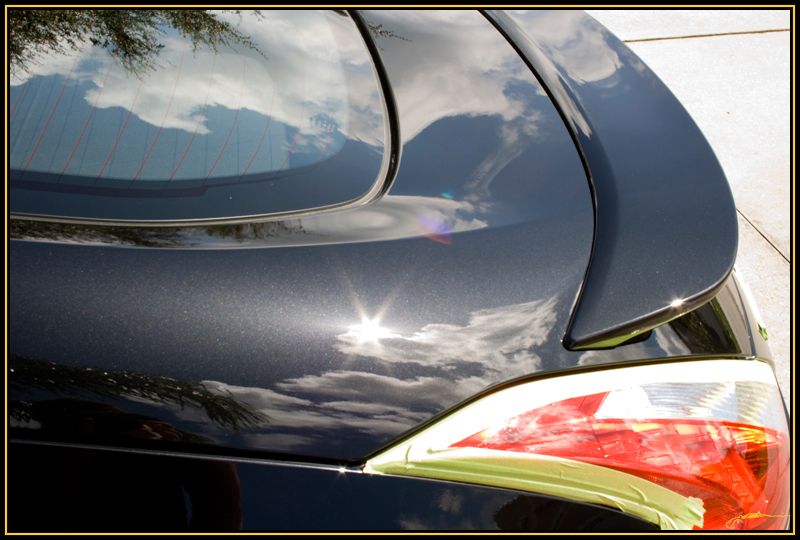
Befores:
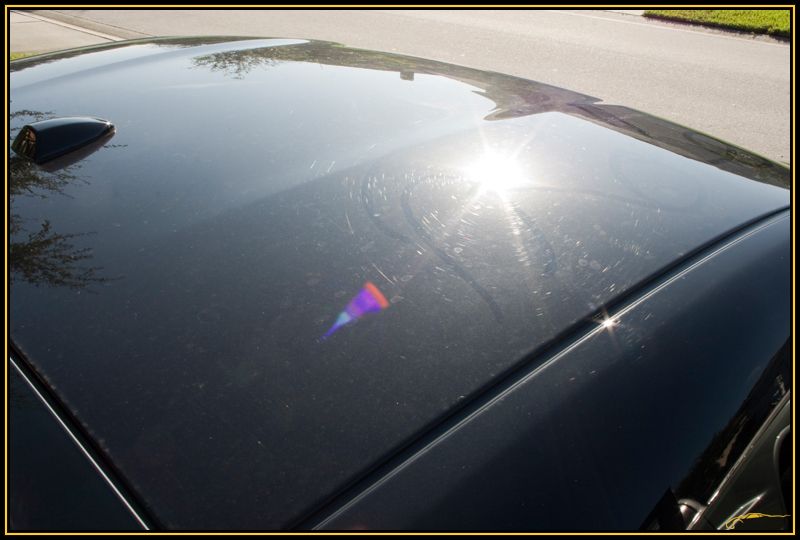
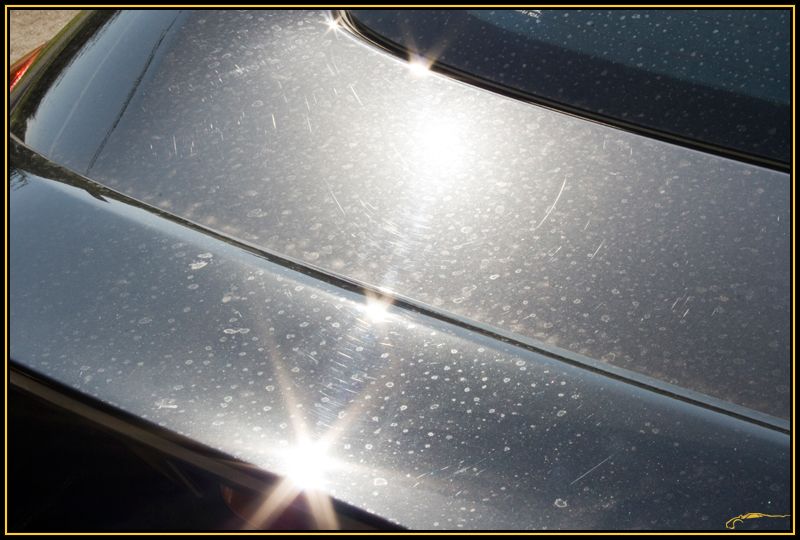

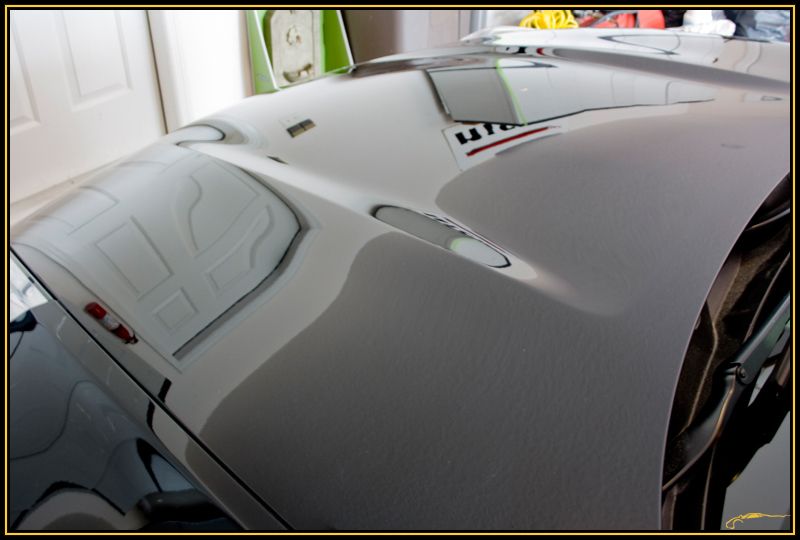
After performing an ONR wash on the entire vehicle and claying, I began testing which products I will be using. I tried M205/Orange and while it removed SOME swirling, it wasnt cutting enough to remove the RIDS the dealership left behind.
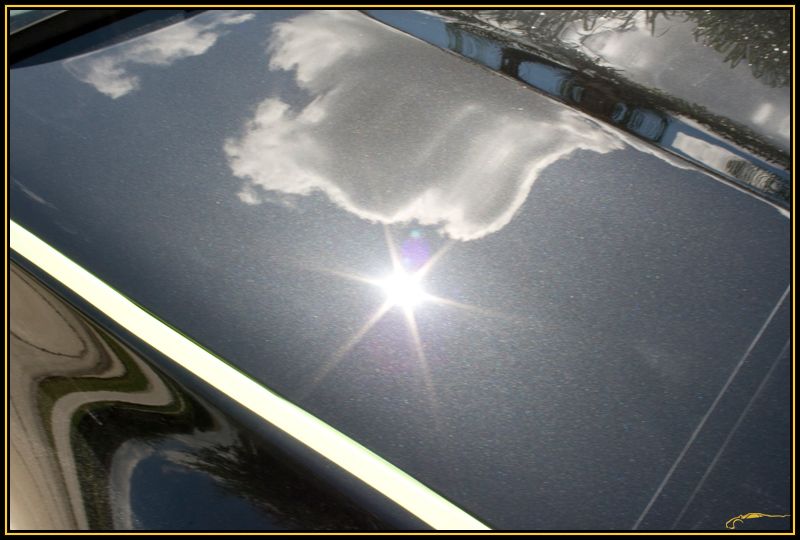
I ended up using M105/PAC PFW for the initial correction work. Some areas requiring a 2-3 passes to fully remove all RIDS at 1500rpm on the rotary.
Before.
50/50
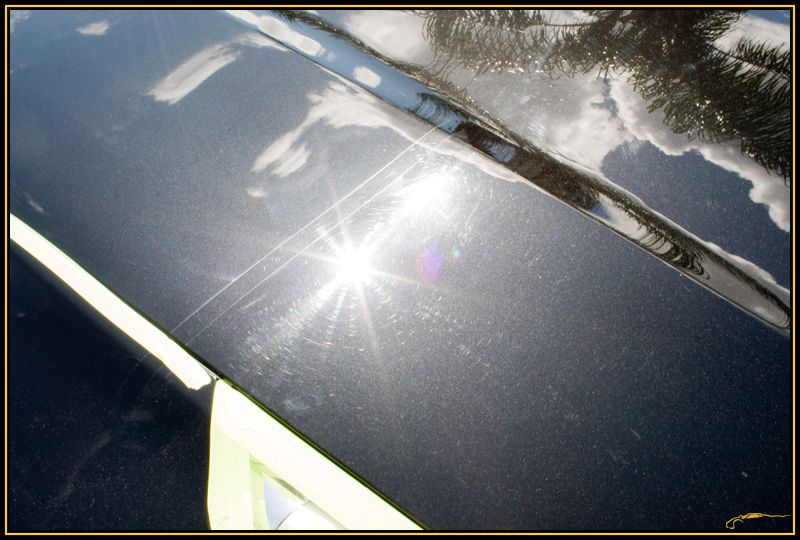
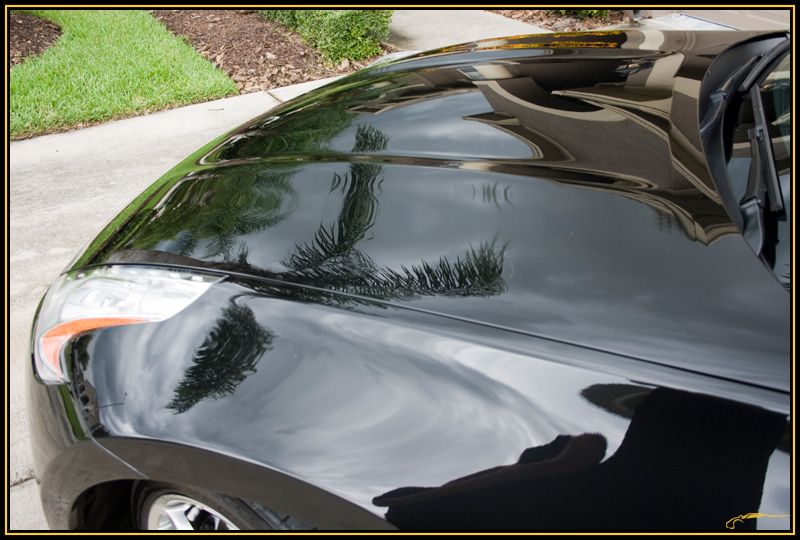
After M105/PAC PFW via rotary followed by M105/Orange via DA.
) I have really come to respect these new 370Z cars! This one was equipped with the automatic with paddles, these things are the real deal with very quick shift changes as well as rev-matching on each downshift, it was very fun to drive! Aside from that the car needed some love, the dealership of course left some nice swirls in it from when the owner bought it new. He couldnt live with the swirls any longer and was recommended my way, so we performed a full paint correction on the car.Wash and Decontamination Process:
ONR Two-Bucket Wash
Meguiars "Mild" Clay Bar with ONR as clay solution
TWO Cobra Blue Micro-Chenille Wash Mitts
Adams Metal Polish #2 on Exhaust Tips
Blow Dried/Cobra Guzzler WW Drying Towel
Wheels:
P21S Wheel Gel
One Cobra Blue Micro-Chenille Wash Mitts(dedicated to wheels only)
E-Z Detail Brush
Swissvax Autobahn Wheel Wax
Interior:
1Z Einszett Cockpit Premium
Meguairs APC+
Craftsman Vacuum
Invisible Glass Glass Cleaner
Front Compartment/Engine Bay:
ONR Wipe Down
Meguiars APC+
Various Brushes
Zaino AIO On All Painted Surfaces
Meguiars HyperDressing On All Hoses and Plastic Surfaces
Paint Correction:
3M Automotive Performance "Green" Tape
M105/ProperAutoCare.Com version PFW via Makita Rotary
M105/Orange via Meguiars G110(Yes, I said M105!)
Zaino AIO On All Door Shuts
50/50 of 91% IPA/Distilled Water
Dragon Fibre Microfiber Towels
LSP:
TWO coats of Blackfire Wet Diamond Paint Sealant
Befores:
After performing an ONR wash on the entire vehicle and claying, I began testing which products I will be using. I tried M205/Orange and while it removed SOME swirling, it wasnt cutting enough to remove the RIDS the dealership left behind.
I ended up using M105/PAC PFW for the initial correction work. Some areas requiring a 2-3 passes to fully remove all RIDS at 1500rpm on the rotary.
Before.
50/50
After M105/PAC PFW via rotary followed by M105/Orange via DA.
")


")