presidential_detail
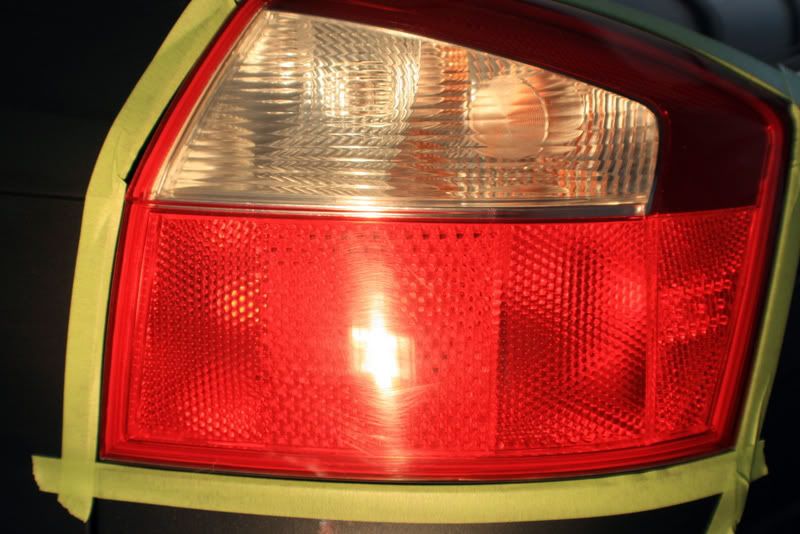
CQuartz FINEST Installer
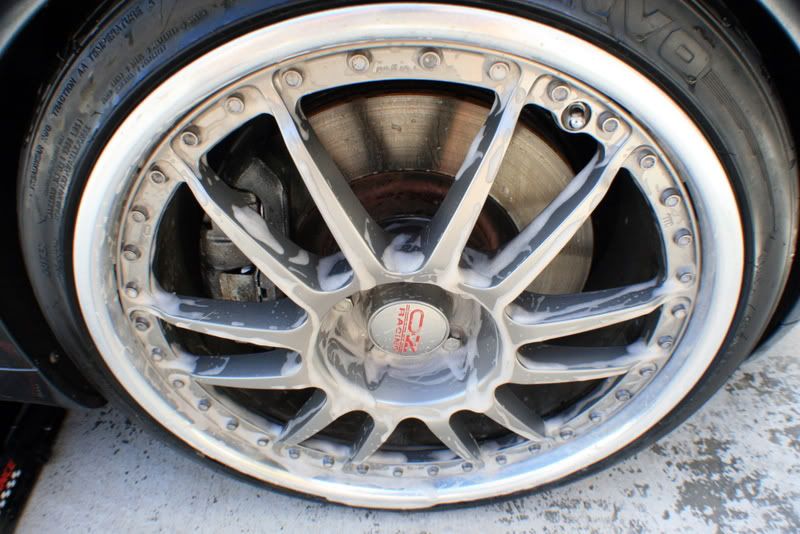
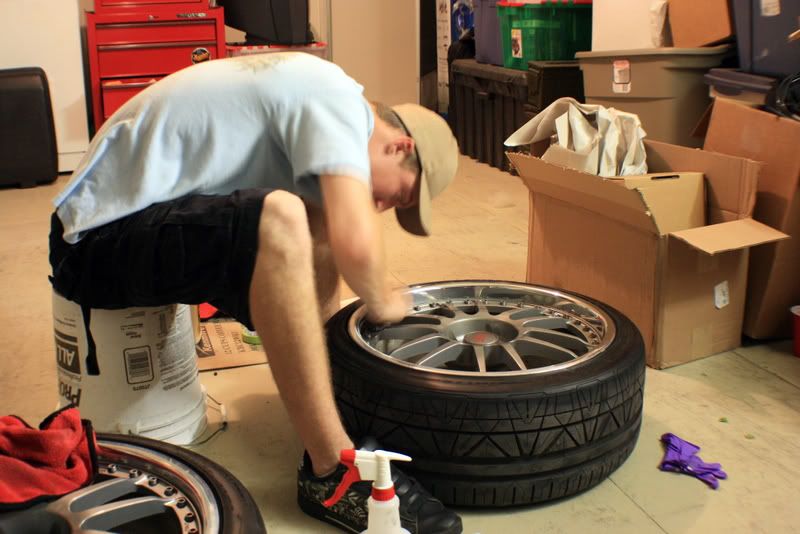
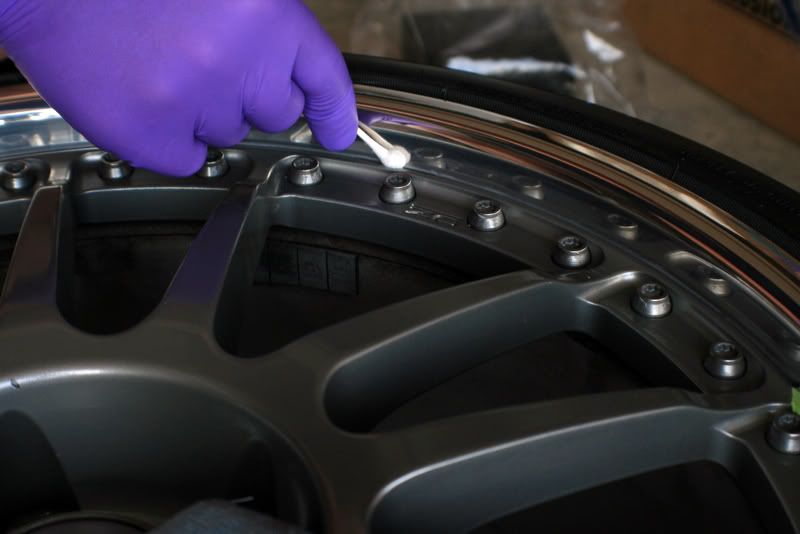
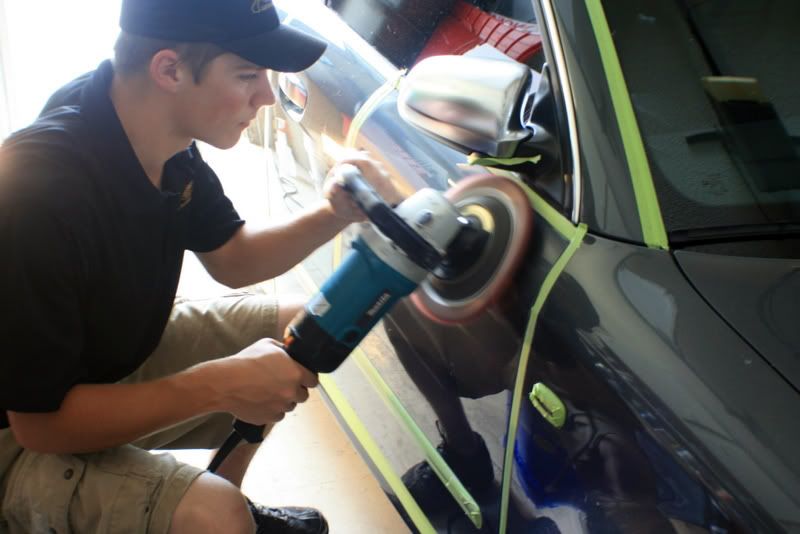
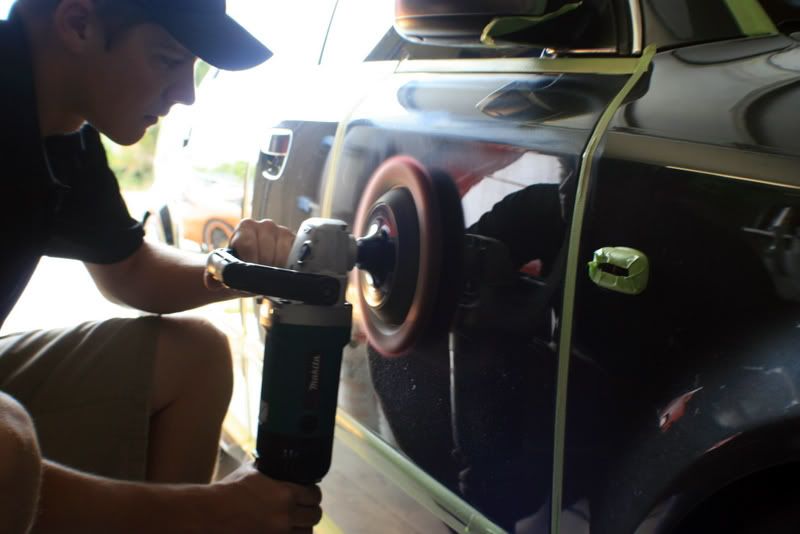
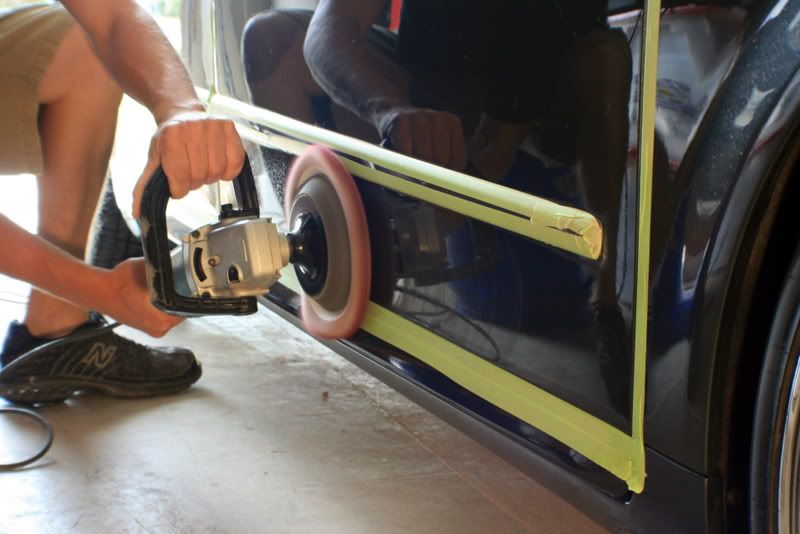
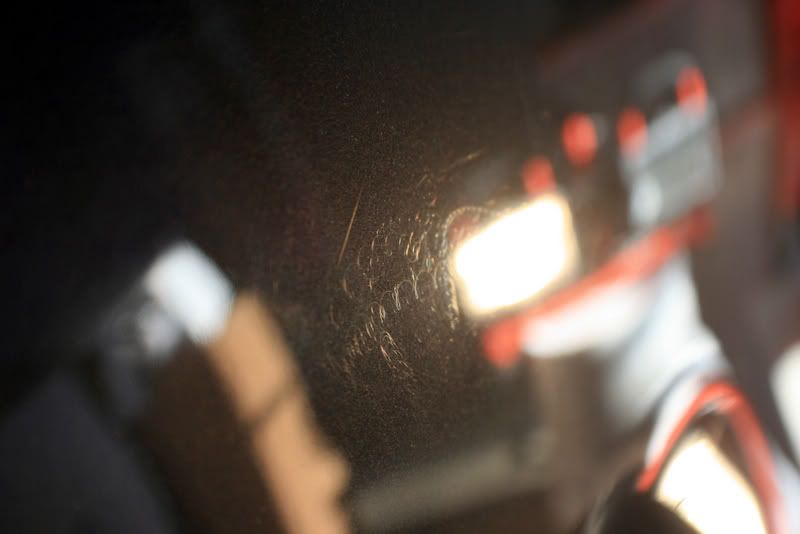
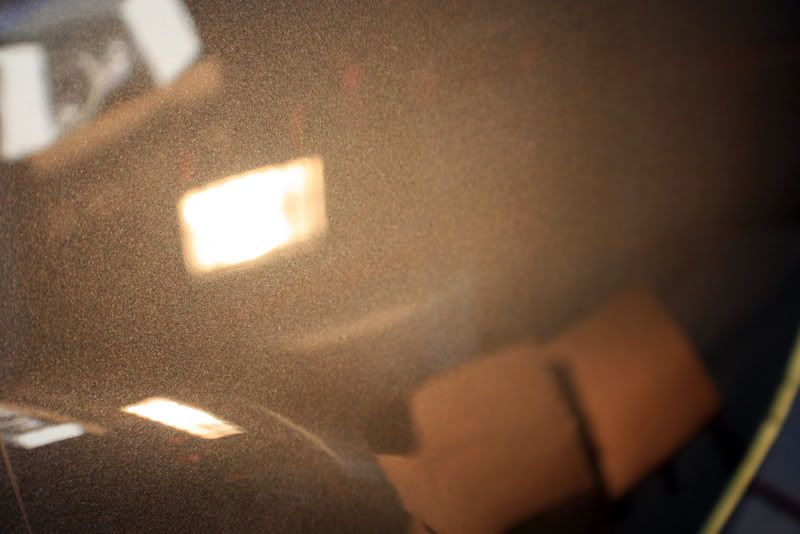
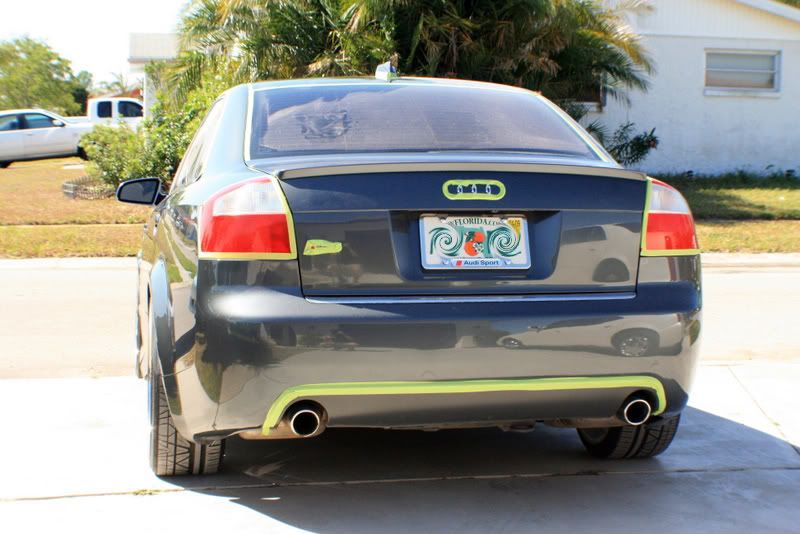
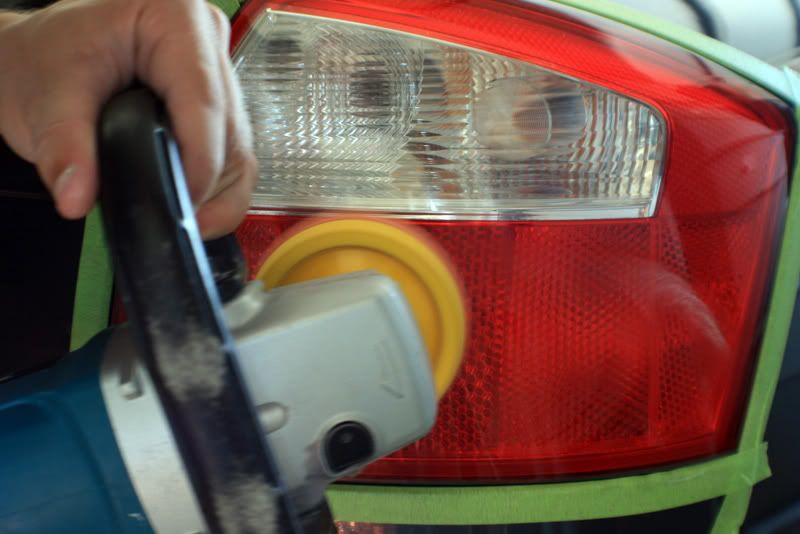
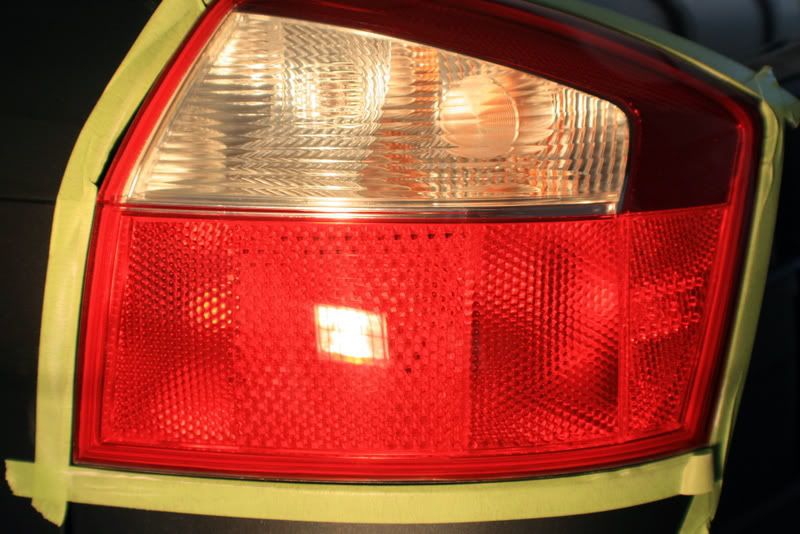
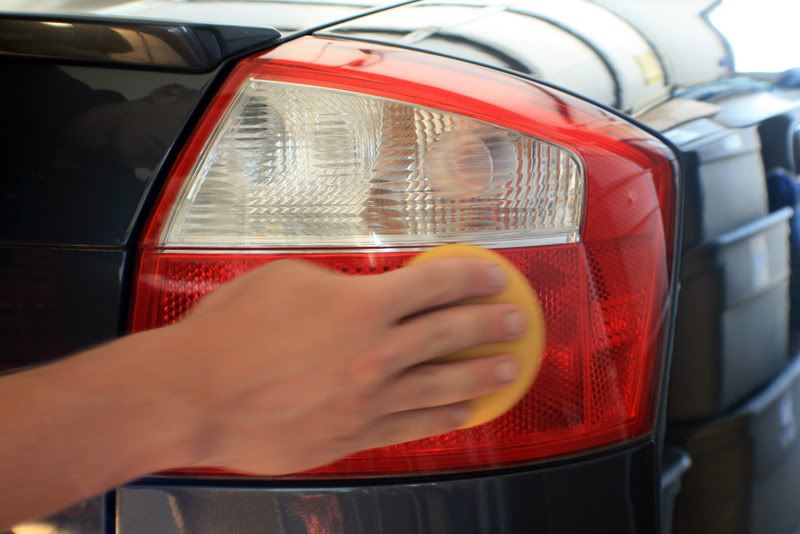
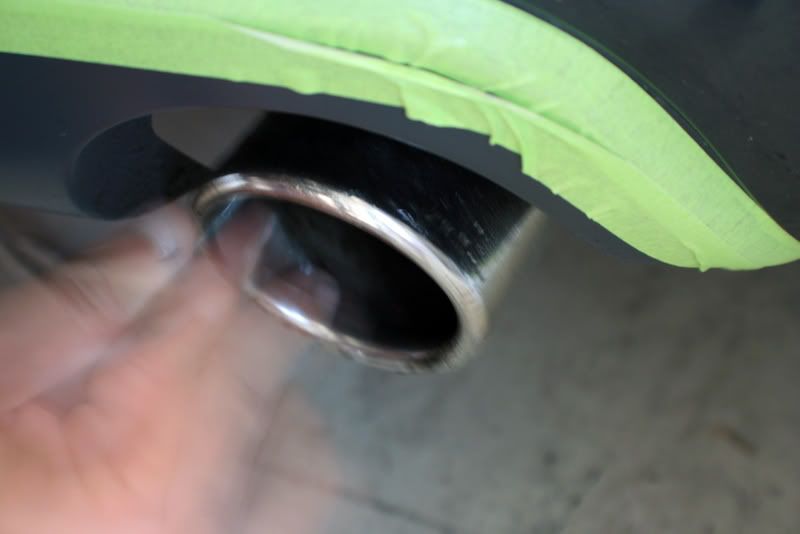
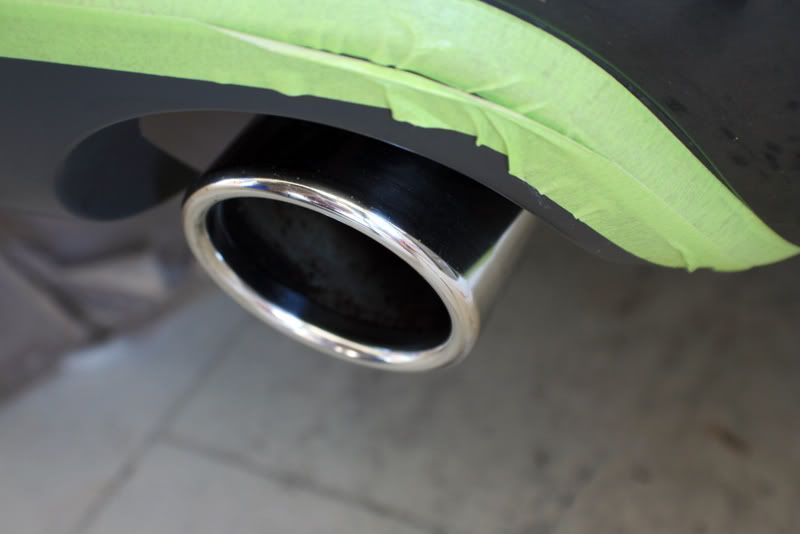
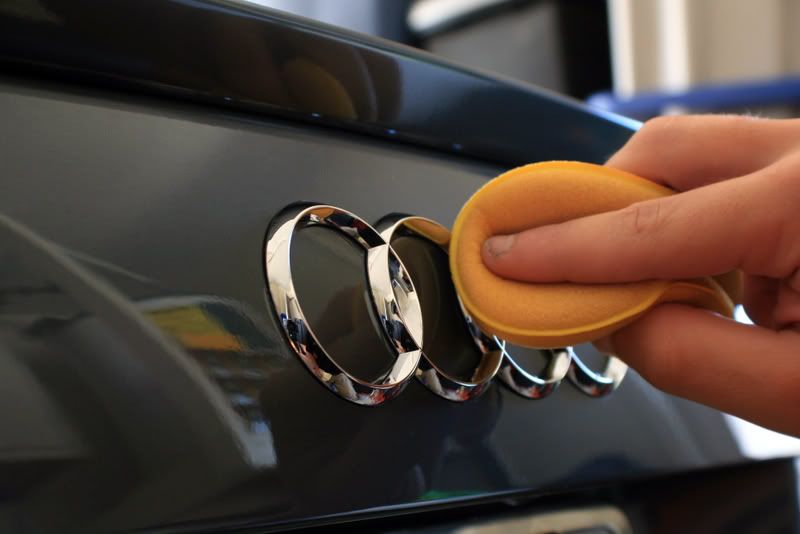
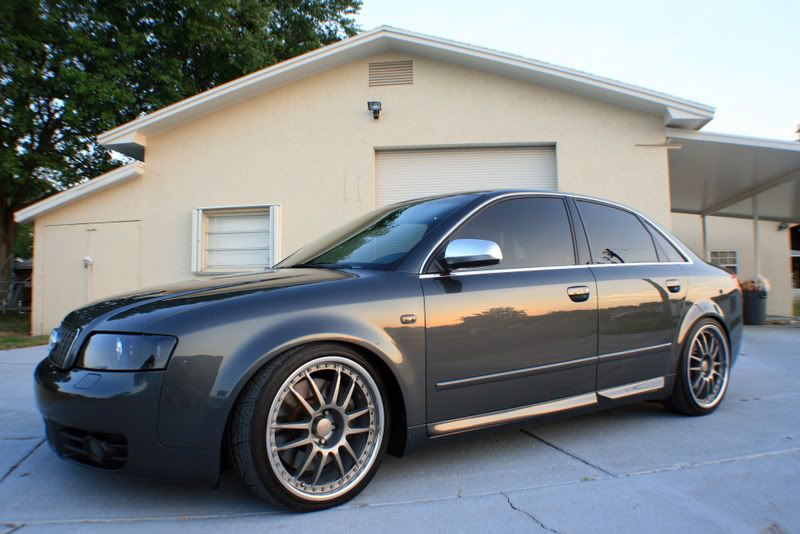
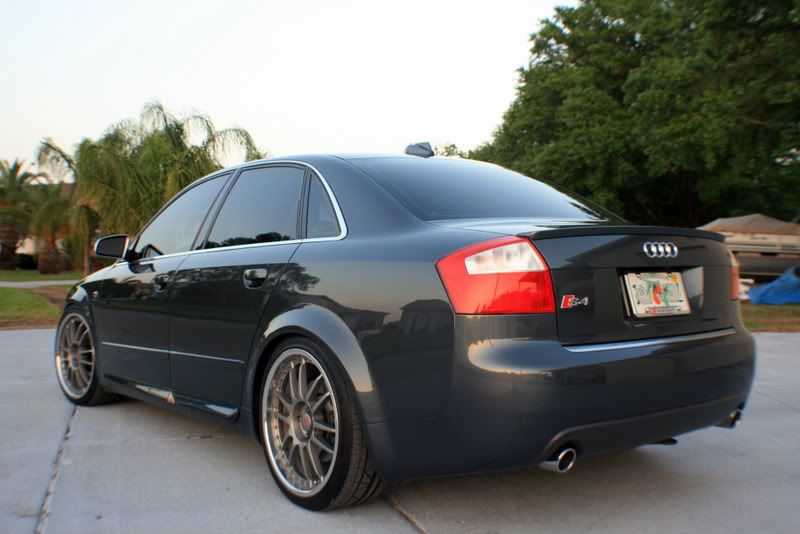
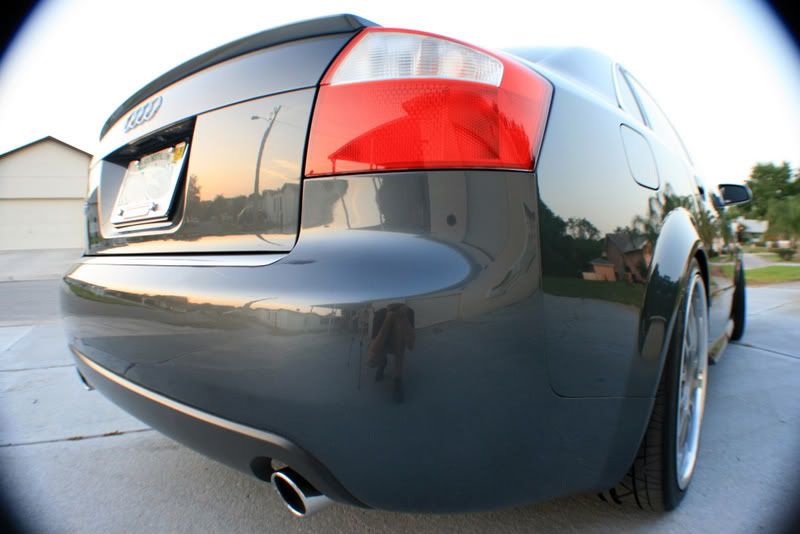
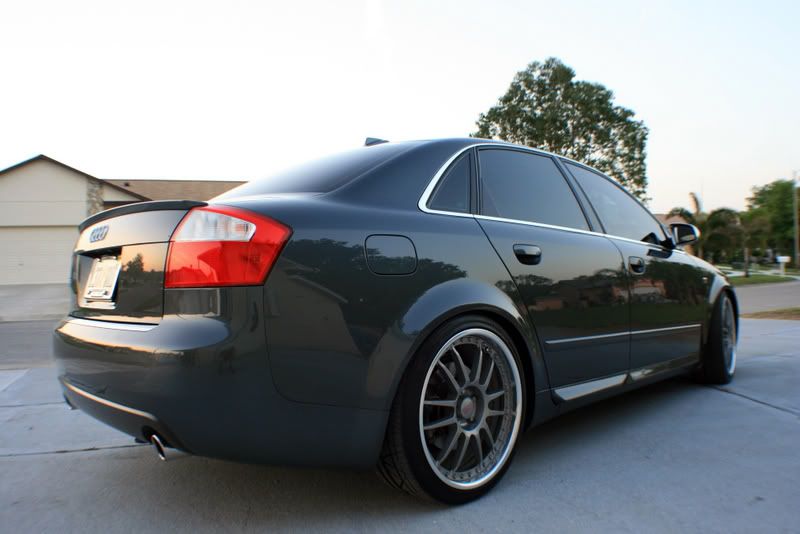
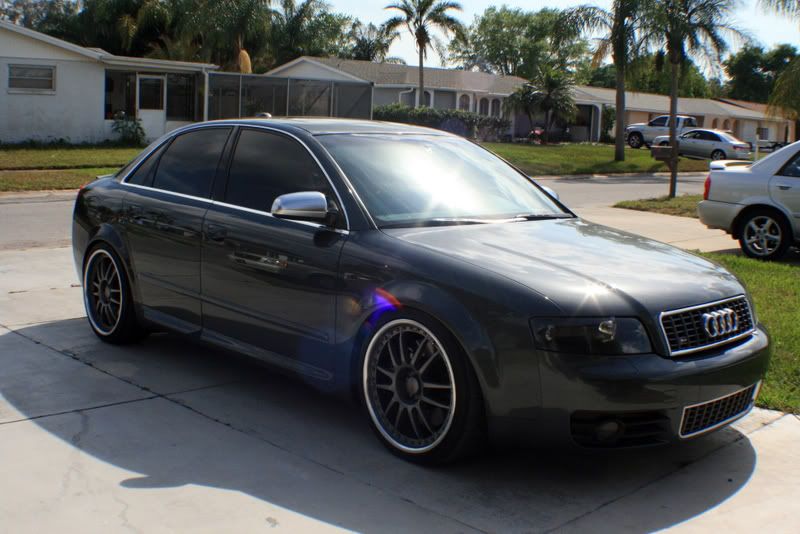
This car came to me for a full detail minus interior. When the owner arrived, he threw a curve ball at me. The entire car was repainted about a year ago, and the front hood and front fenders were just repainted 3 days ago! This is one of the first paint jobs Ive seen done right, the entire car was gutted and stripped down and repainted. There was only one problem..the painters did a fantastic job repainting the car, however they did not finish it very well. I found pigtail tracers all over the car from sanding and some parts of the car that were not even buffed out after the sanding process. I thought for sure I was going to need to sand the entire car again, but a couple passes with a Meguiars Solo Burgundy Wool pad and M105 did the trick just fine! Of course, the KBRM was used. ")
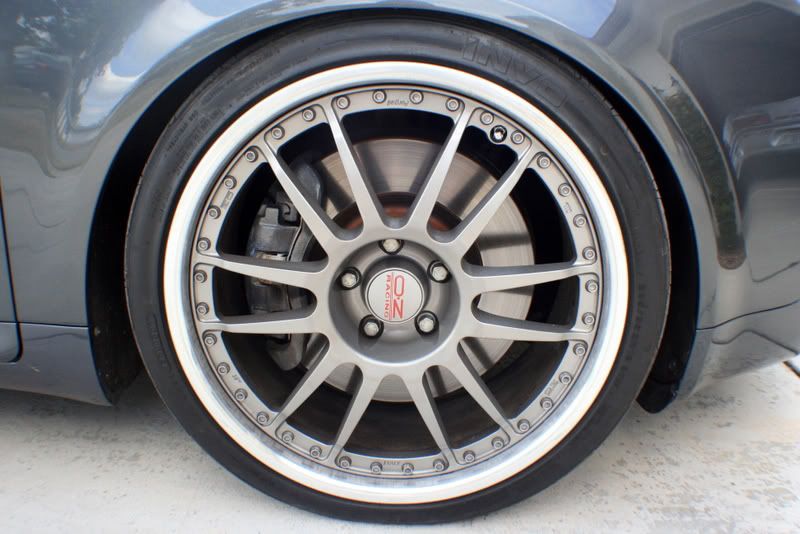
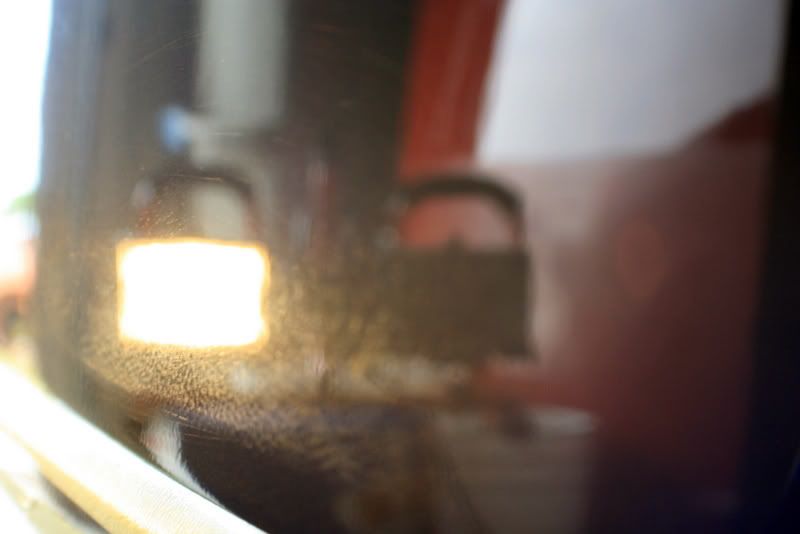
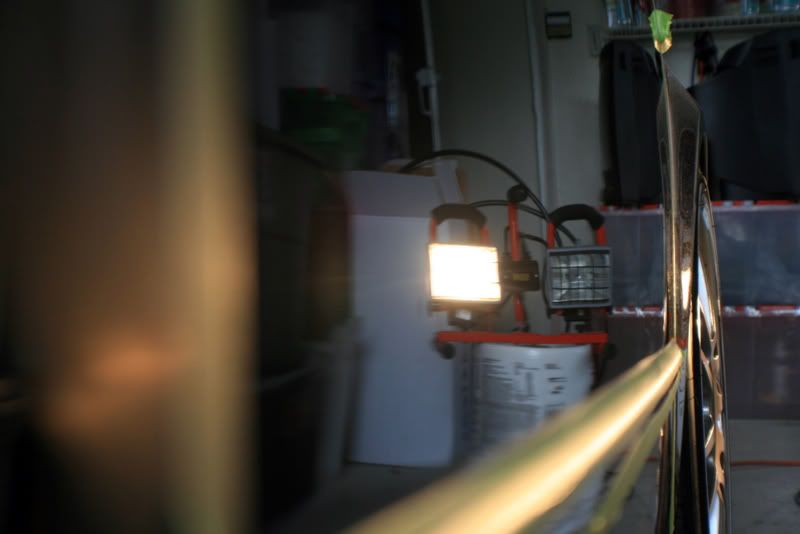
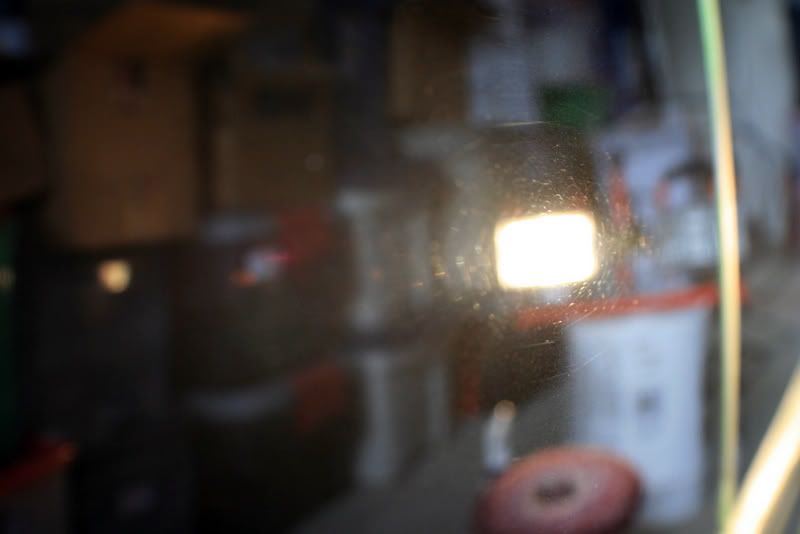
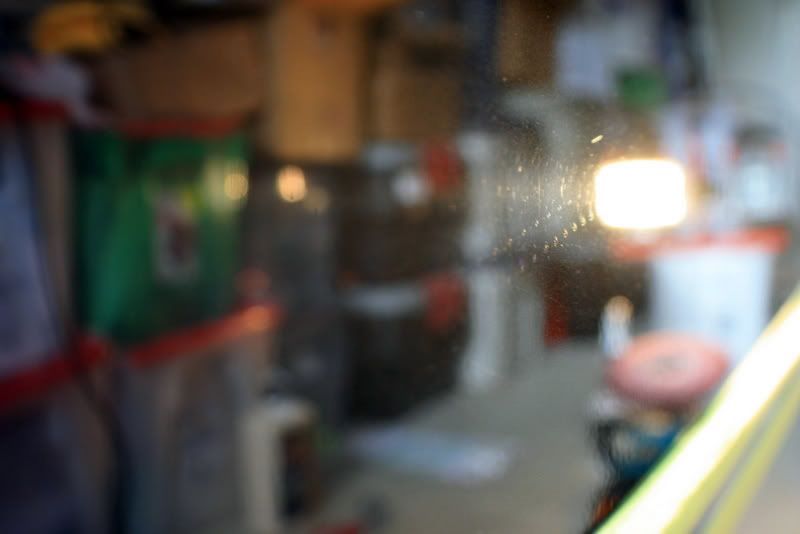
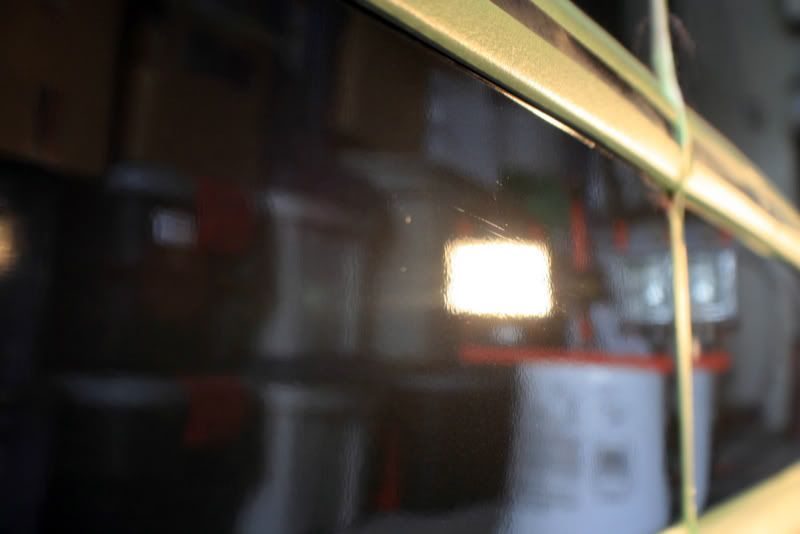
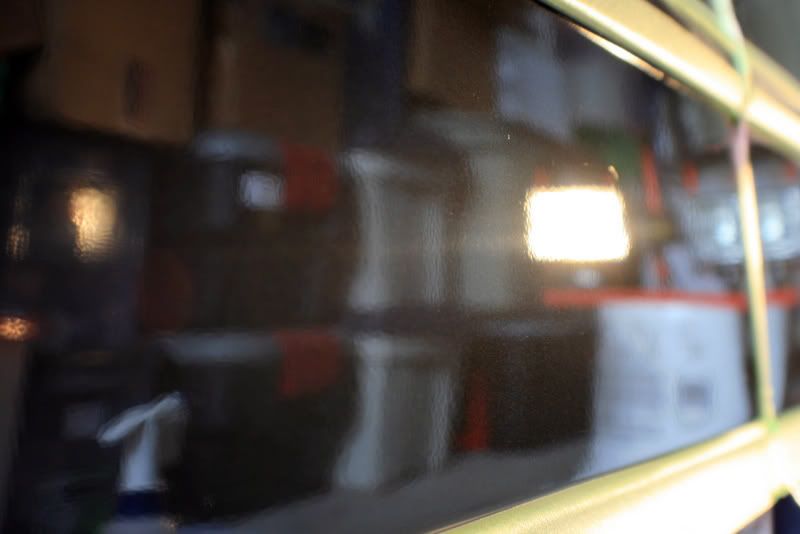
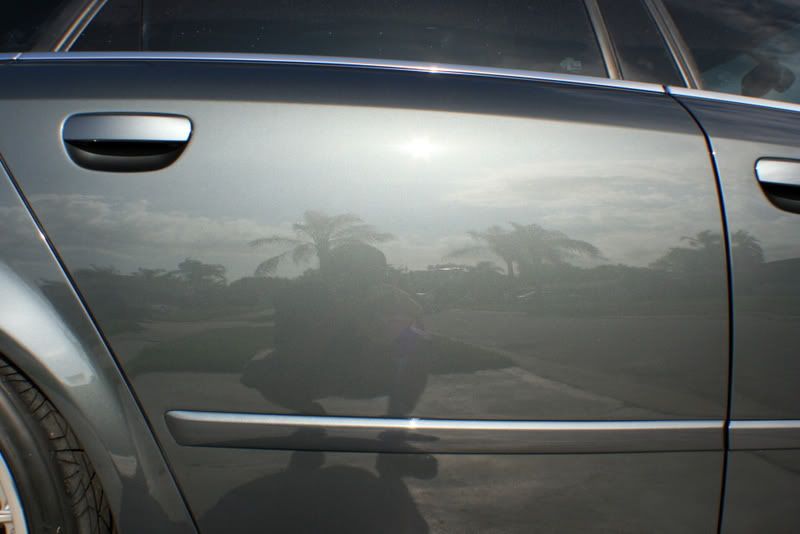
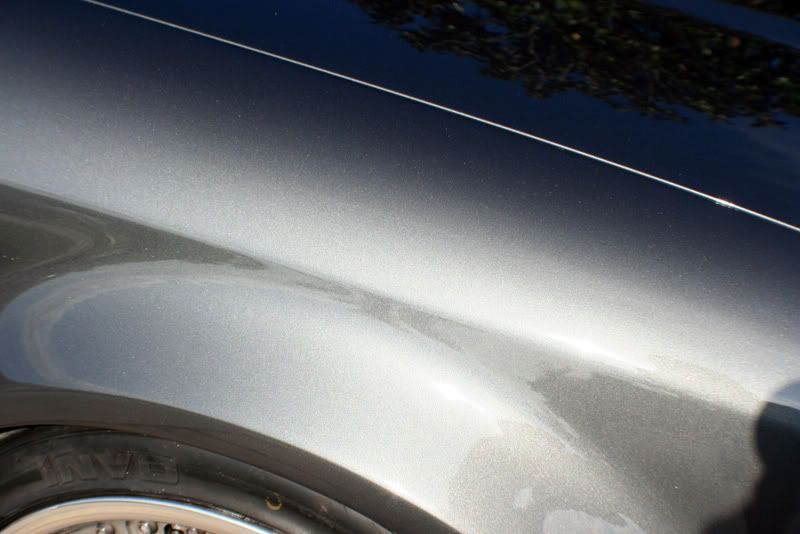
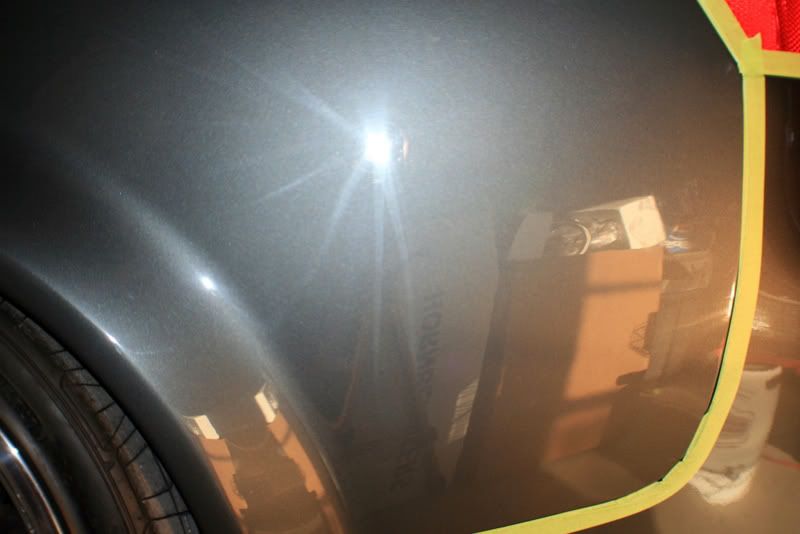
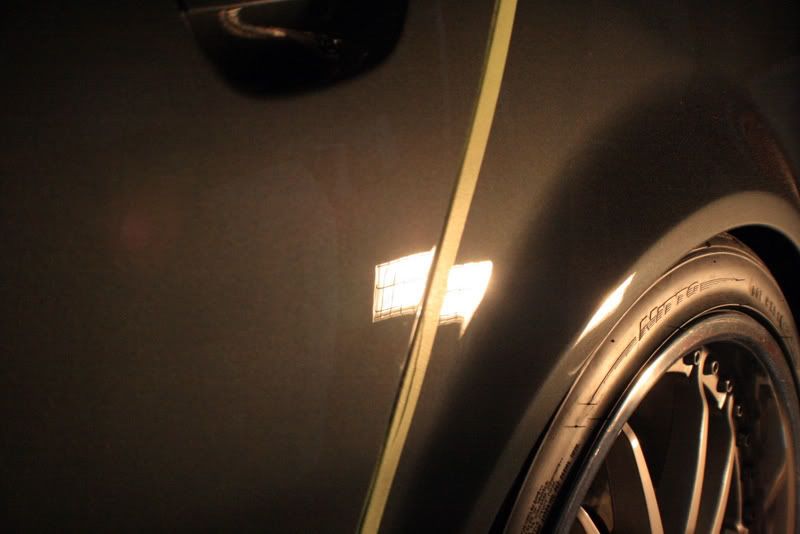
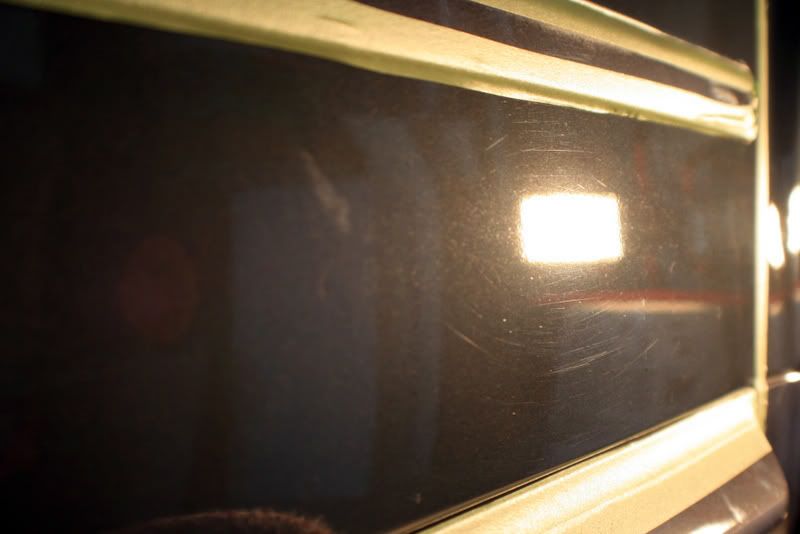
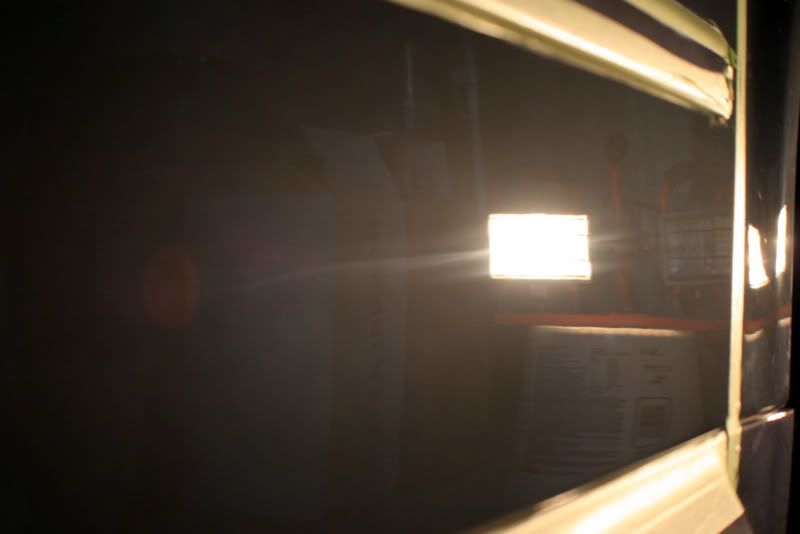
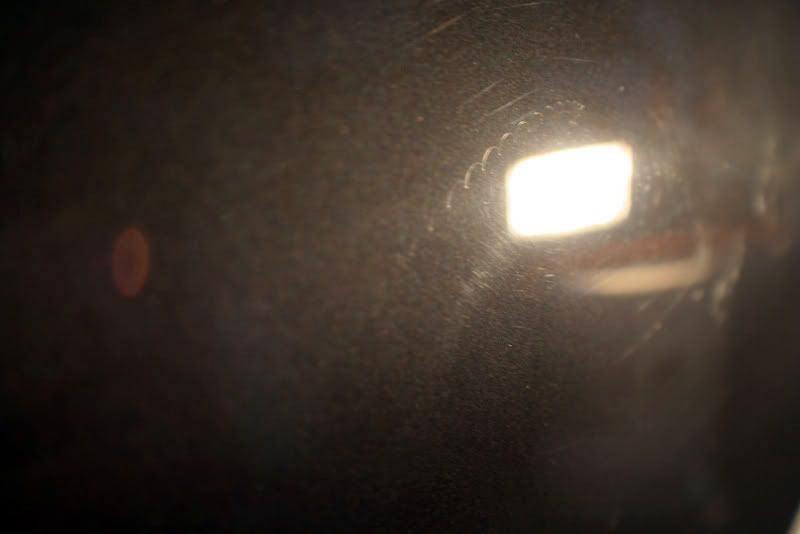
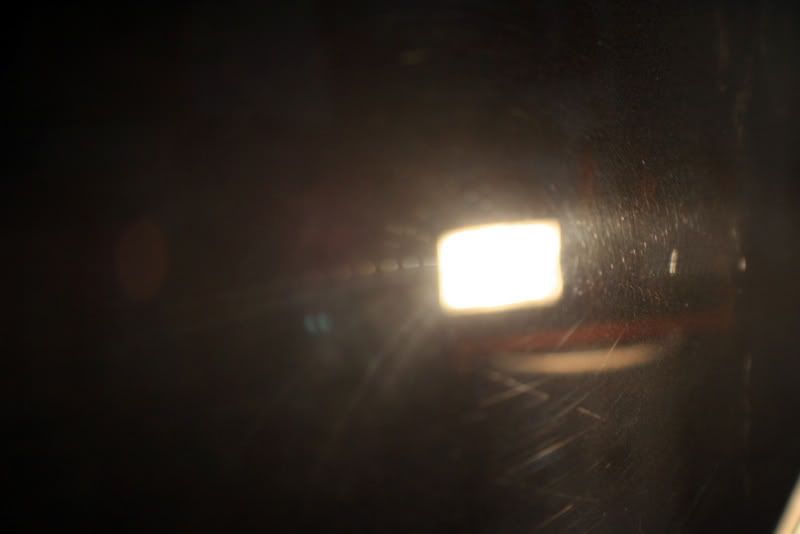
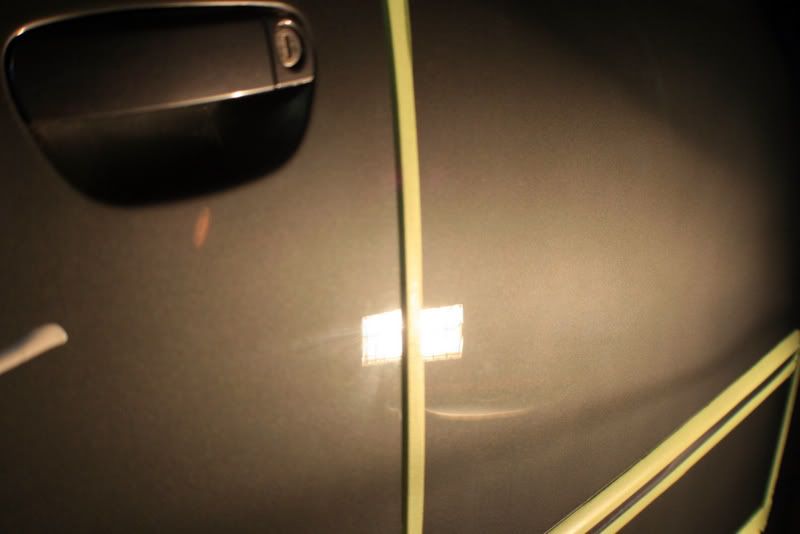
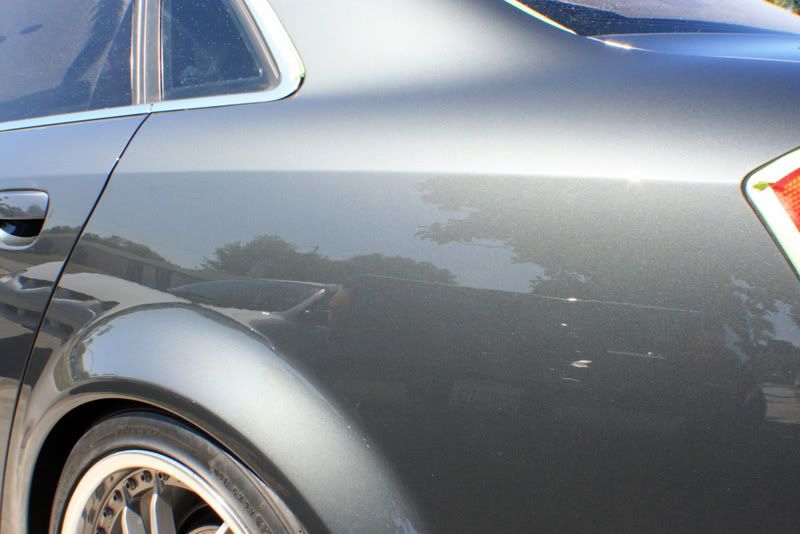
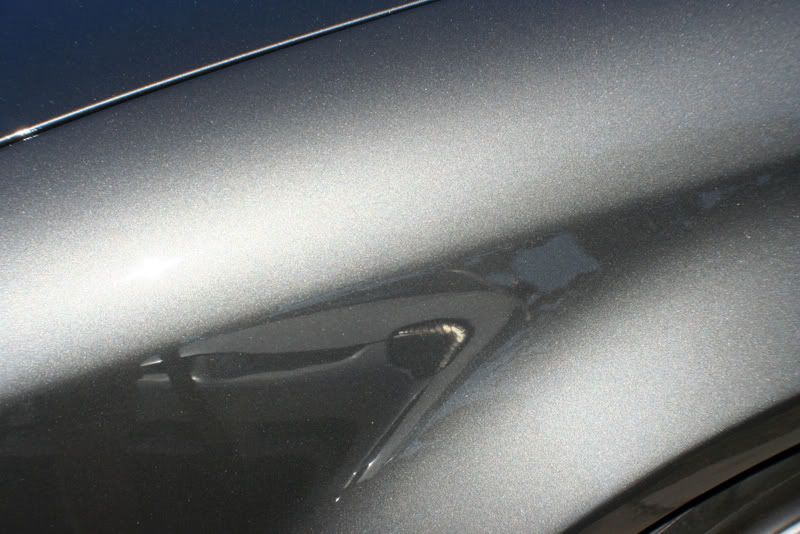
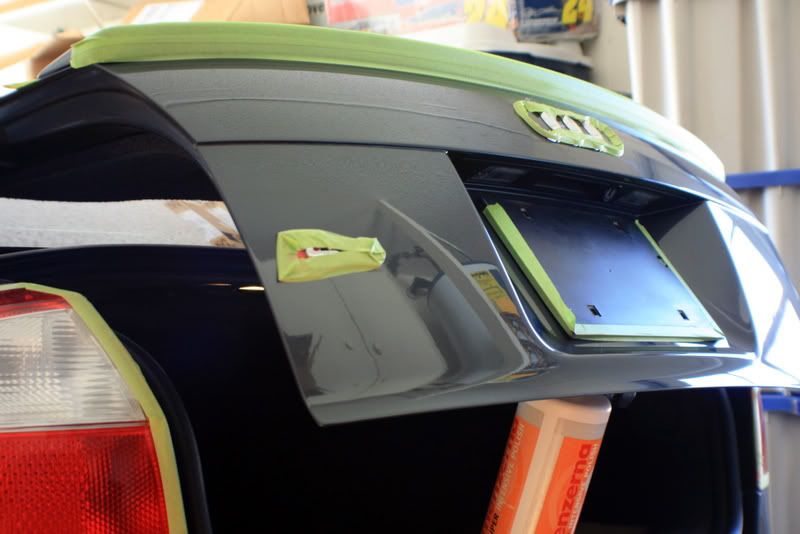
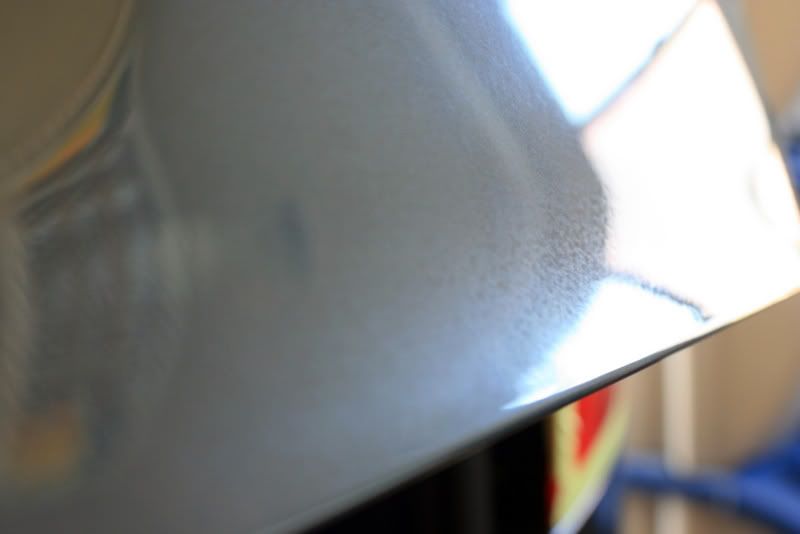
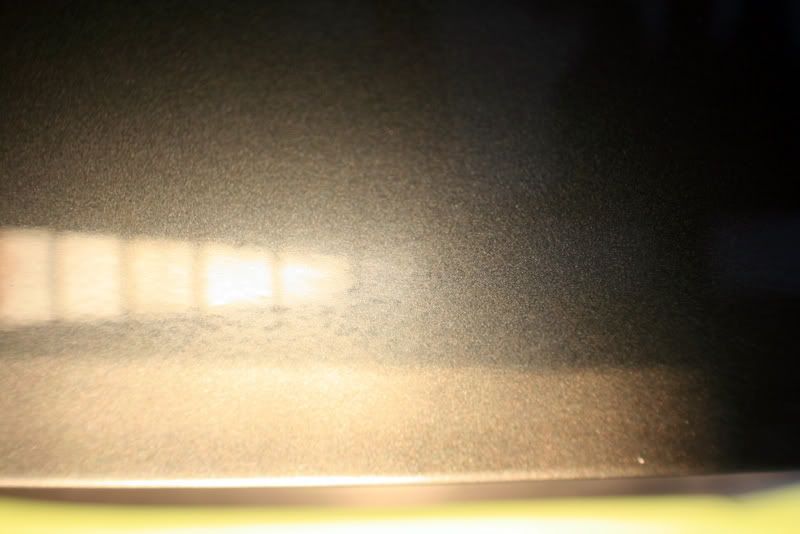
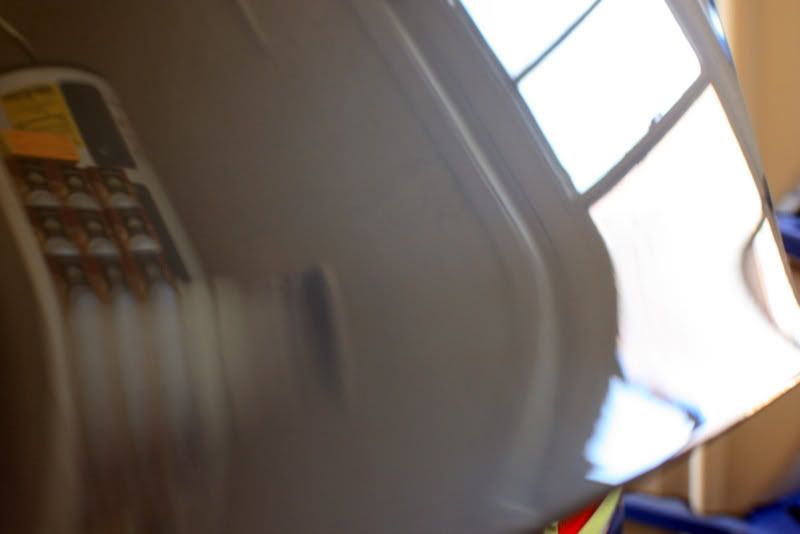
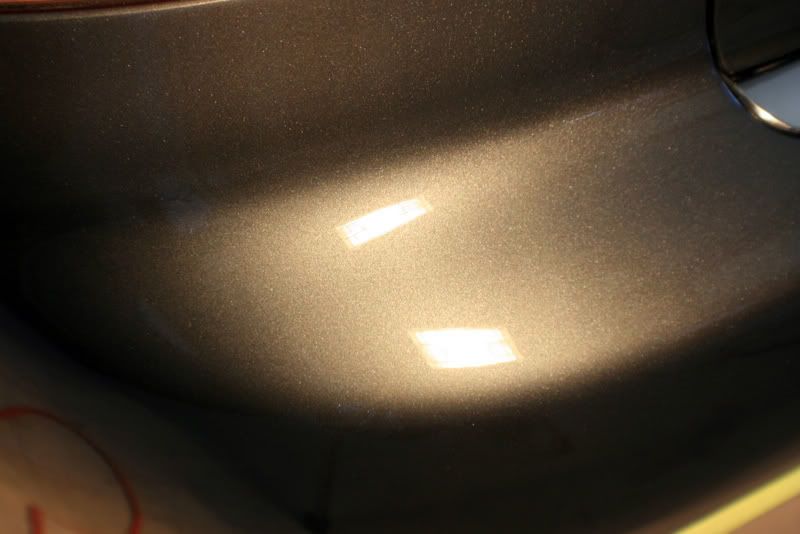
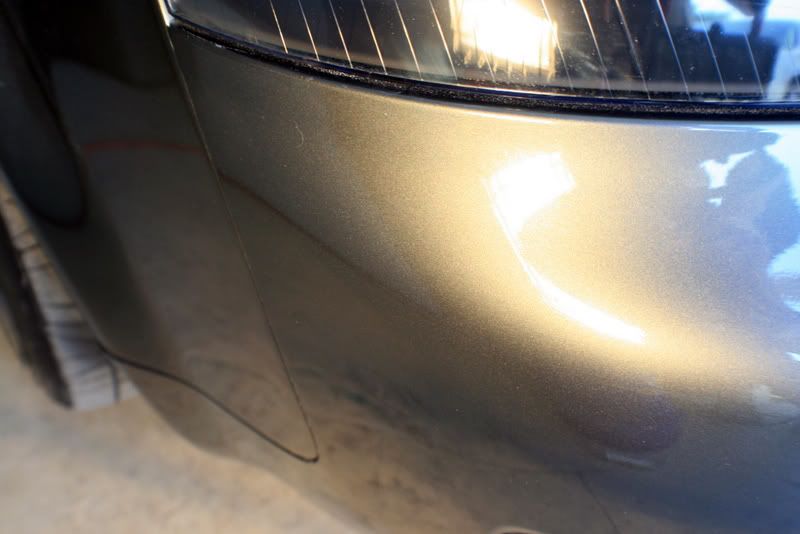
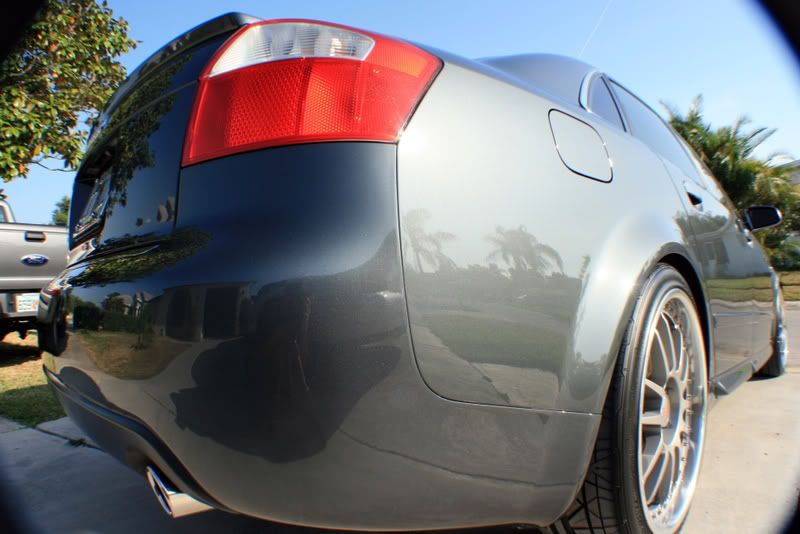
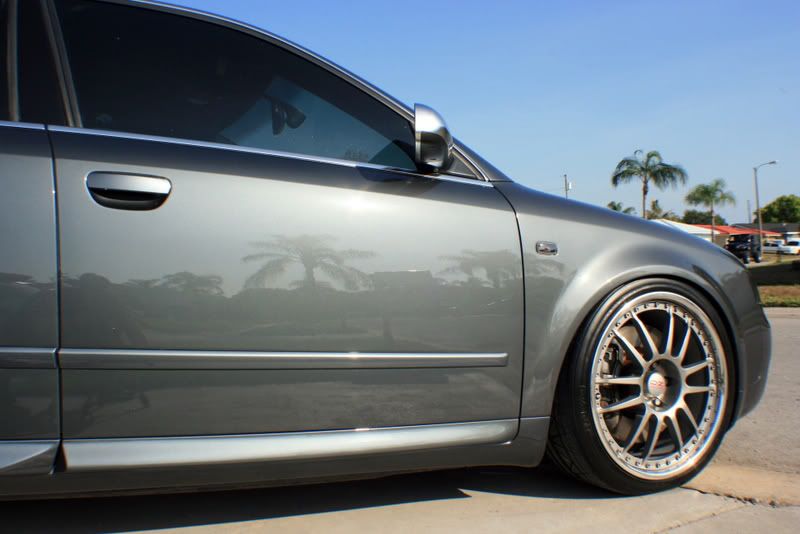
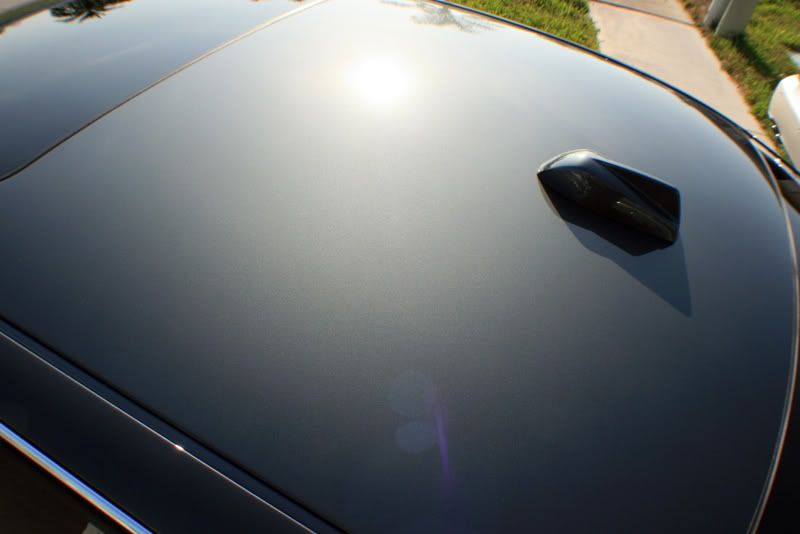
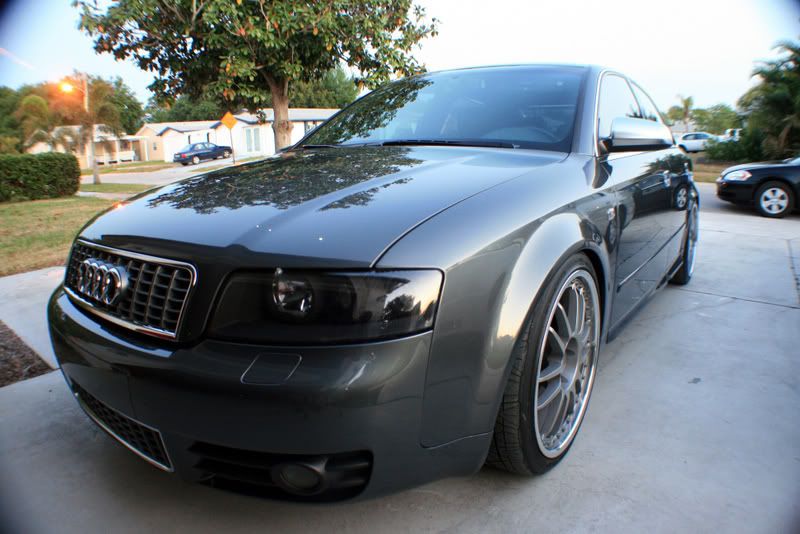
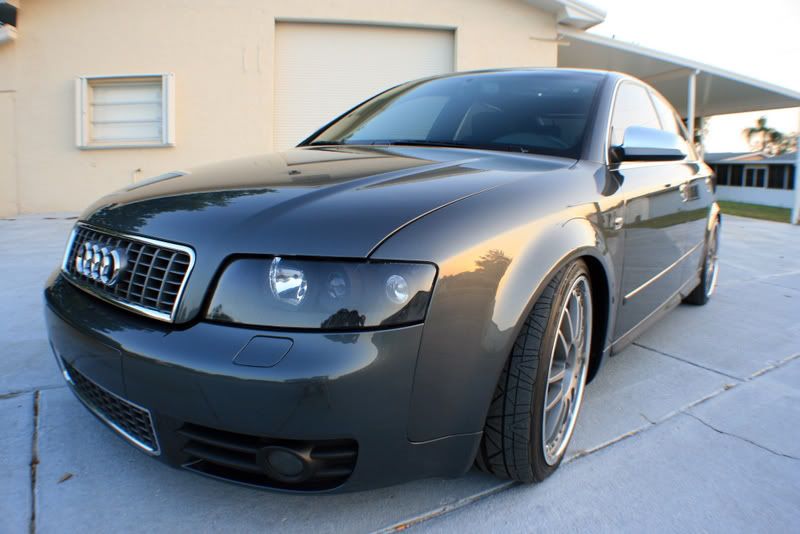
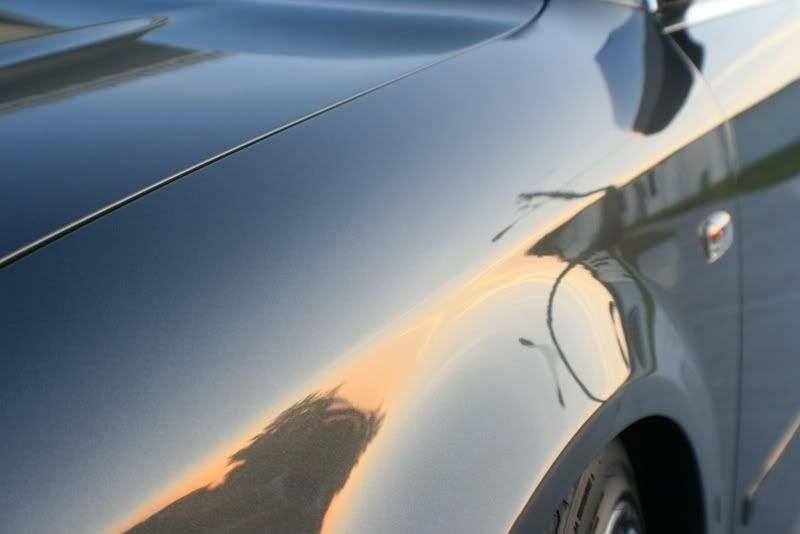
This is how the car looked when it arrived Thursday.
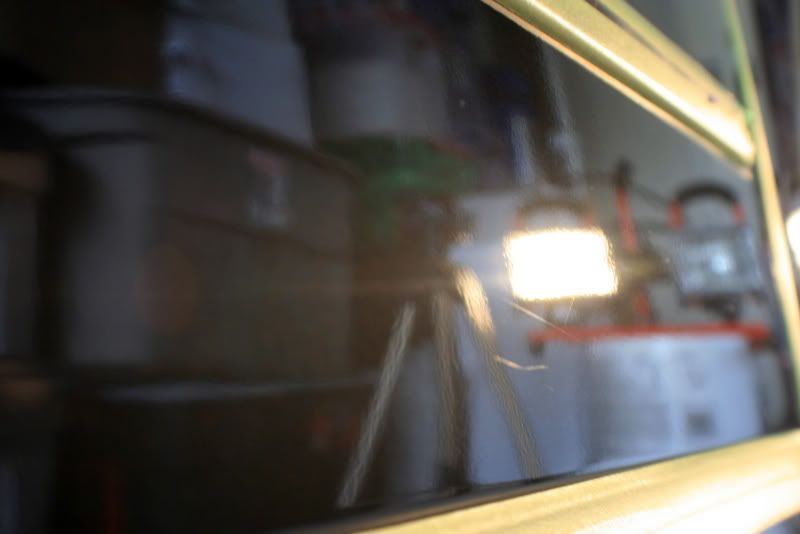
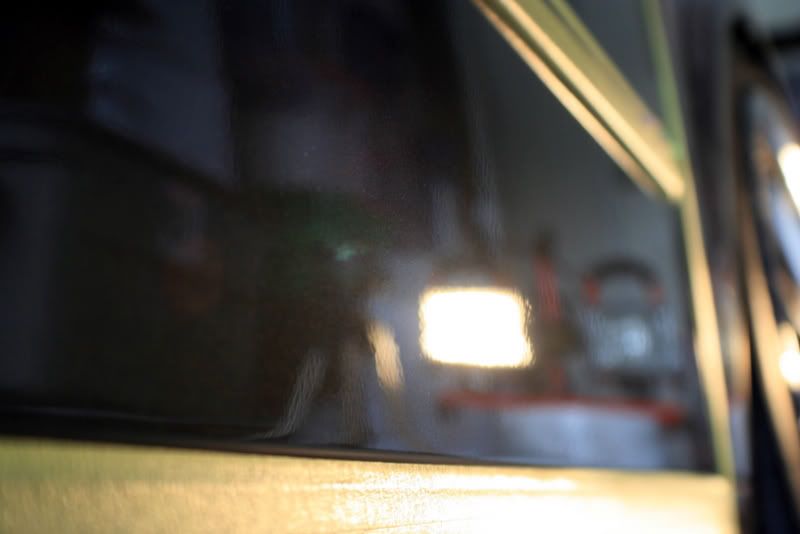
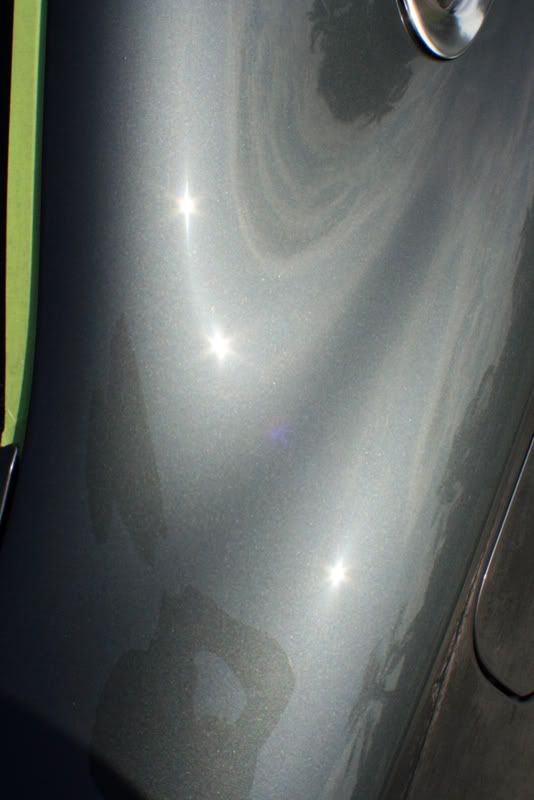
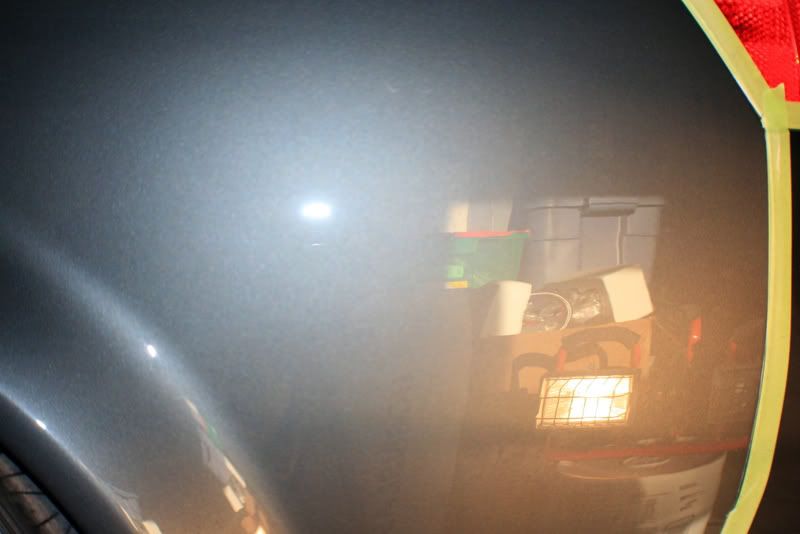
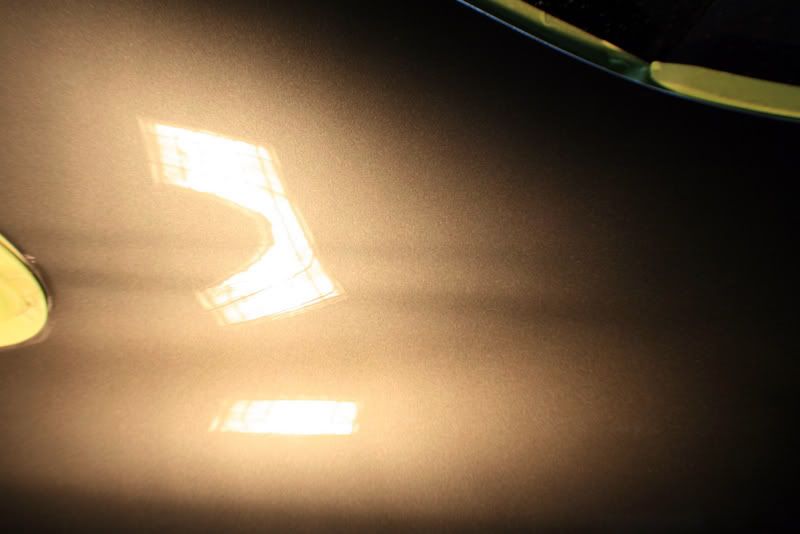
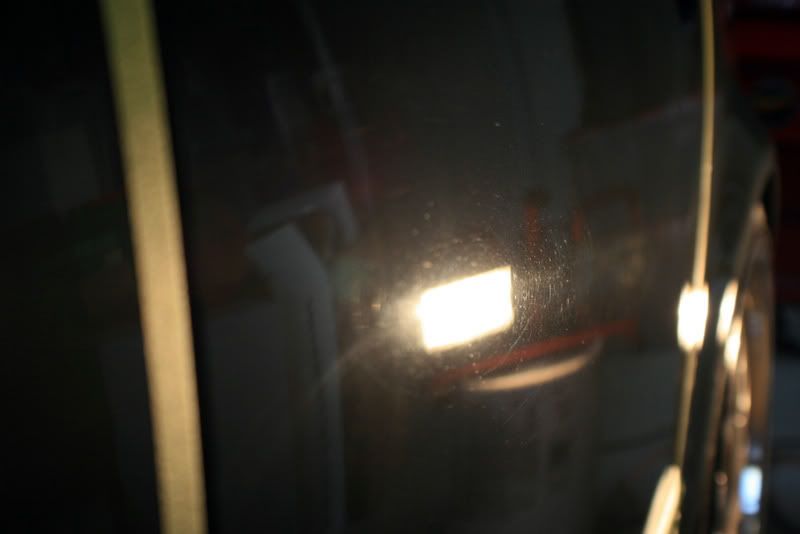
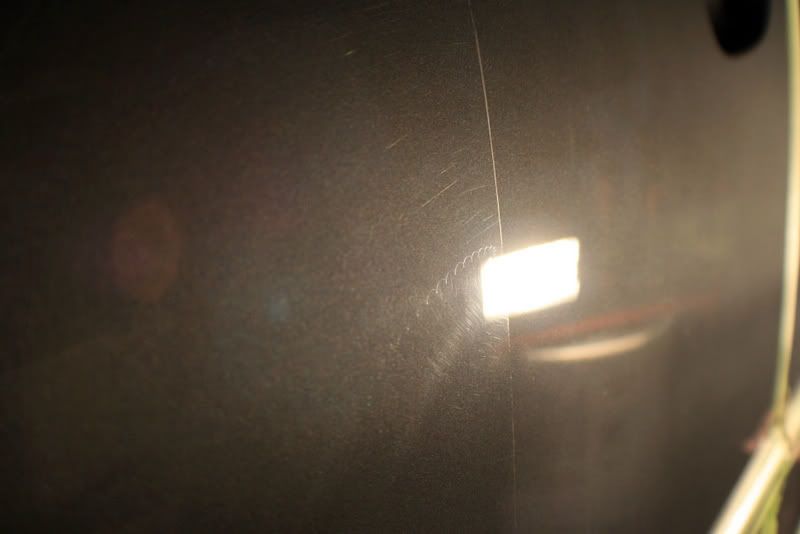
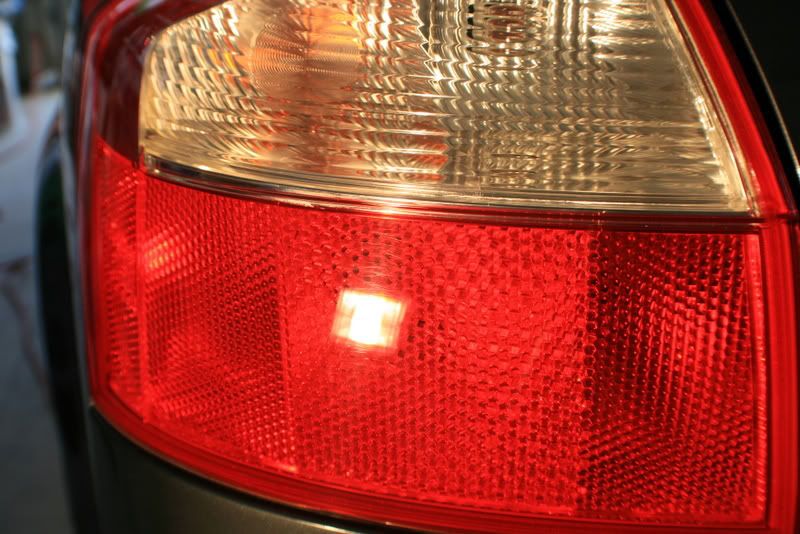
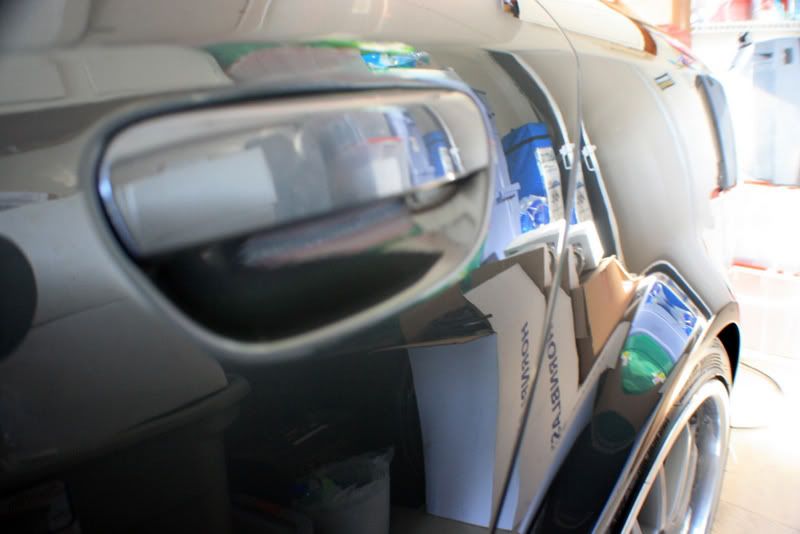
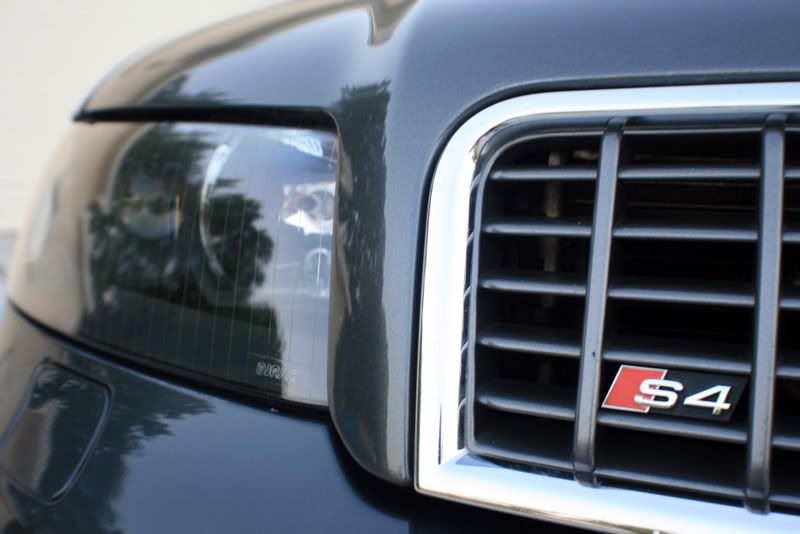
Notice the holograms and you can see some sanding pigtails as well.

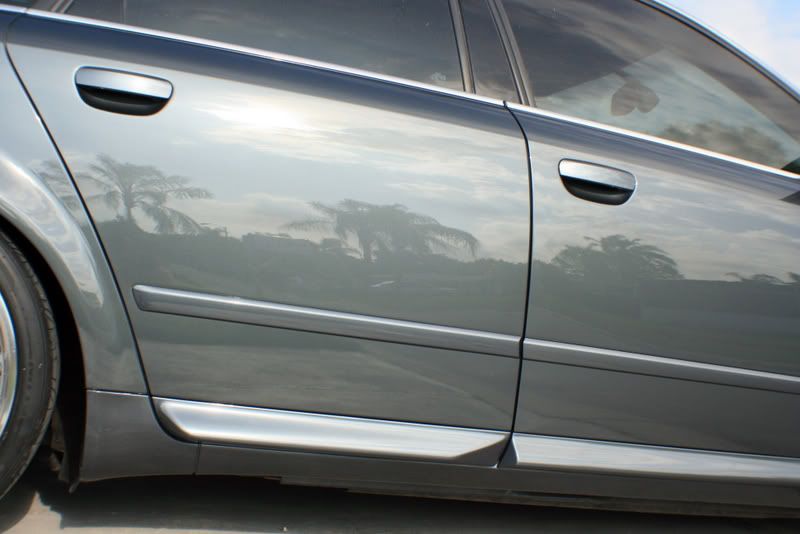
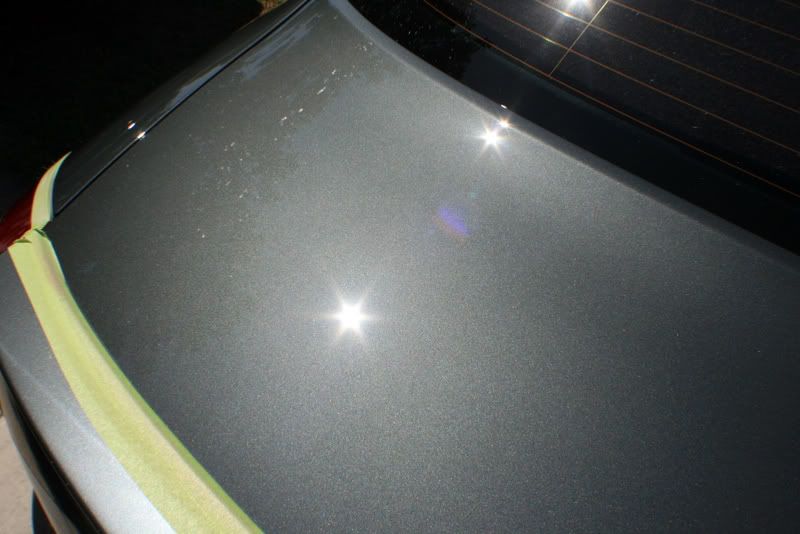
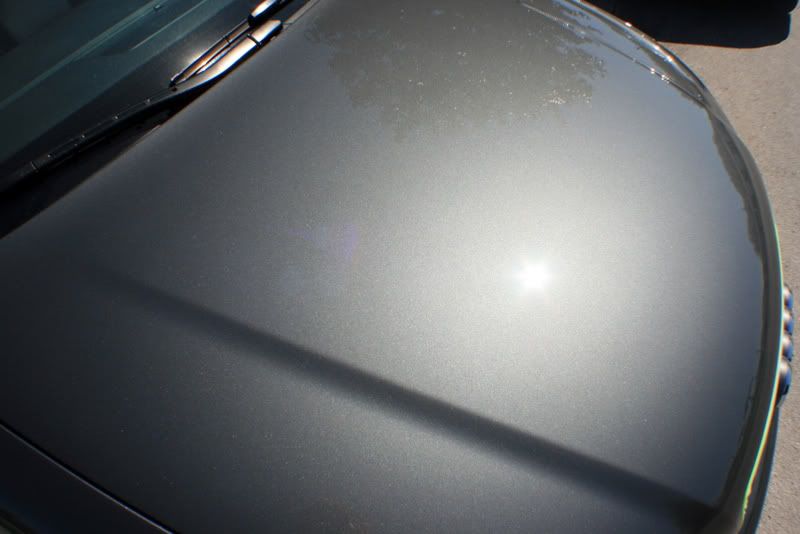
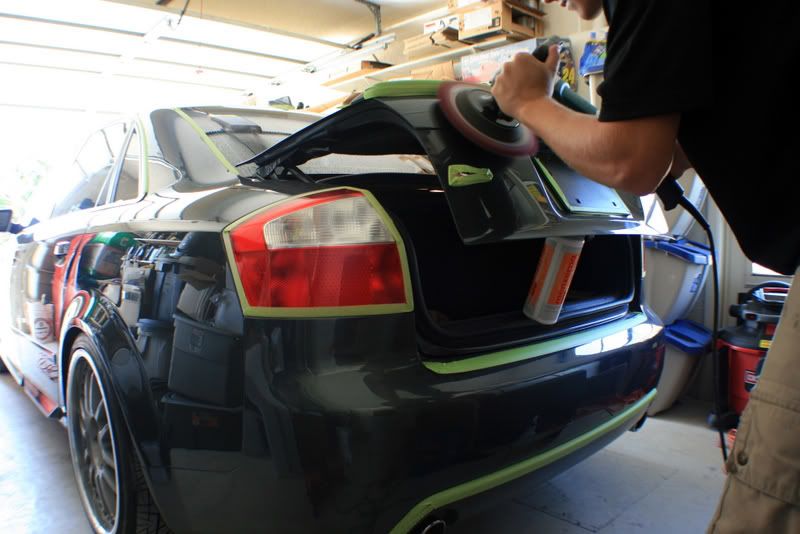
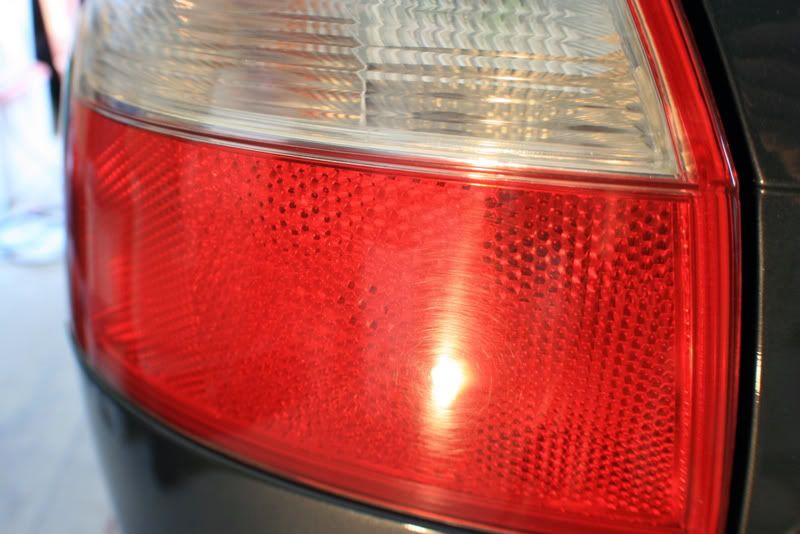
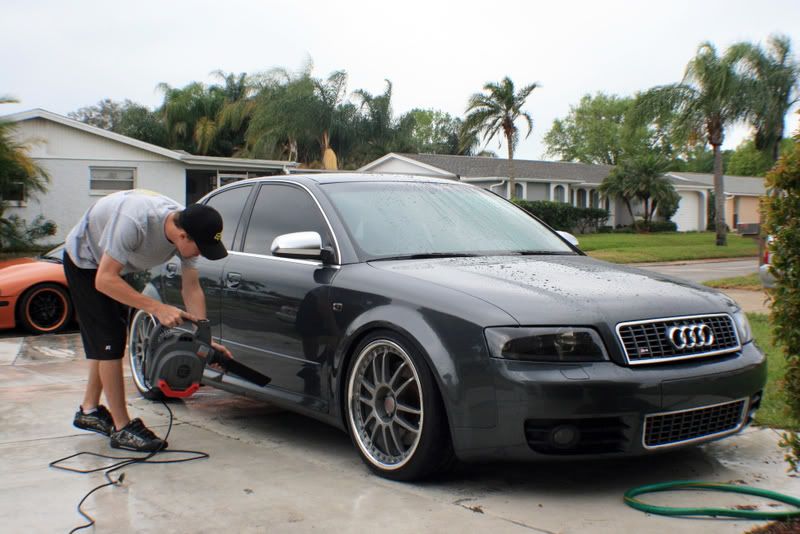
The car was then clayed and blown try.

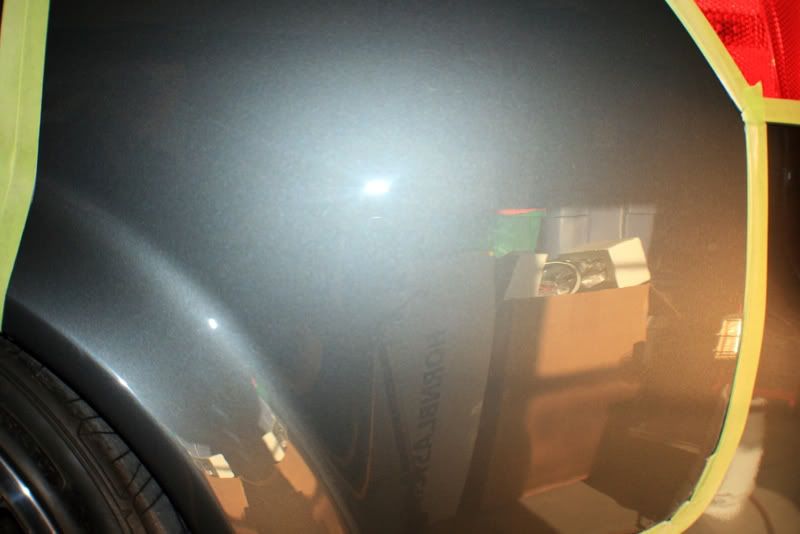
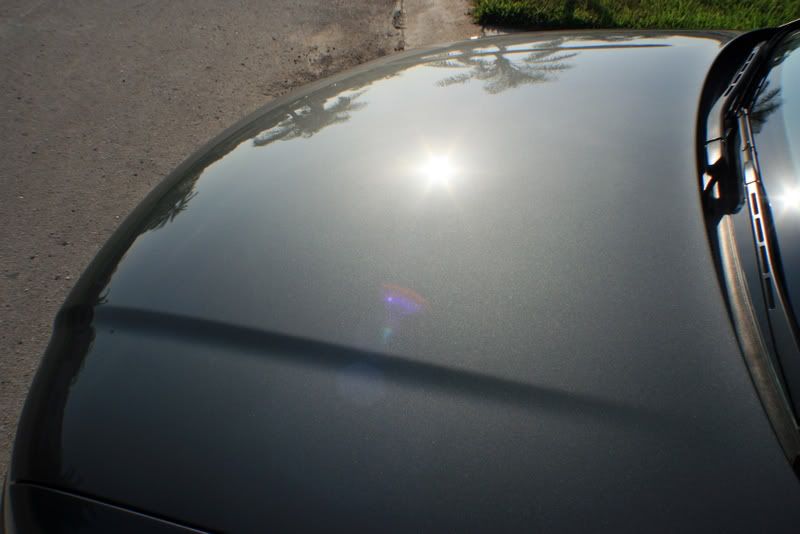
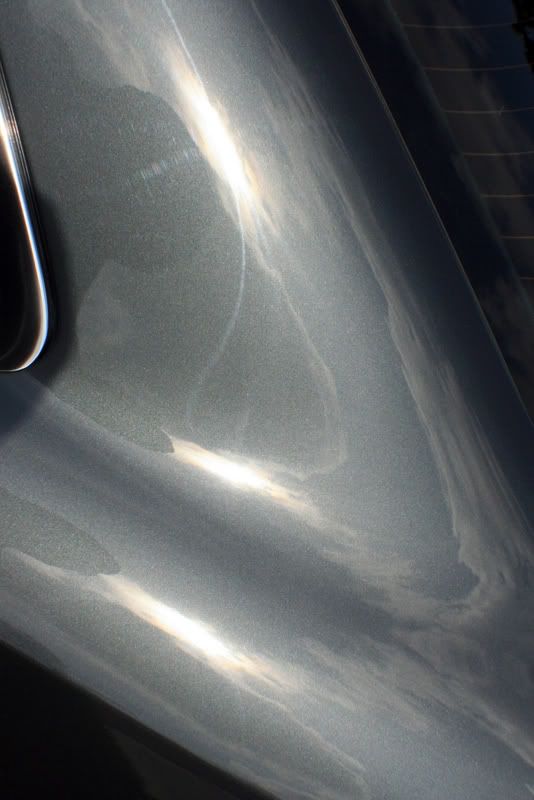
This is how the car looked when it arrived Thursday.
Notice the holograms and you can see some sanding pigtails as well.
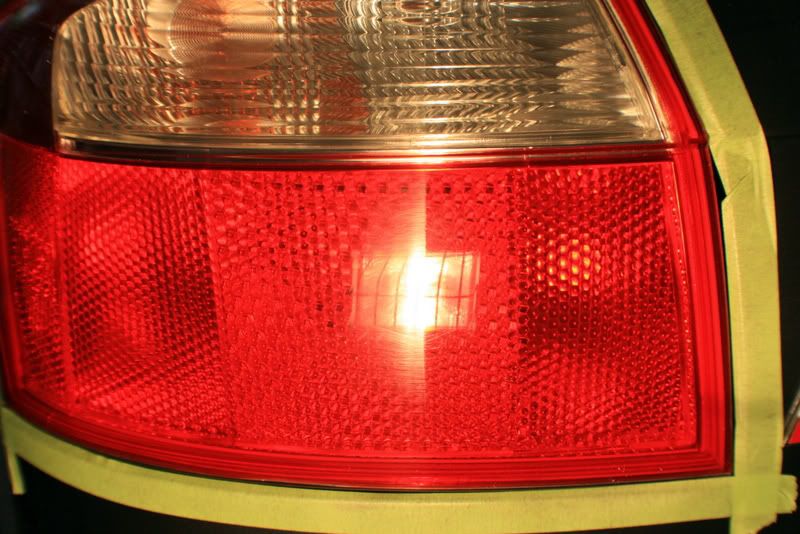
The car was then clayed and blown try.