Well, I saw today that Mr. Murphy has a sense of humor. I'll bet he is still laughing his ass off at me..... I'll get to that in a minute.
The brake booster vacuum hose showed up Friday, so I had what I needed to get the stuff done so I could start putting the top of the engine back together again. I wanted to replace that hose because it had just too many splices in it. Come to find out that the one in the back of the manifold that I thought was a smaller hose inside of a larger hose turned out to not be the case after all. It was two of the same size hoses (1/2 inch) clamped to a metal tube. Just looked the way it did from the angle I was seeing it. I guess at some point in the past there must have been some other vacuum line connected there.
Anyway, I pulled out the bolts that I just had sitting in the holes holding the intake manifold loosely to the heads, and pulled out the manifold far enough to get to that small vacuum hose in back that only has a few inches of play on it. Anyone know what that is for, btw? It's got a 90 degree rubbed fitting on it. Which, btw, I secured down with a wire wrap tie so it doesn't pop off sometime down the road. So I got that hose fitting off and pulled the manifold out a bit further so I could get to that hose clamp holding the hose to the nipple on the back of the manifold. At first I thought I would cover the couple of exposed intake ports, but since I wasn't going to have anything near them smaller than a pair of pliers or a section of hose, and I cleared EVERYTHING from the engine compartment that could even remotely be a danger of falling into a port, I decided it was safe enough like it was. Ding dong, this is where Murphy comes in. I was fiddling around with that spring type clamp with a pair of Craftsman pliers made specifically for these kinds of hose clamps. Picture below...
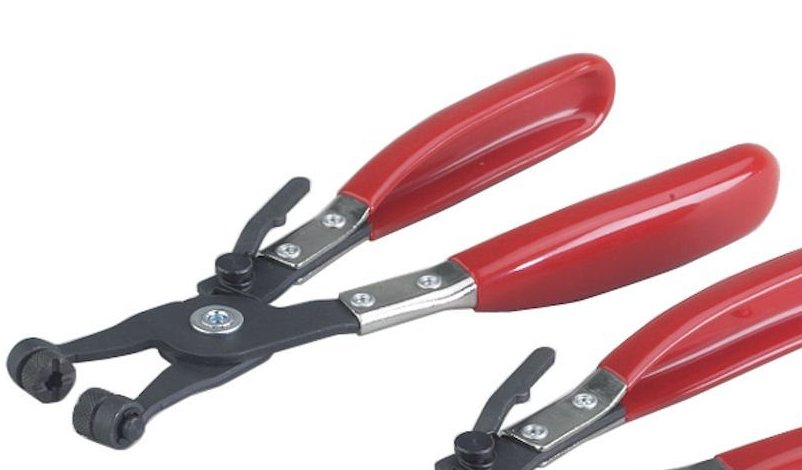
I had to tilt the manifold over on it's side so I could get underneath to grab the spring clamp with the pliers and as I did so and just slid the clamp off of the nipple, keeping it on the hose itself, I heard something go *ping* and then heard something hit the valley cover below me. My damned heart just STOPPED and I'm sure my eyes nearly popped right out of my head as I saw this metal "thingie" bouncing around on that valley cover plate. I had NO idea where the heck it had come from, but God had mercy on my soul and remaining sanity, as it didn't take a leap into one of those opened head intake ports. Then on the other side of the valley cover plate, I see one of those little darn "e" clips laying there. If you look at the picture above, you can see one of those "e" clips, as what it does is to hold that end piece of the pliers so you can rotate that piece to line up with the "handles" of the spring hose clamp. Apparently the clip just decided to come off, and that metal end just dropped off of the pliers. Now, seriously, what are the CHANCES that this would have happened to me? The darn tool just BROKE right in my hands! But at least Murphy apparently was just satisfied with scaring the hell out of me, and didn't want to TOTALLY mess up my fragile mind. Seriously THAT was REAL close. I believe I was in shock for a while after that, as I didn't even mention it to Connie when she came in to help me a little laterl. Obviously I stuffed rags in all of the exposed ports then, even if I was only planning to be handling nothing smaller than a wheelbarrel over my engine. Sheesh.....
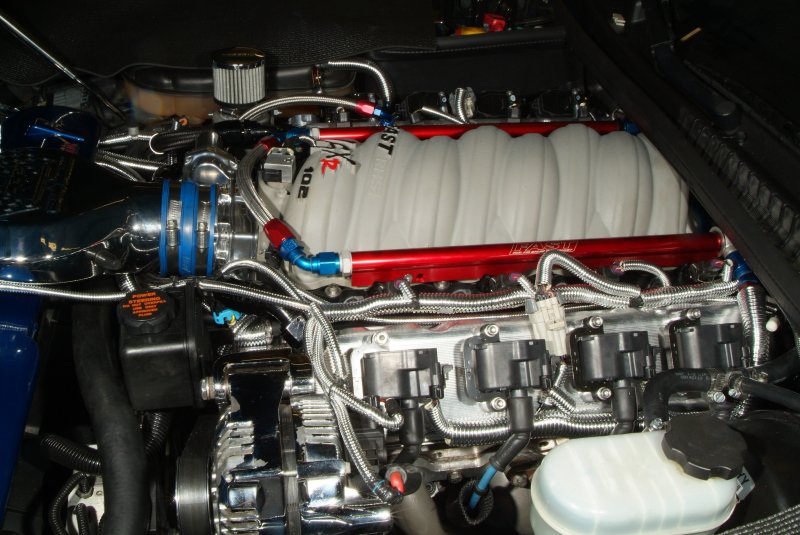
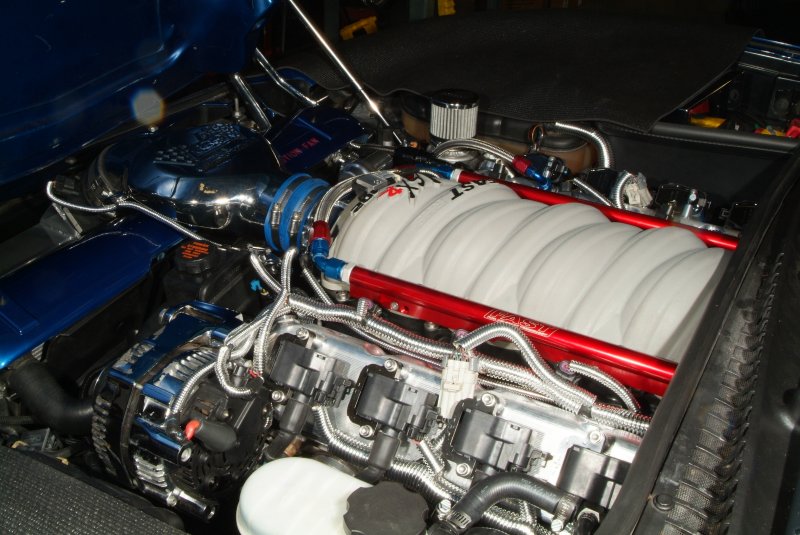
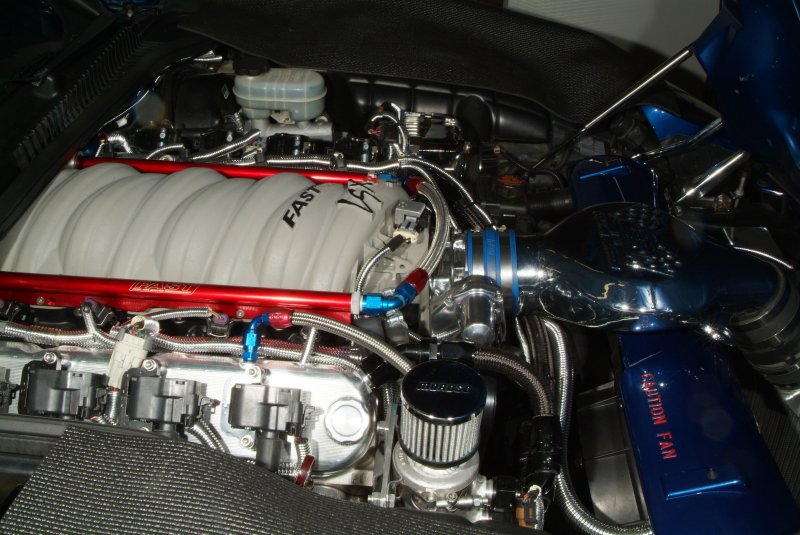
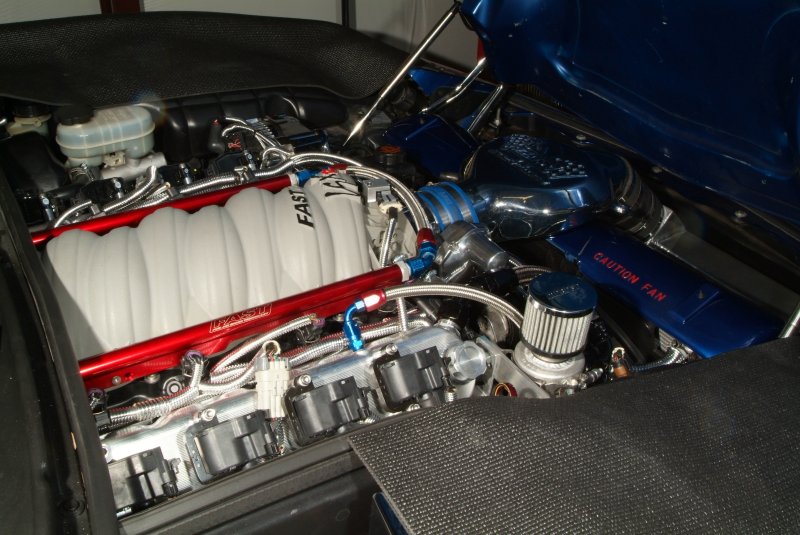
Well, even after that near disaster, I kept at it. I got the new vacuum hose in place to the brake booster, put a "T' in it for the vacuum line going to the vacuum manifold block, got the intake manifold all torqued down, put the fuel injectors onto the fuel rails and installed the fuel rails onto the manifold, installed the throttle body and air bridge. Got the wiring to the fuel injectors back in shape, and things are pretty much in "good to go" condition.
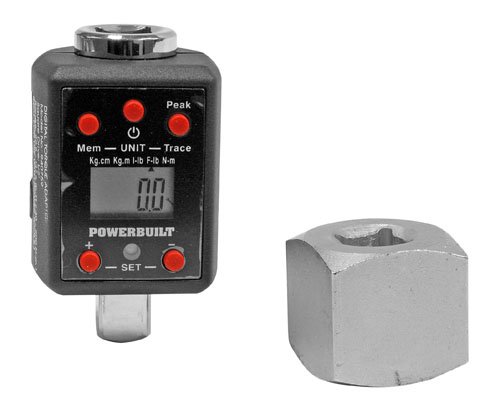
Oh, speaking of torquing down the intake manifold, those bolts were no where NEAR torque specs when I brought the car back home. After I snugged them up by hand, the specs call for a particular pattern with the first pass at 45 in/lbs. Then the second pass at 89 in/lbs. Well honestly when I was doing the first couple of bolts at 89 in/lbs, it just seemed to me that I was tightening down those bolts WAY more than I should. So I started wondering if my torque wrench was accurate. Fortunately I bought a calibration tool when I first started getting the tools together I needed to work on my car. I had a few torque wrenches, but honestly they were kind of old, and I had no idea if they were still any good. So I bought this to test them with.
BTW, this is a great little gadget in that it can actually be used to make any wrench (with appropriate adaptors) into a torque wrench.
Anyway, the calibration tool didn't do in/lbs, but it's simple enough to convert in/lbs to ft/lbs by simply dividing in/lbs by 12. So I checked out my torque wrench and it was dead on at 7.3 to 7.4 ft/lbs according to the calibrator. So good enough........ But in any event, a while back when I just happened to check those bolts on the intake manifold holding it to the heads, I could turn those bolts a good two turns EASILY to tighten them down. And even then, they were still no where NEAR as tight as they are now being properly torqued down. Probably a good darn thing I didn't torque them down as probably those two shorter bolts would have just stripped out the thread in the process.
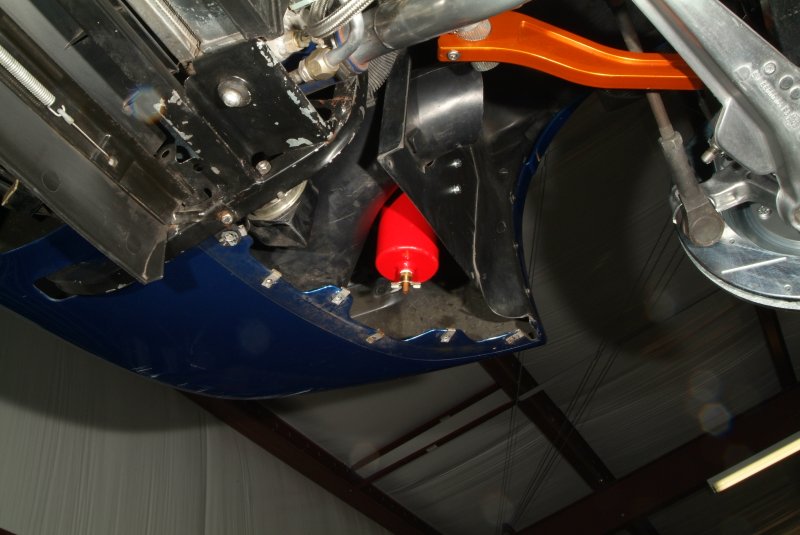
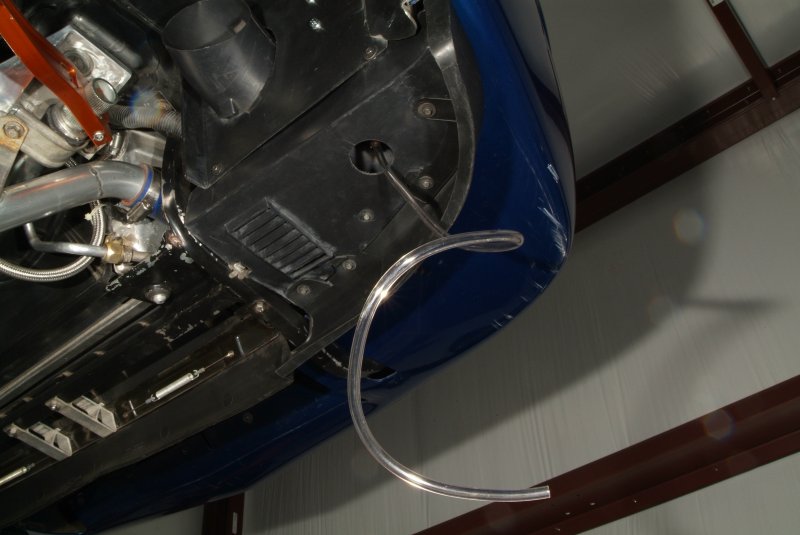
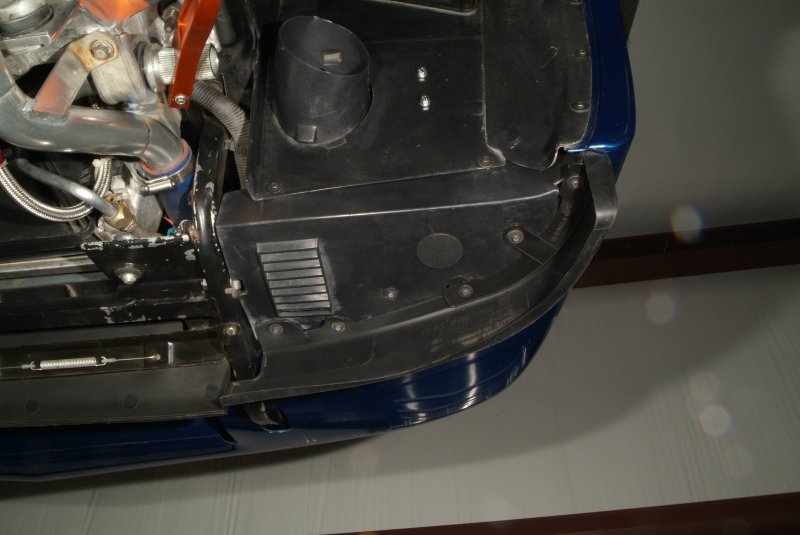
So, after putting that stuff back together, I wound up playing around with that catch can. The more I looked at it sitting cocked at an angle underneath the driver's side headlight, the less I liked it. Plus it's about 7 ft. of vacuum hose run each way, some of which makes a sharp turn upwards at spots, that I just was not crazy about. I was afraid any fluid in the lines might wind up STAYING in the line before even getting to the catch can and eventually gunking it up to where it closed off. So I pulled off the panel beneath the passenger side headlight and scoped that out.
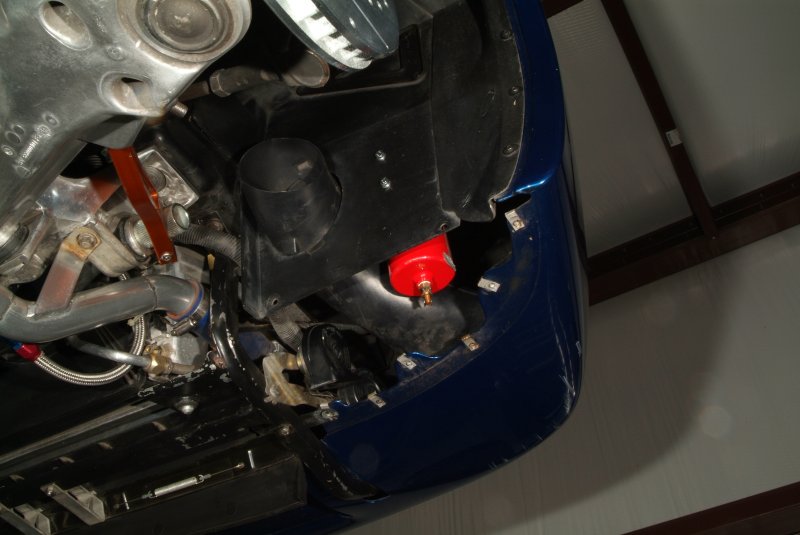
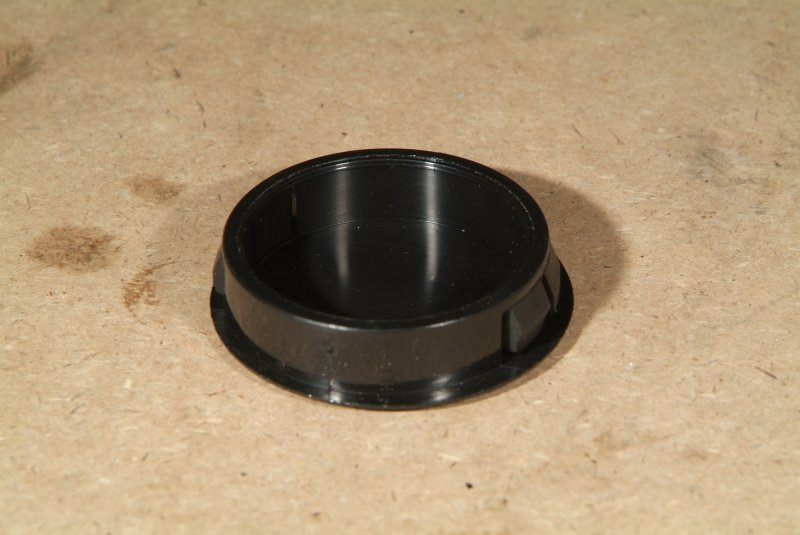
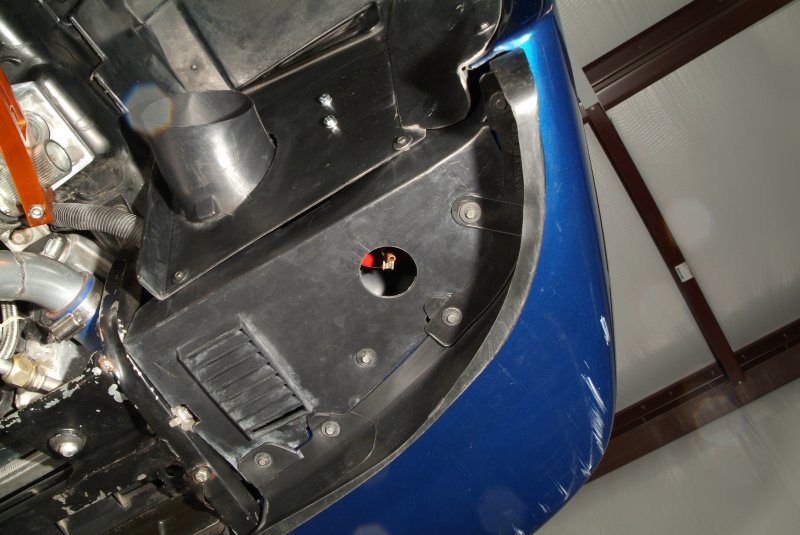
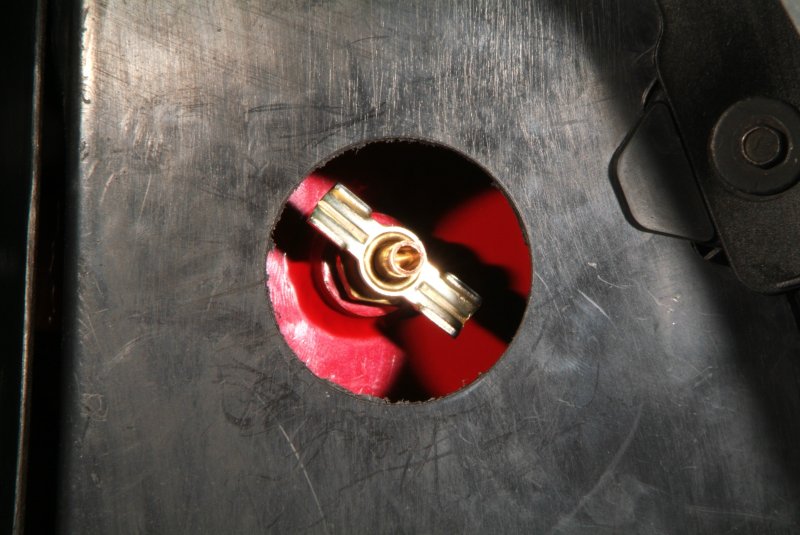
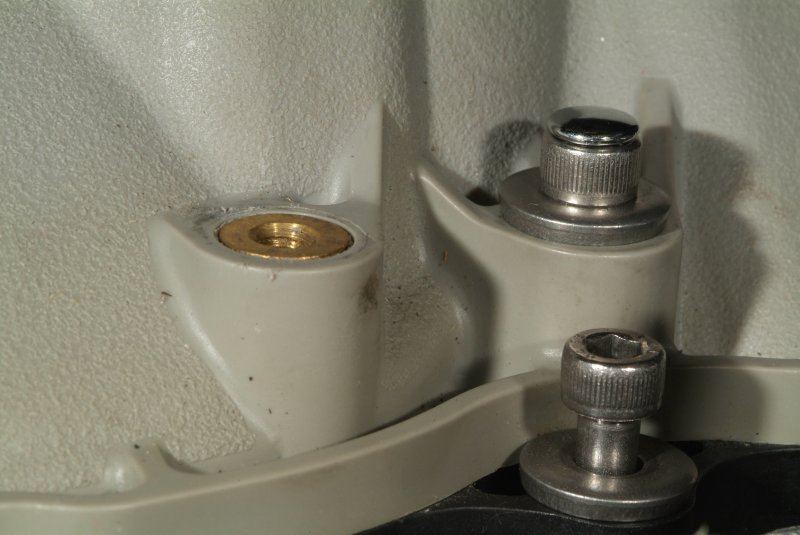
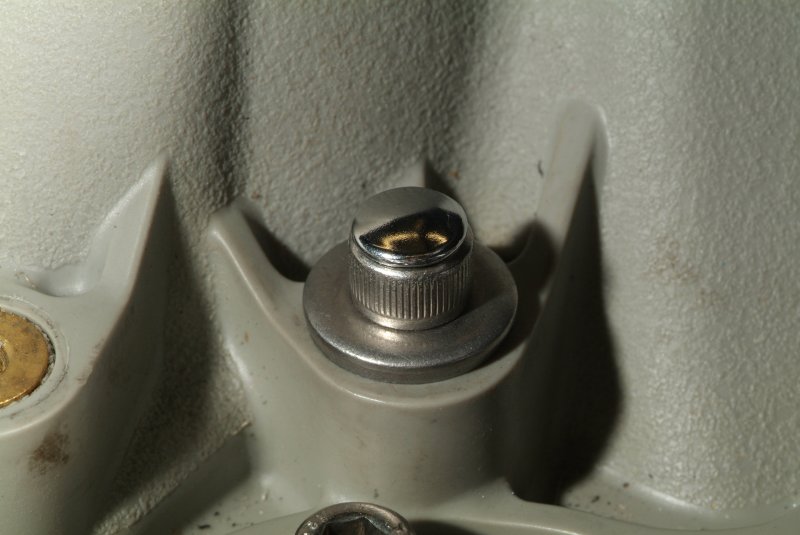
And I think I can make that work. I can mount the can on the front inside of the wheel well panel, directly under the passenger side headlight and I will have plenty of room. The hoses will run along the frame and pretty much be all down hill to the catch can itself. Looks like about 4 ft. runs for the vacuum hose that way. I will need to cut a hole into that plastic panel underneath so I can get to the drain fitting for the can, but I'm thinking I can just put a plastic cap there, similar to what I used for that hole in the firewall above the banjo fitting on the driver's side fuel rail, that I can remove as needed to get to the drain.
So here's the game plan for tomorrow (Sunday).
- Mount the catch can to the inside of the front wheel well underneath the passenger side headlight.
- Connect the vacuum hose to the catch can. The hoses are already connected on the other end.
- Cut a hole in the panel underneath the catch can to be able to access the drain fitting.
- Hook up the battery.
- Hook up the laptop and turn on the fuel pump to run up pressure in the fuel system to check for leaks.
- Check for both fuel leaks and vacuum leaks.
- Readjust the fuel pressure to 55 psi without the vacuum line hooked up to the fuel pressure regulator.
- Run the vacuum line from the fuel pressure regulator to the vacuum manifold block.
And I believe that is
IT. Should be ready to proceed with the tuning at that point.
So NOW is the time for the car to go into "fireball mode" on me........
 Thanks, Dad!