• Got the Contributing Memberships stuff finally worked out and made up a thread as a sort of "How-To" to help people figure out how to participate. So if you need help figuring it out, here's the thread you need to take a look at -> http://www.corvetteflorida.com/forums/showthread.php?t=3581 Thank you, everyone! Rich Z.

427 engine (part 2) - RHS block

That is bad Rich.....you don't just push wires into a fuse socket.....unreal.

http://www.c5help.com/c5fuelpumpinstallationinstructions.pdf
http://www.c5help.com/fueltank.htm

Hey Tracy, thanks for the links.

I had already seen that one concerning the LPE fuel pump. Some people claim that a new fuel strainer must be used whenever the old one is pulled out, and that writeup doesn't mention that detail. Interesting that it does mention that new retaining bolts must be used on the pump, as it appears whoever last removed my fuel pump simply reused the old bolts.

That fuel tank description doesn't apply to the 2002, as the 2003s apparently went to a top mounted fuel pump, and my 2002 has an end mounted one. At least with mine, the fuel pump will be a LOT easier to get to.

Oh, let me ask a question here. Is that large aluminum cover the ONLY thing holding the fuel tanks in place? Or is there another strap or something underneath it? I do smell gasoline around the passenger side tank that I would like to check out. I know Harwood dropped both tanks to clean them out when he had my car, so possibly something wasn't tightened down, or worse, maybe the tank got punctured. I don't SEE any leaking, but it might be small enough that it just pools slightly on top of that aluminum cover and then evaporates before dripping. I would like to be able to remove that aluminum cover, but really don't want the tank dropping down.

Oh yeah, I read some instructions somewhere about draining the gas tanks and it appears that the correct method is to drain them both from the gas line connections at the fuel pump mounting panel on the driver's side, and then on the passenger side at a similar panel. I dunno, seems to me that gasoline will forcibly spurt out of those hoses when they are disconnected. So I must be missing something somewhere...
 
those are "add a circuit" plugs, not just a wire shoved into the fuse box.

http://www.google.com/products/cata...a=X&ei=s48IT9y8DqLo2QXE4rm4Aw&ved=0CDUQ8wIwAA

So does this plug also apply power to the original circuit? In this case, to the original in tank fuel pump?

Still, the fact of the matter is that I can't see any reason why the original fuel pump circuitry wasn't used to keep the fuel system SAFE for a street driven car. :nonod:

I went over to the garage and inspected the new half shafts that came in. Look brand spanking new to me. Genuine GM, too. So at least I didn't get "shafted" with this deal. Well, I didn't do anything more today than just lube up the shaft ends in preparation to installing them. Probably tomorrow. Hell of a thing to be doing on mine and Connie's wedding anniversary, but she insists that she would just as soon have me get that out of the way rather than fretting about it all day. We just took a walk around the property today enjoying the nice weather and checking out the new fruit trees we have planted.
 
Well, I am tackling the half shafts today, and it's not going well.

The ball joint wasn't any problem, nor was the tie rod. Got the emergency brake cable off as well as the electrical connection going to the speed sensor. Had to lift the knuckle with the jack a bit to get the upper ball joint out of the upper A-frame, but no big deal.

But that shaft just does NOT want to come out of the knuckle/spindle/hub/whatever.... I've sprayed it down liberally with PB Blaster, whacked the bitch with a hammer and it just is not moving. I bought a set of hub pullers, but neither one will fit. One fits on the wheel studs OK, but is too shallow for the center screw to go in to apply pressure to the shaft end. The other is plenty tall enough, but the flange doesn't mate up with the wheel studs no matter how I position it.

Dammit..... Yeah, I know, you guys say this is all easy as pie, but sorry, I'm just not seeing it that way right at the moment. Basically I'm just screwed till I can figure out some way to get that shaft out. And then I have the other side to do. Lovely....

I really REALLY hate doing this auto mechanics stuff......
 
Well, here's where I am so far...

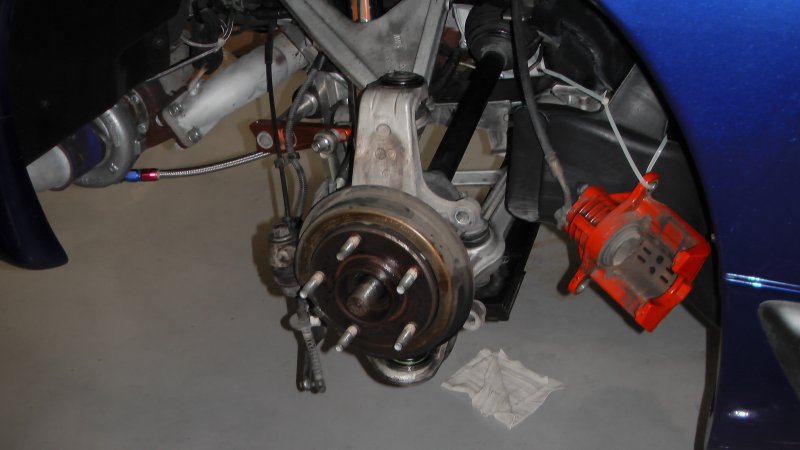
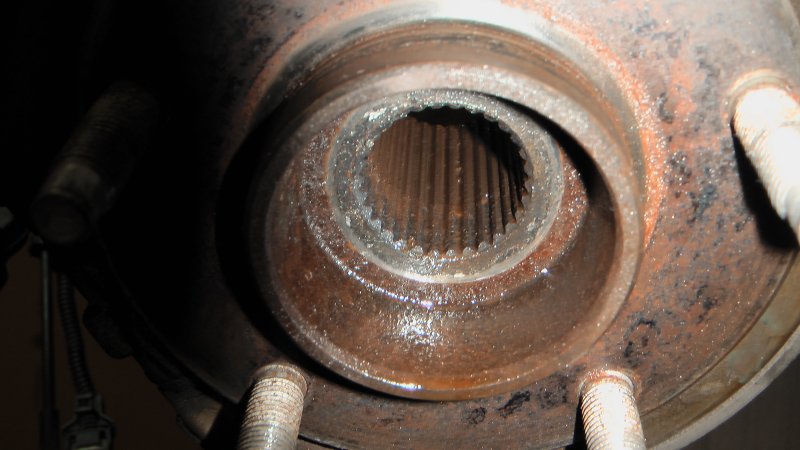
rotor_removed_01.jpg


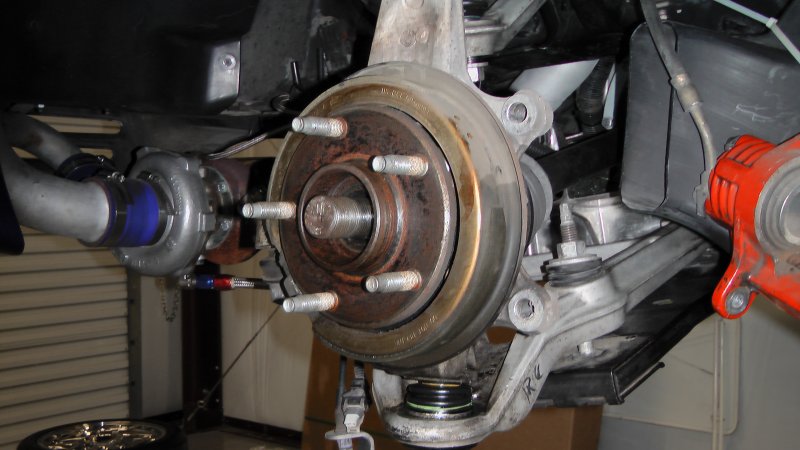
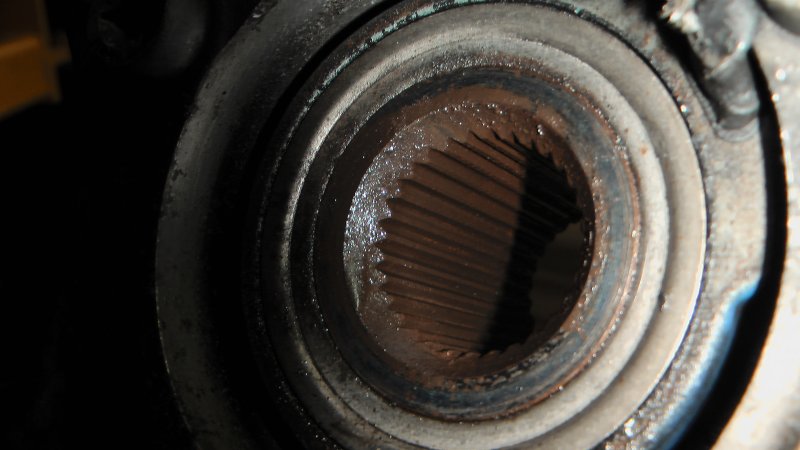
rotor_removed_02.jpg


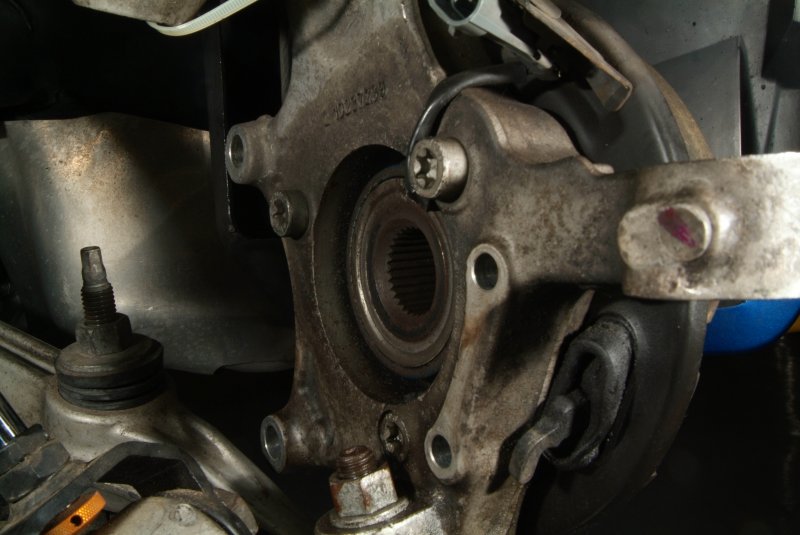
I removed the brake caliper and pads with bracket and then removed the rotor. I had hoped I could just remove the hub itself and pull the shaft through the spindle, but no such luck...

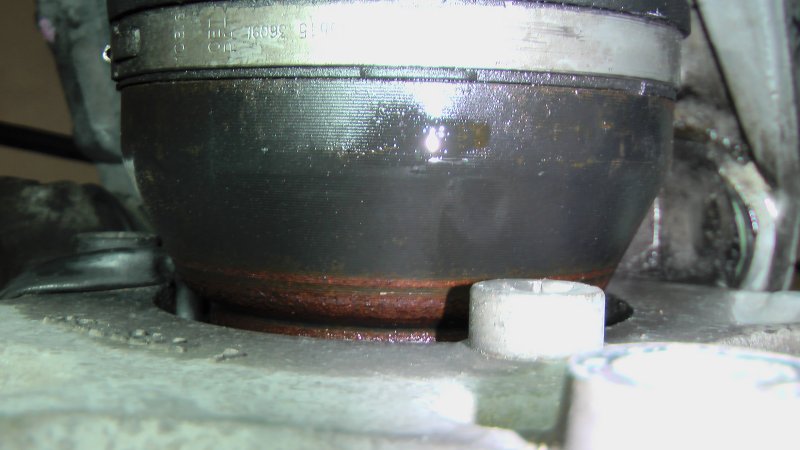
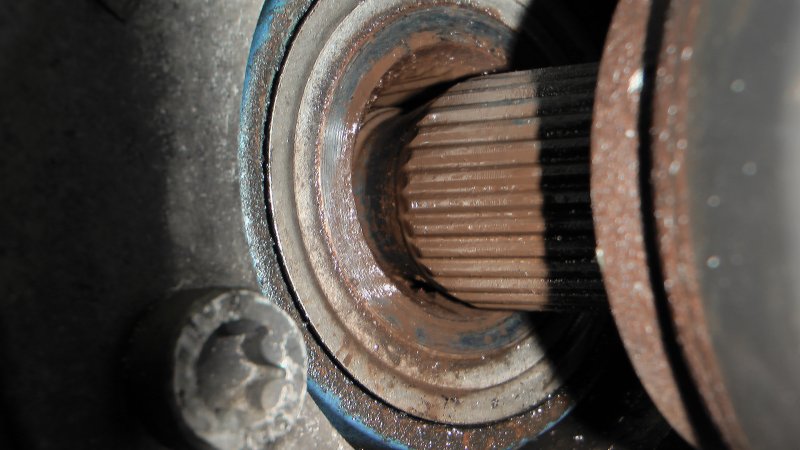
spindle_hole_01.jpg


Nope, looks like one way or another, that shaft is going to HAVE to come out of that hub.

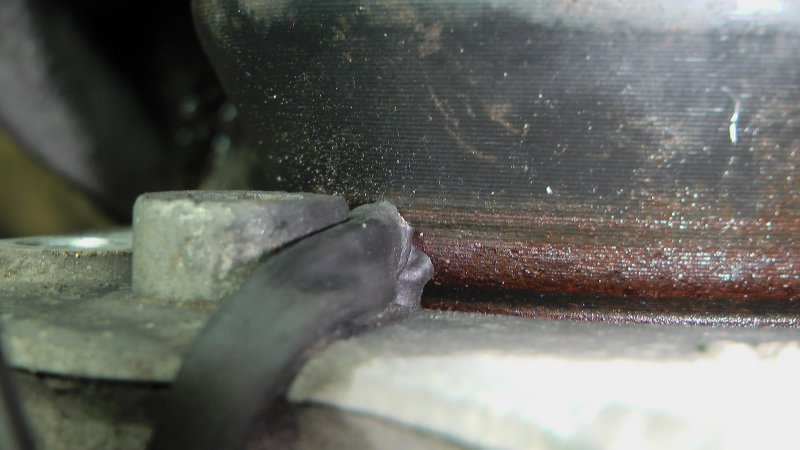
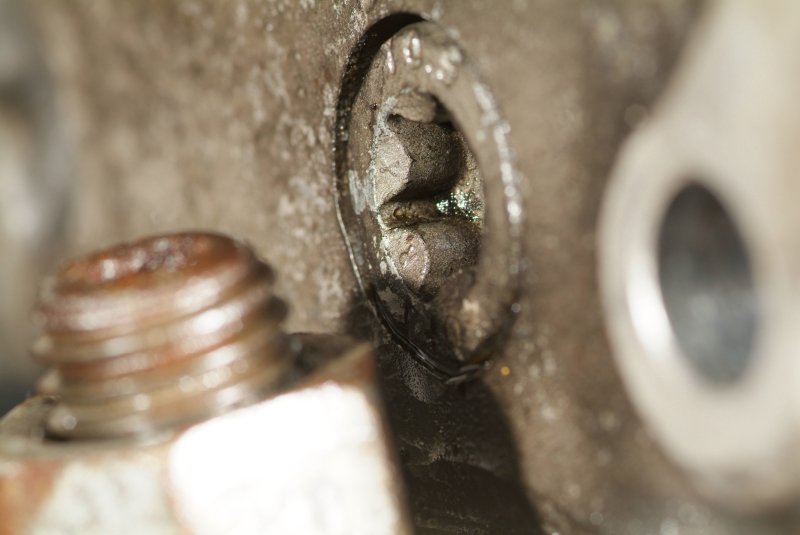
Oh while I was looking that all over, I noticed that the cable for the speed sensor had been rubbing against the shaft, and it appearsto have worn through the insulation.

speed_sensor_cable_01.jpg


Great.... Is there anything on this car that DIDN'T get damaged over the past 2 years?

Well, I have a GM tool for removing the hub on order that I found used on Ebay. Didn't really feel like paying $90 for a new one and use it maybe twice in my entire lifetime. Then I also bought an air hammer that I am going to use to try to work that shaft out of the hub, or at least break it free so the hub remover will be able to push it out easier. I got a suggestion about using two hammers together to beat on the shaft, so I'll apply that before using the hub puller as well. If all that doesn't work, then beats the heck out of me what my options will be.
 
So does this plug also apply power to the original circuit? In this case, to the original in tank fuel pump?

yes, there should be 2 fuses stacked together, the one closest to the fuse box is the one that would be originally in the fuse slot, the top one goes to the red wire. we use to use those back in the day when people had radio head units that did not have a remote output for turning an amplifier on and off, so i would use that to find a switched power source that would turn the amp off and on when the key was turned off and on.
 
BTW, make sure the shaft is out of the tranny before you go beating it out of the hub. you don't want to cause any trauma to the trans where the shafts go in. also PB Blaster is your friend when it comes to unsticking rusted stuff.
 
BTW, make sure the shaft is out of the tranny before you go beating it out of the hub. you don't want to cause any trauma to the trans where the shafts go in. also PB Blaster is your friend when it comes to unsticking rusted stuff.

I did pull the shaft out of the differential this evening, just to see if that could be easily done, of it I had another headache in front of me. I have the spindle connected back up to the upper A frame and the tie rod connected to give it some support when i try to tackle the shaft again later this week. in the meantime, I'm going to be spraying it liberally with lubricant. And yep, I bought a couple cans of the PB Blaster spray.... :thumbsup:
 
Well, I found some new hubs at a fair price -> http://shop.advanceautoparts.com/webapp/wcs/stores/servlet/product__18445504-P_186_R|GRPWHELAMS____ so I have them on order. Luckily AdvanceAuto has some sort of 25% off promotion going on right now, and from what I hear, Moog is a pretty good brand name.

Now all I have to do is get the shaft out of the old hub without damaging the knuckle in the process. If I can't, well I guess I'll be in the market for new knuckles as well. Heck, I'm not sure whether I should even bother with the driver's side shaft and hub now. This passenger side is being a real pain in the ass, and quite likely the other side won't be any easier. But on the other hand, I guess it would probably just be smart to take care of both of them at the same time and be done with it. Had Aaron not left the brake line laying against the shaft boot and damaged it, this wouldn't even be an issue right now, but since it is, well, best to do it right rather than half assed... Literally..

Still waiting on the GM hub puller to show up here. I may go pound on the shaft a bit and attack it with the air hammer to see if it helps loosen the shaft up any.

Oh, if anyone knows of an inexpensive source for C5 Corvette knuckles, I sure would like to hear about it. From what I have been able to gather, the left front and right rear are identical, as are the right front and left rear. I guess they are sort of catacorner mirror images. :shrug01:
 
Yeah, I've already sent out feelers to them as well as others. Sure would be nice to find someone parting out a wrecked C5 right about now...
 
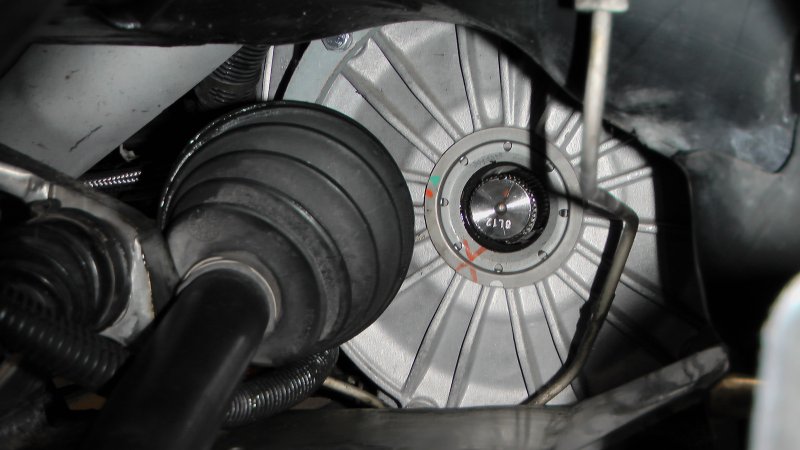
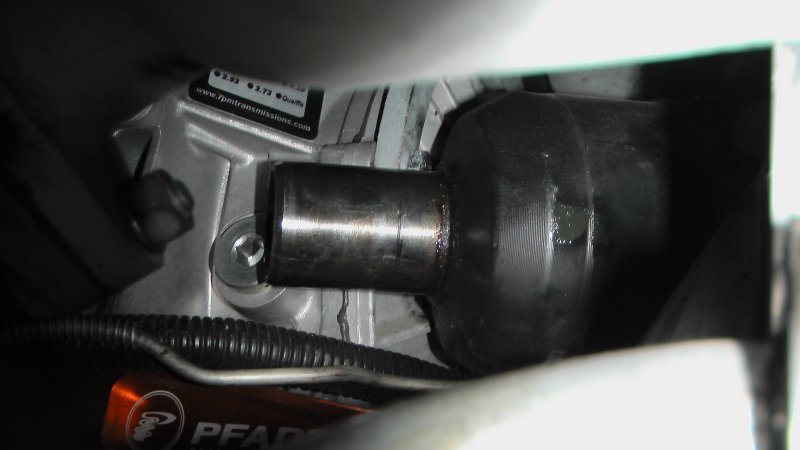
Figured I would take a few pics to show the half shaft pulled out of the differential so I don't have to worry about any damage to the differential itself while trying to pound that shaft out of the hub on the other end.

shaft_diff_01.jpg


shaft_diff_02.jpg
 
Weuse Lonnies pumps & systems quite a bit.....good stuff. The earlier fuel tanks are easier to swap and there is bot a fill crossover & a vent crossover from the pass side tank. I'm willing to bet he did not get it all slipped on far enough and thats your smell. It is NOT easy. I sure wish you were closer Rich.....would help you for free just to see it running correctly and finished right. Has been hard to watch from afar and cringe at some of the bull crap you have been fed, but I know it is hard to know who to listen to.

On getting the shafts out of the hubs, I always take the bottom ball joint out so I can swing everything up allowing the diff side to pop out and then can support all and drive it out with a BIG hammer....and yes, it will be rust bonding the splines in.

Again, Lonnies stuff is first rate and the aeromotive A-1000 stealth (in tank) is much quiter than a frame rail mounted one.
 
Hallelujah!

Got the shaft out of the hub today! A lot of people were giving me pointers on how to get this done, so I tried several of them in combination. Ed Hutchings, in particular, suggested the dual hammer trick, so that combined with the air hammer and copious amounts of lubrication seemed to do the trick. I had hoped that alternating between bashes with the hammer and the vibration from the air hammer would do the trick, and sure enough...

Well, I'm going to finish up with the passenger side completely before tackling the driver's side. Just in case I forget where something goes, I would to have one side put together to refer back to....

Whew! Thanks, everyone for your help and encouragement...


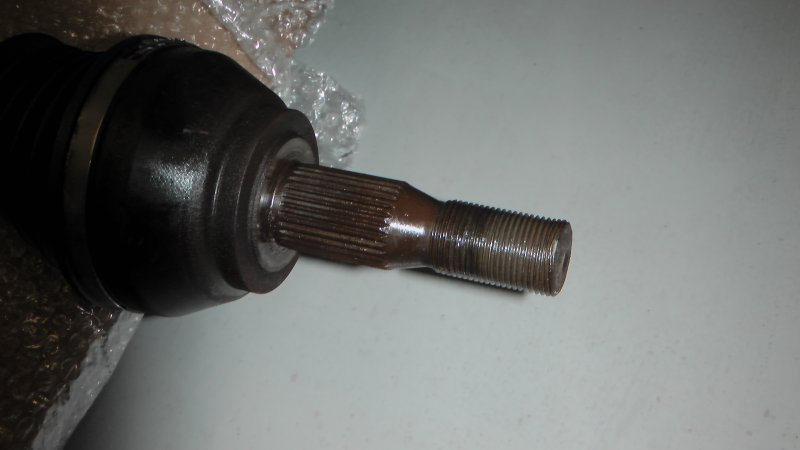
I know you have a replacement shaft but I could not help but notice you were beating on the end of the threaded shaft to get the hub off. On the other side and any other places were you have to drive a threaded shaft out it is helpful to put the nut on the end and beat on it. You would be very disappointed if you had to reuse the shaft only to find out you had mushroomed the threads and the nut would not go back on. Believe it or not what you are doing right now is very interesting and makes this project all the more interesting to me because of the careful and workman like approach you are using to sanitize this build. Can't wait for it all to come together and I think the next time you turn the key it will be a much different car with a lot of the problems mysteriously disappearing.
 
I know you have a replacement shaft but I could not help but notice you were beating on the end of the threaded shaft to get the hub off. On the other side and any other places were you have to drive a threaded shaft out it is helpful to put the nut on the end and beat on it. You would be very disappointed if you had to reuse the shaft only to find out you had mushroomed the threads and the nut would not go back on. Believe it or not what you are doing right now is very interesting and makes this project all the more interesting to me because of the careful and workman like approach you are using to sanitize this build. Can't wait for it all to come together and I think the next time you turn the key it will be a much different car with a lot of the problems mysteriously disappearing.

Oh, I knew from the start I was going to be replacing the shaft, so I wasn't at all worried about damaging the threads. I just didn't want to mushroom it so much that it would no longer fit through the hole in the hub, though. The shaft was going to come out and be discarded no matter what else had to come out in order to get to it. Had the shaft not come out of that hub, then I would have had to buy a new knuckle, which I was already in the process of locating, just in case. I had the new shafts laying on the floor waiting to be installed before I even started whacking on the old one.

The hubs are supposed to show up tomorrow, and luckily I have the T-55 socket I need for the bolts holding the hub to the knuckle. Unfortunately, however, I don't have the 21mm box wrench I need to get the lower ball joint stud out of the way of that lower bolt.

hub_bolt_01.jpg


hub_bolt_02.jpg


It's just very disappointing to me that I have to do all the stuff I have been forced to do lately because Aaron neglected to have this car in the shape he indicated that it was when I picked it up from him. But I guess I should have known better when we got home and Connie picked up the phone to call Aaron to let him know we had gotten home safely. I didn't realize it at the time, but Aaron had asked Connie to call him when we got home, because he was worried about us getting it back here. That just struck me as odd for a car that he said he would have no qualms whatsoever about driving out to California. But a short trip from Thomasville, GA to Crawfordville, FL he was worried about? :shrug01:
 
For a 21 MM box wrench you might try a 27/32. If you have a metric dial caliper measure across the flats of the nut and then look at a decimal chart that list American standard and metric. You might be able to get away with using a 7/8
 
For a 21 MM box wrench you might try a 27/32. If you have a metric dial caliper measure across the flats of the nut and then look at a decimal chart that list American standard and metric. You might be able to get away with using a 7/8

I guess I'm kind of peculiar in that I would rather use the RIGHT tool for a job. It looks like that nut has already been abused a little bit, so I will just pick up what I need when I run out tomorrow. But thanks for the tip...

The washing machine broke on Tuesday, so we've got one on order. Since the water heater is 20 years old, and this would be the ONLY time we could easily get to it, we're going to buy a new one tomorrow and replace that as well. So I get to play plumber boy tomorrow.... :hehehe: In any event we'll be out, so I'll just stop by Advance Auto and pick up that 21mm Gearwrench there. Oh yeah, I also need some brake cleaner as I'm sure the emergency brake pads and the rotors got quite a bit of Blaster on them....
 
Back
Top